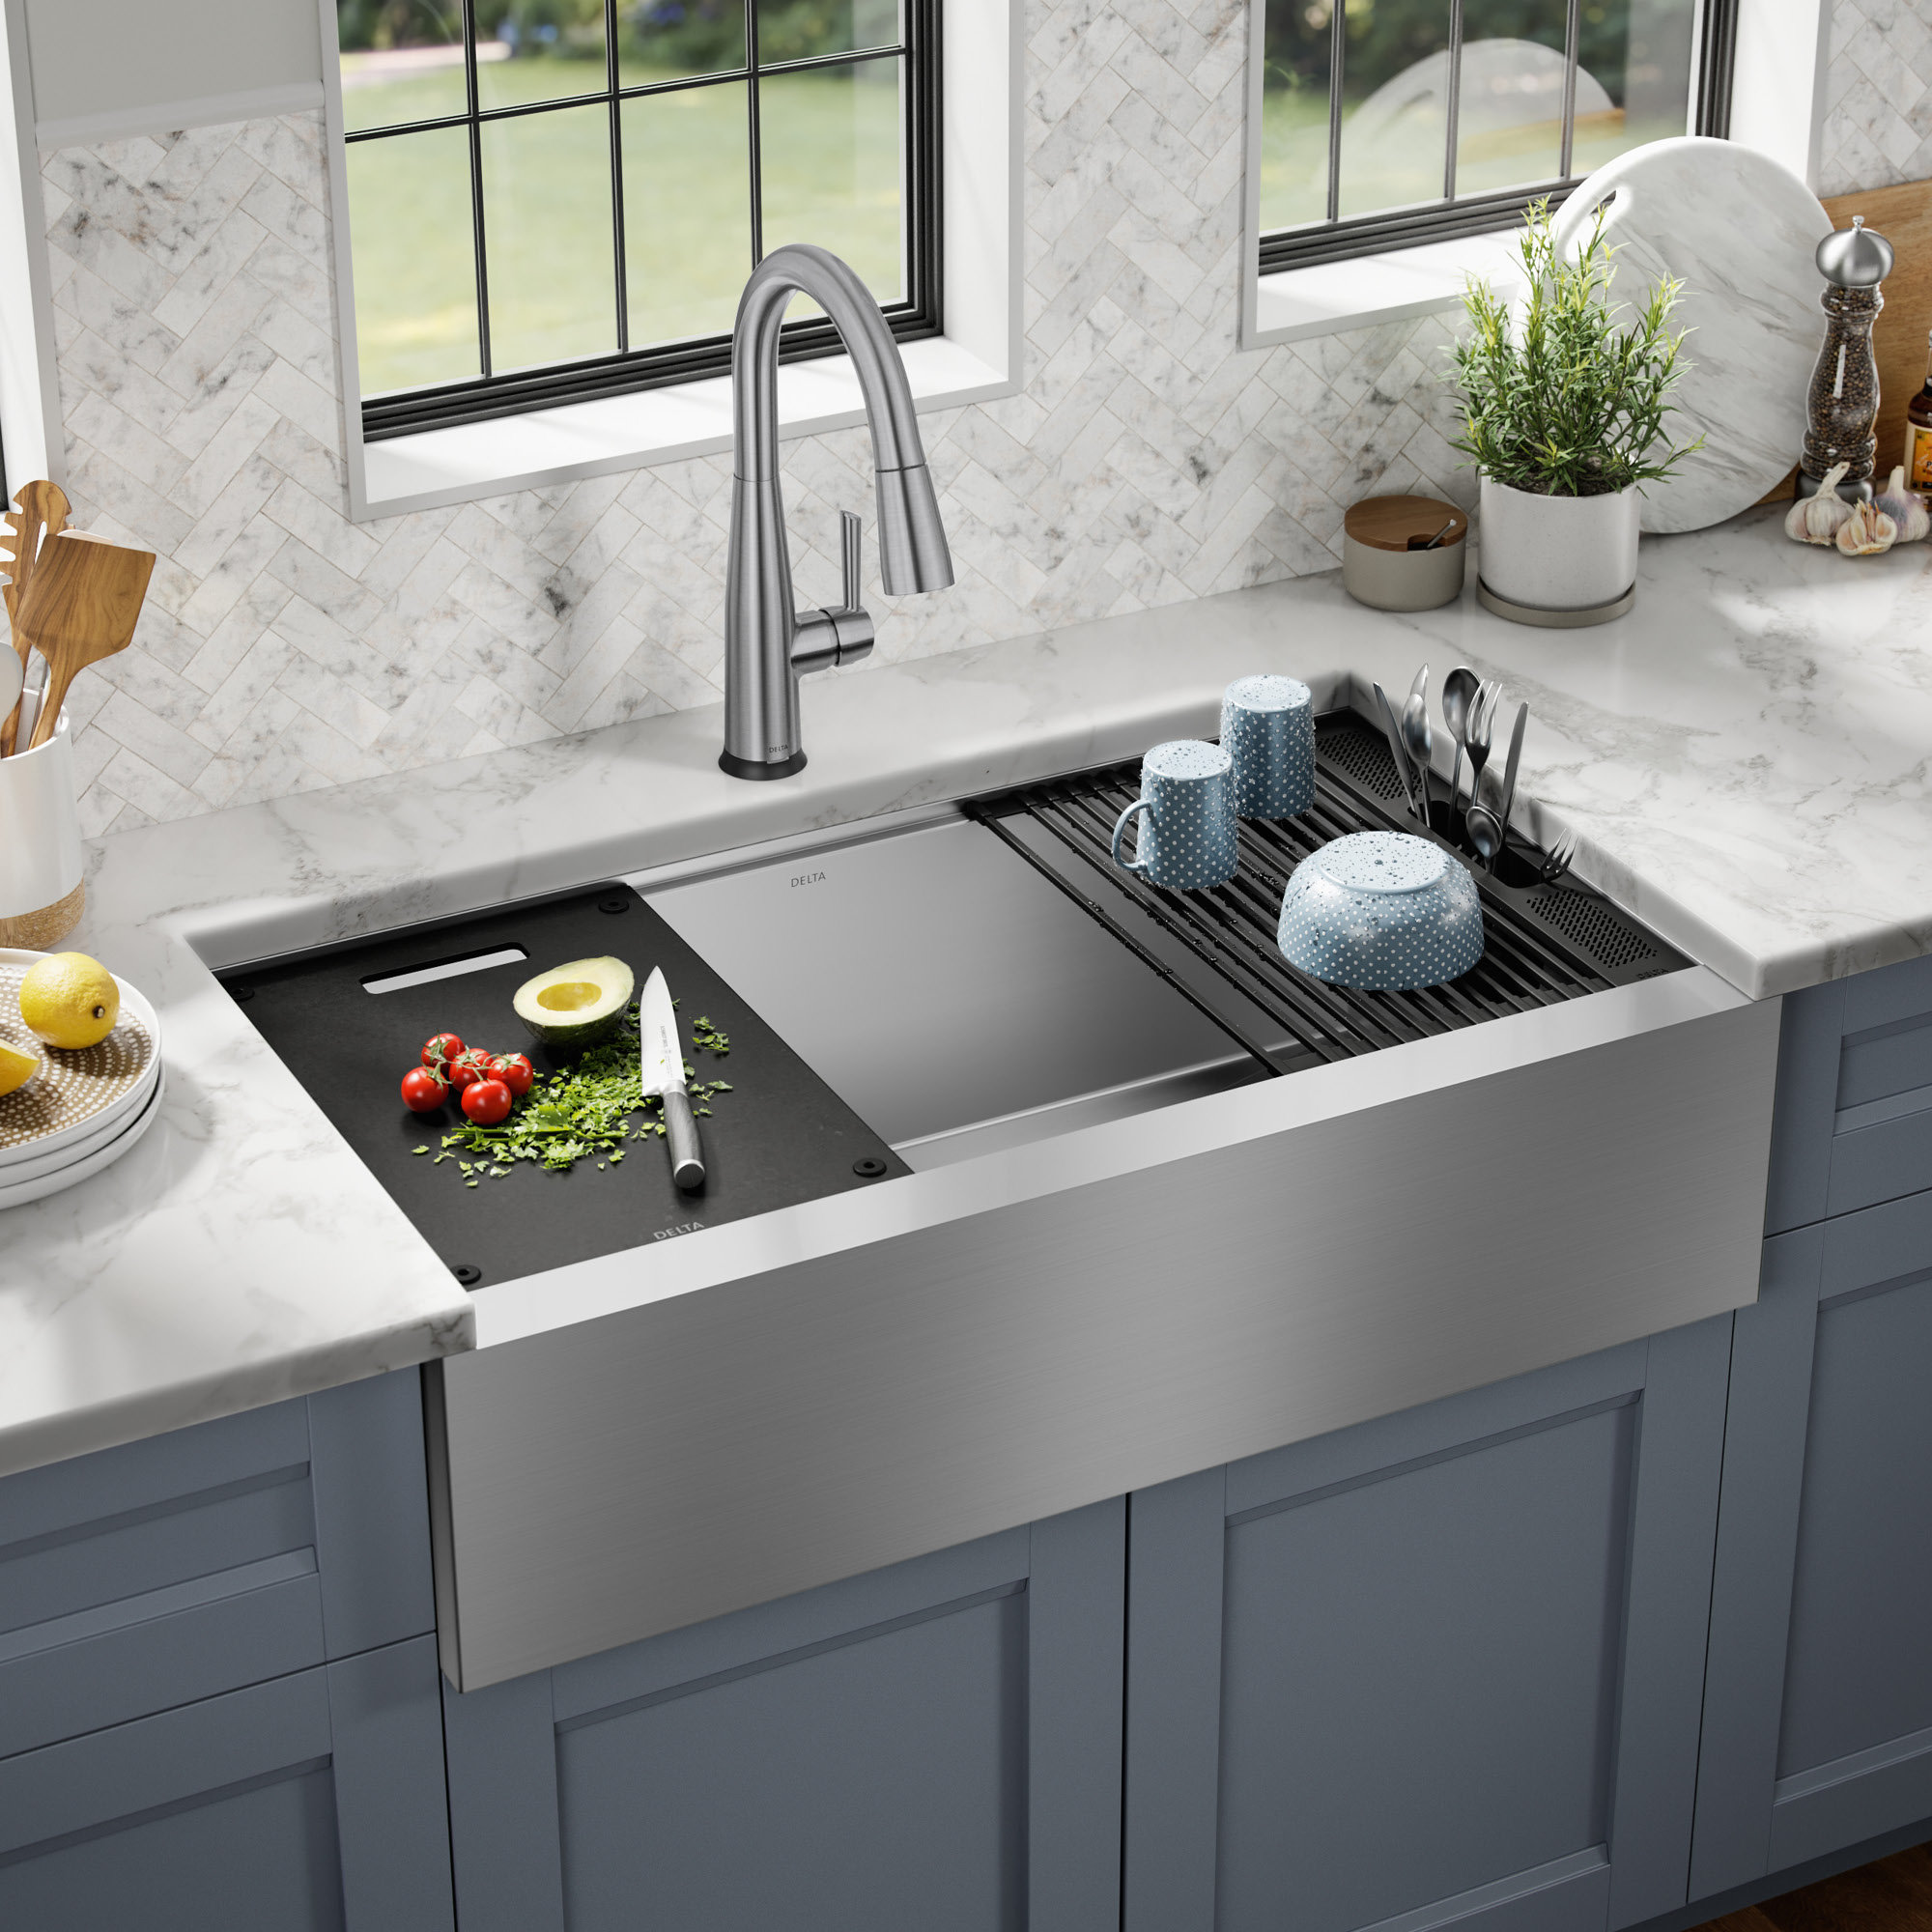
How to remove kitchen sink? Removing a kitchen sink may seem like a daunting task, but with the right tools and step-by-step instructions, it can be easily done. Whether you are replacing your sink or making repairs, this guide will walk you through the process of removing a kitchen sink. By following these steps, you can save money on hiring a professional plumber and gain the satisfaction of completing the job yourself.
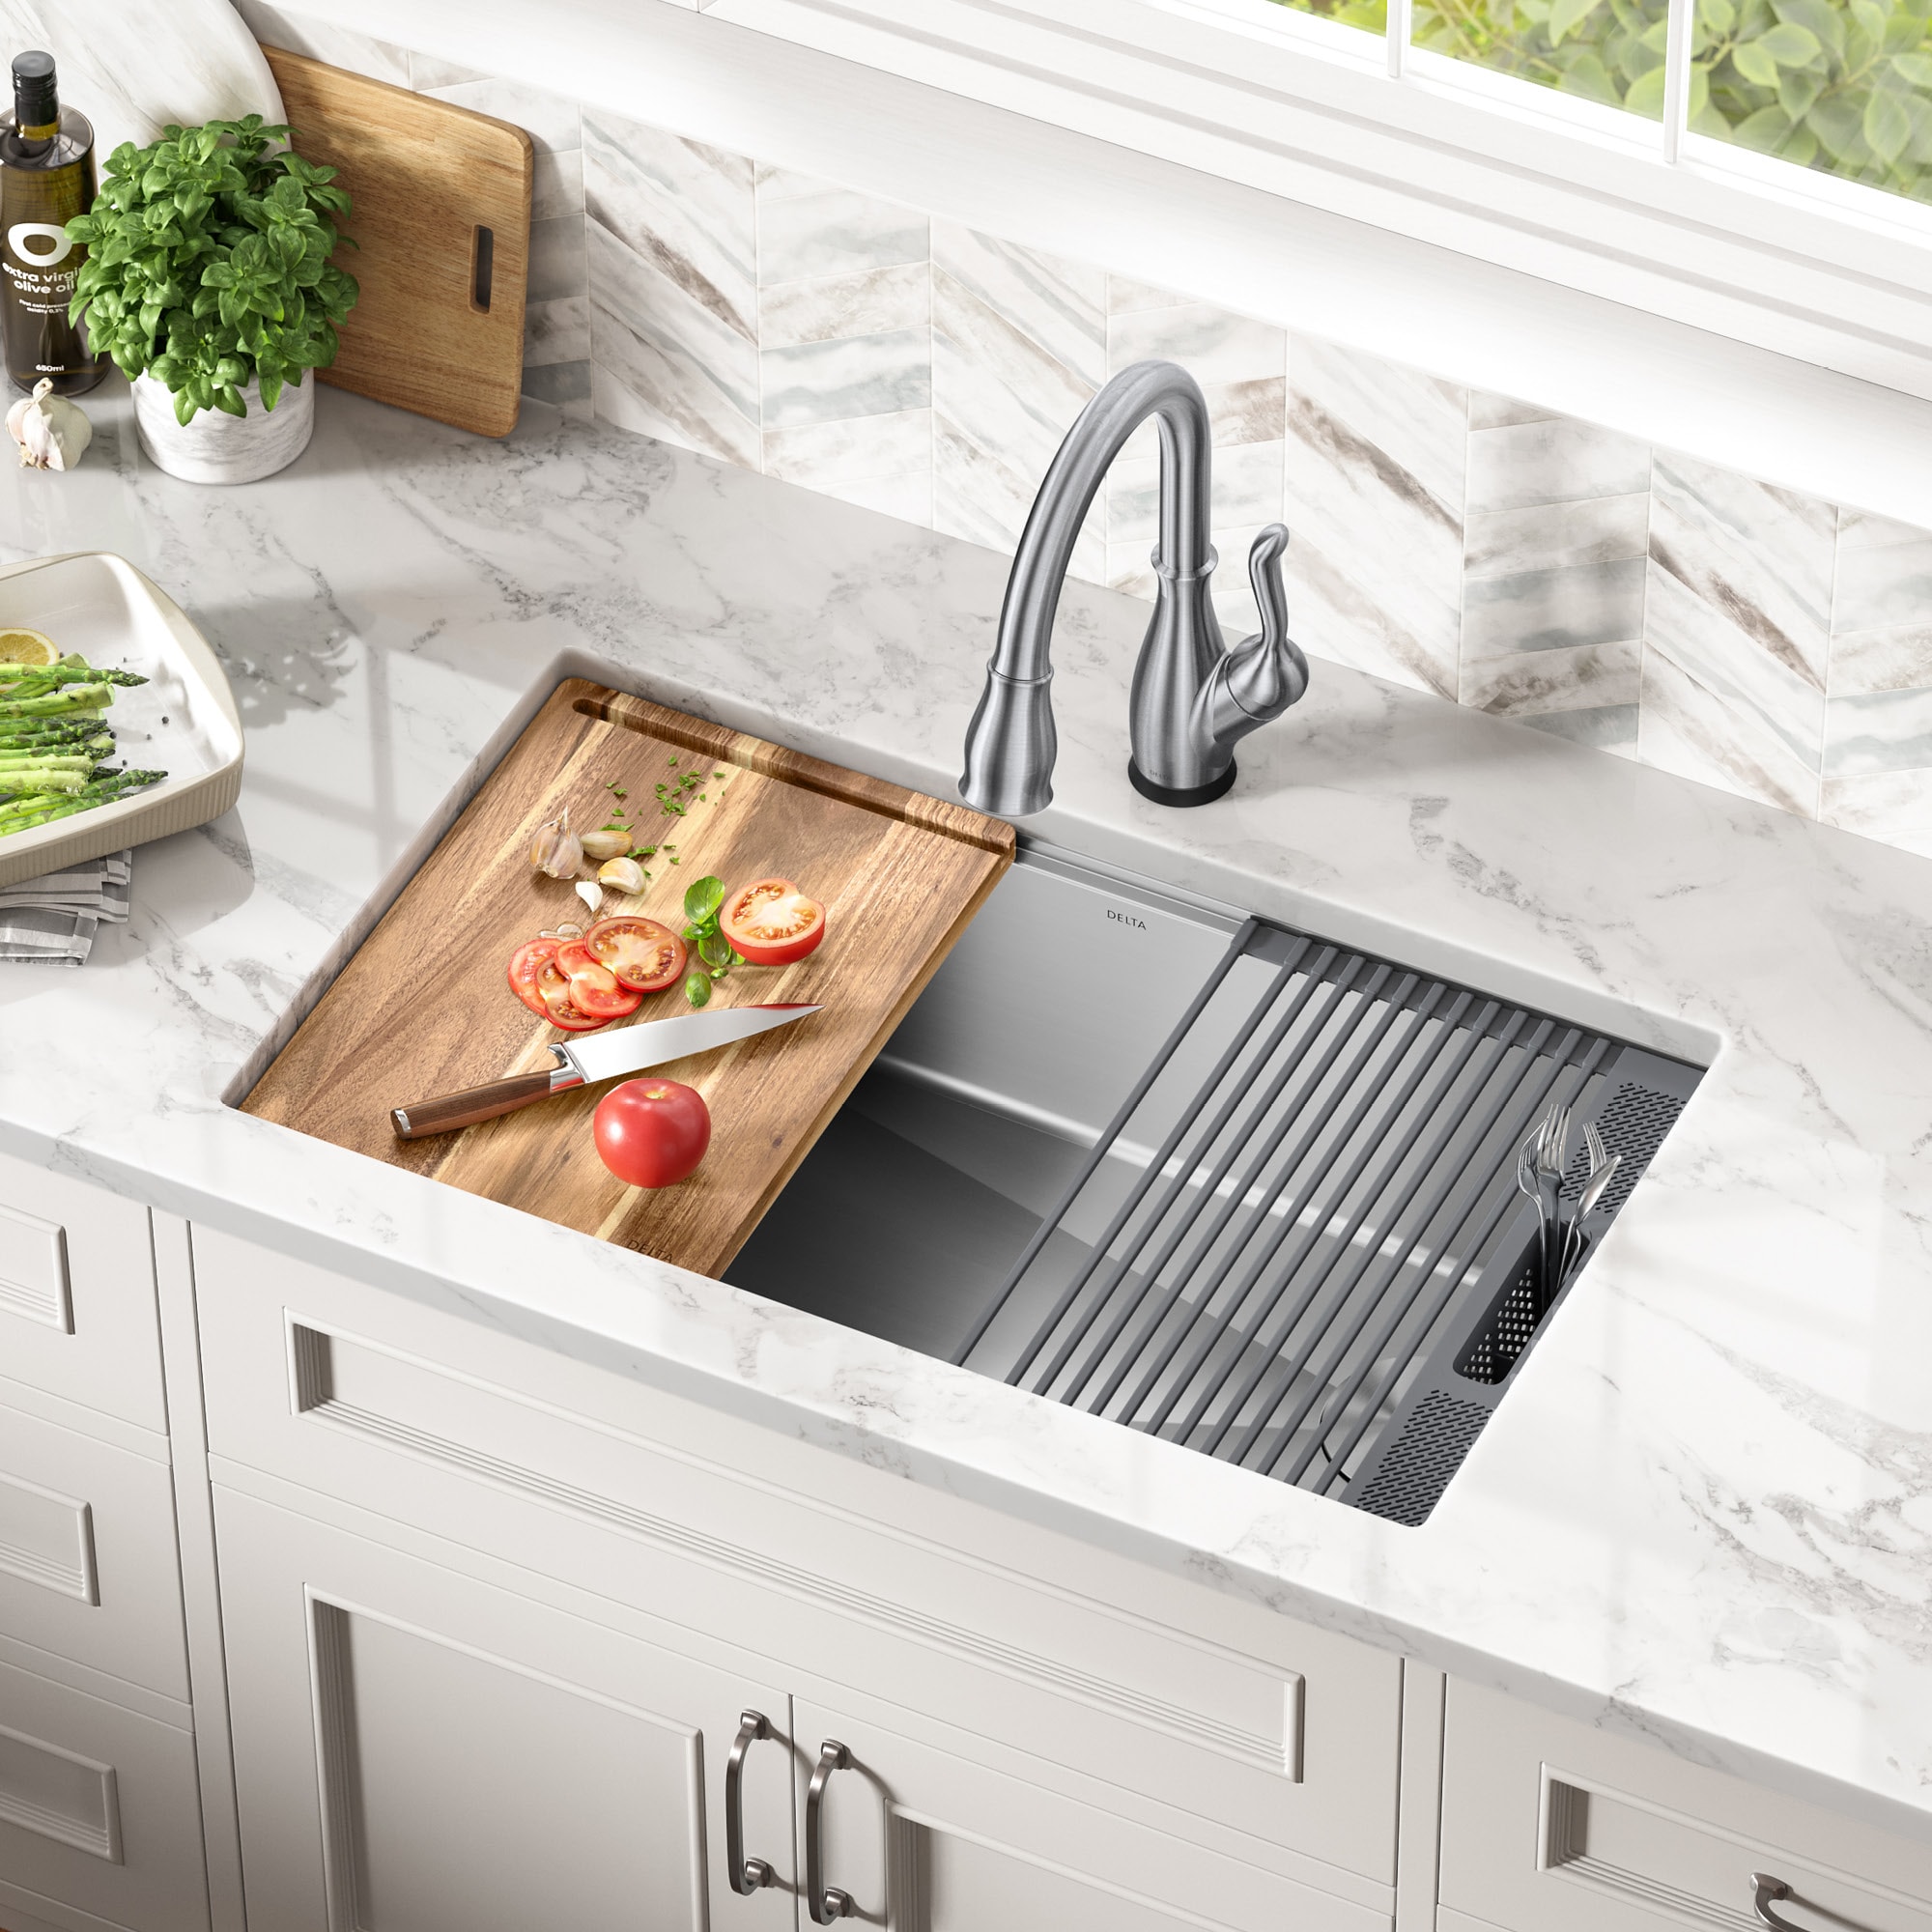
Tools and Materials Needed: Before getting started, it’s important to gather all the necessary tools and materials.
Here’s a list of what you will need:
- Adjustable wrench
- Screwdriver
- Bucket or basin
- Plumber’s putty or silicone caulk
- Putty knife
- Pliers
- Towels or rags
- Pipe wrench (if necessary)
- Safety goggles and gloves
Turn off the Water Supply:
The first step in removing a kitchen sink is to shut off the water supply. Locate the water shut-off valves under the sink and turn them clockwise to shut off the water flow. If your sink doesn’t have individual shut-off valves, you may need to shut off the main water supply to your house. It’s important to ensure the water is completely turned off before proceeding to avoid any potential leaks during the removal process.
Disconnect the Water Supply Lines:
Once the water supply is turned off, use an adjustable wrench to disconnect the water supply lines from the faucet and shut-off valves. Place a bucket or basin under the lines to catch any remaining water. If the connections are tight, you may need to use pliers for additional leverage. Be cautious not to overtighten or damage any of the connections.

Disconnect the Drain Lines:
After disconnecting the water supply lines, it’s time to disconnect the drain lines. Locate the P-trap under the sink, which is a curved section of pipe that connects the drain to the wall plumbing. Place a bucket or towel underneath to catch any water or debris that may spill. Loosen the slip nuts on both ends of the P-trap using pliers and remove the trap. Additionally, disconnect any additional drain lines connected to the replace kitchen sink, such as a garbage disposal or dishwasher drain.
Remove the Faucet:
With the water and drain lines successfully disconnected, it’s time to remove the faucet. Underneath the sink, locate the nuts that hold the faucet in place. Depending on the model, these nuts may be hand-tightened or require a screwdriver for removal. Once the nuts are loosened, carefully lift the faucet out of its mounting hole. Be careful not to damage the countertop or backsplash during this process.
Loosen the Sink Clips or Brackets:
Many kitchen sinks are secured to the countertop by clips or brackets. Use a screwdriver to loosen these fasteners, which are typically located underneath the sink. This step may require some patience, as some clips or brackets may be located in hard-to-reach areas. Once all the clips or brackets are loosened, gently lift the sink up to detach it from the countertop.
Apply Pressure to Remove the Sink:
In some cases, the sink may be sealed to the countertop using a layer of plumber’s putty or silicone caulk. To remove the sink, carefully push upward from below the countertop while applying pressure. Use a putty knife to gently pry the sink away from the caulk or putty if necessary. Once the sink is free from the countertop, lift it out carefully and place it aside.
Clean the Area and Inspect for Damage:
After removing the sink, clean the area thoroughly to remove any debris or residue. Use a towel or rag to dry the countertop and surrounding area. Before proceeding with installing a new sink or making repairs, carefully inspect the plumbing connections for any signs of damage or leaks. If any issues are detected, it’s advisable to repair them before continuing with the installation.
The role of kitchen sink
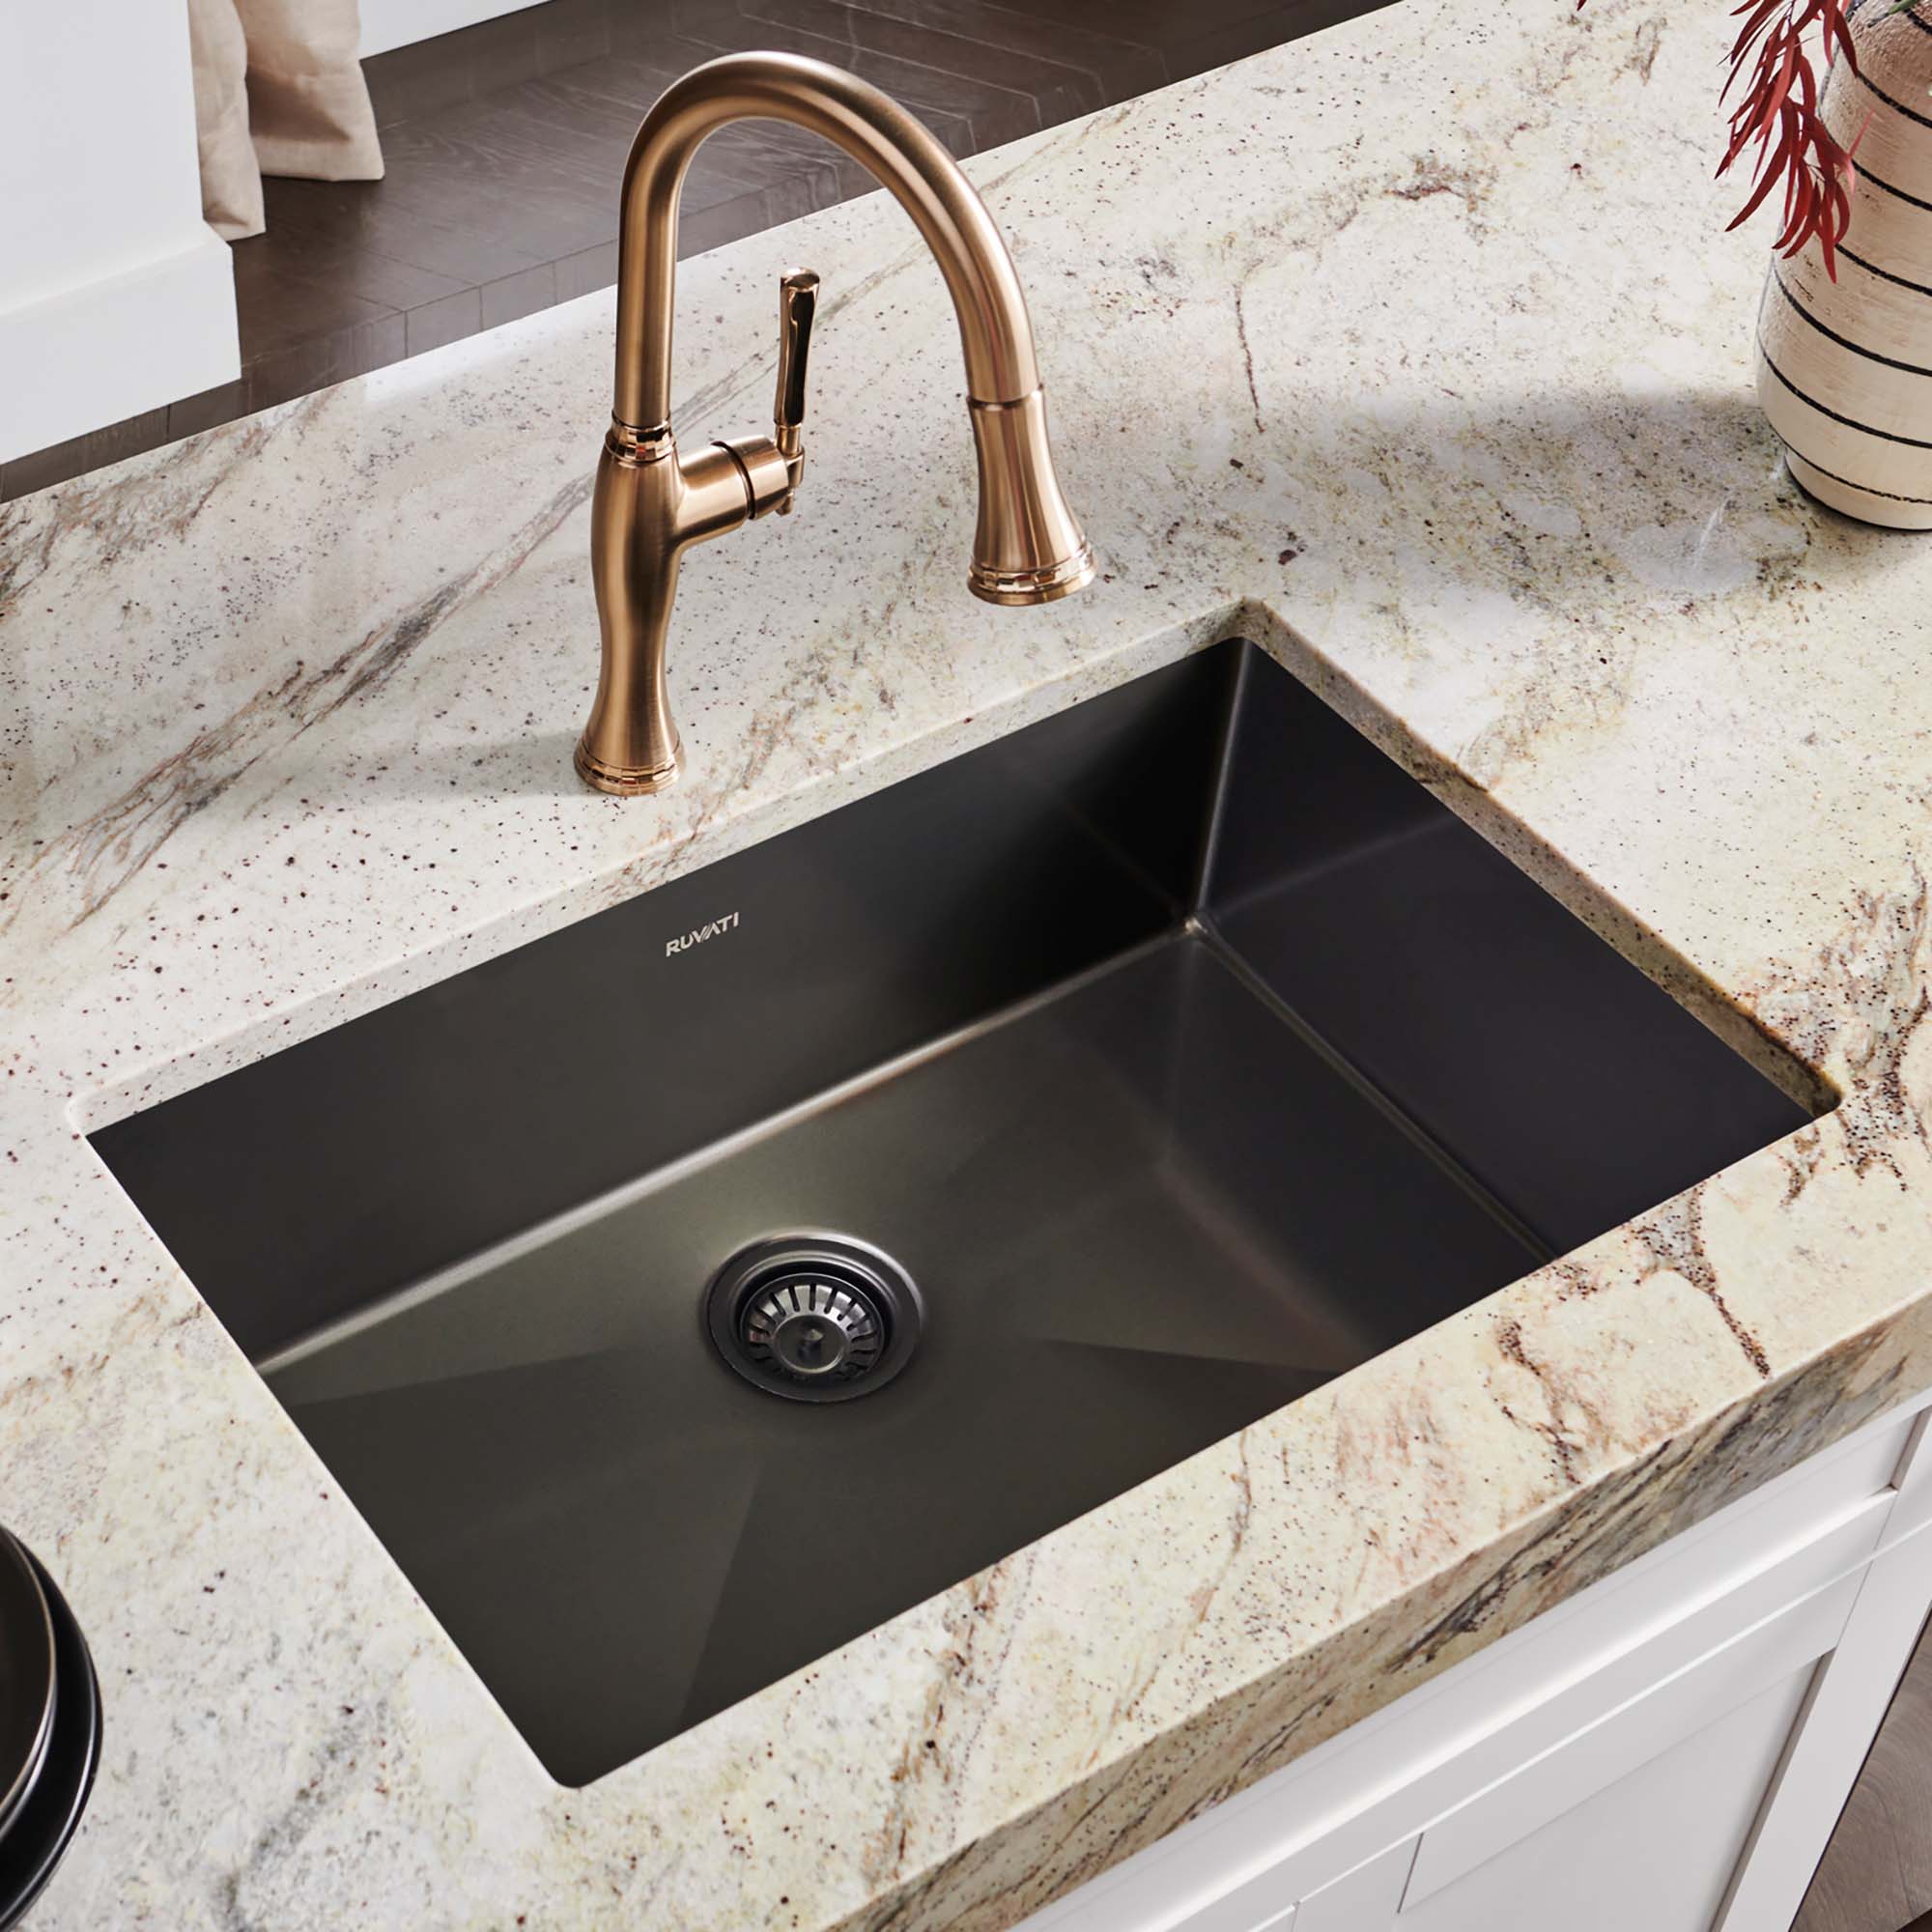
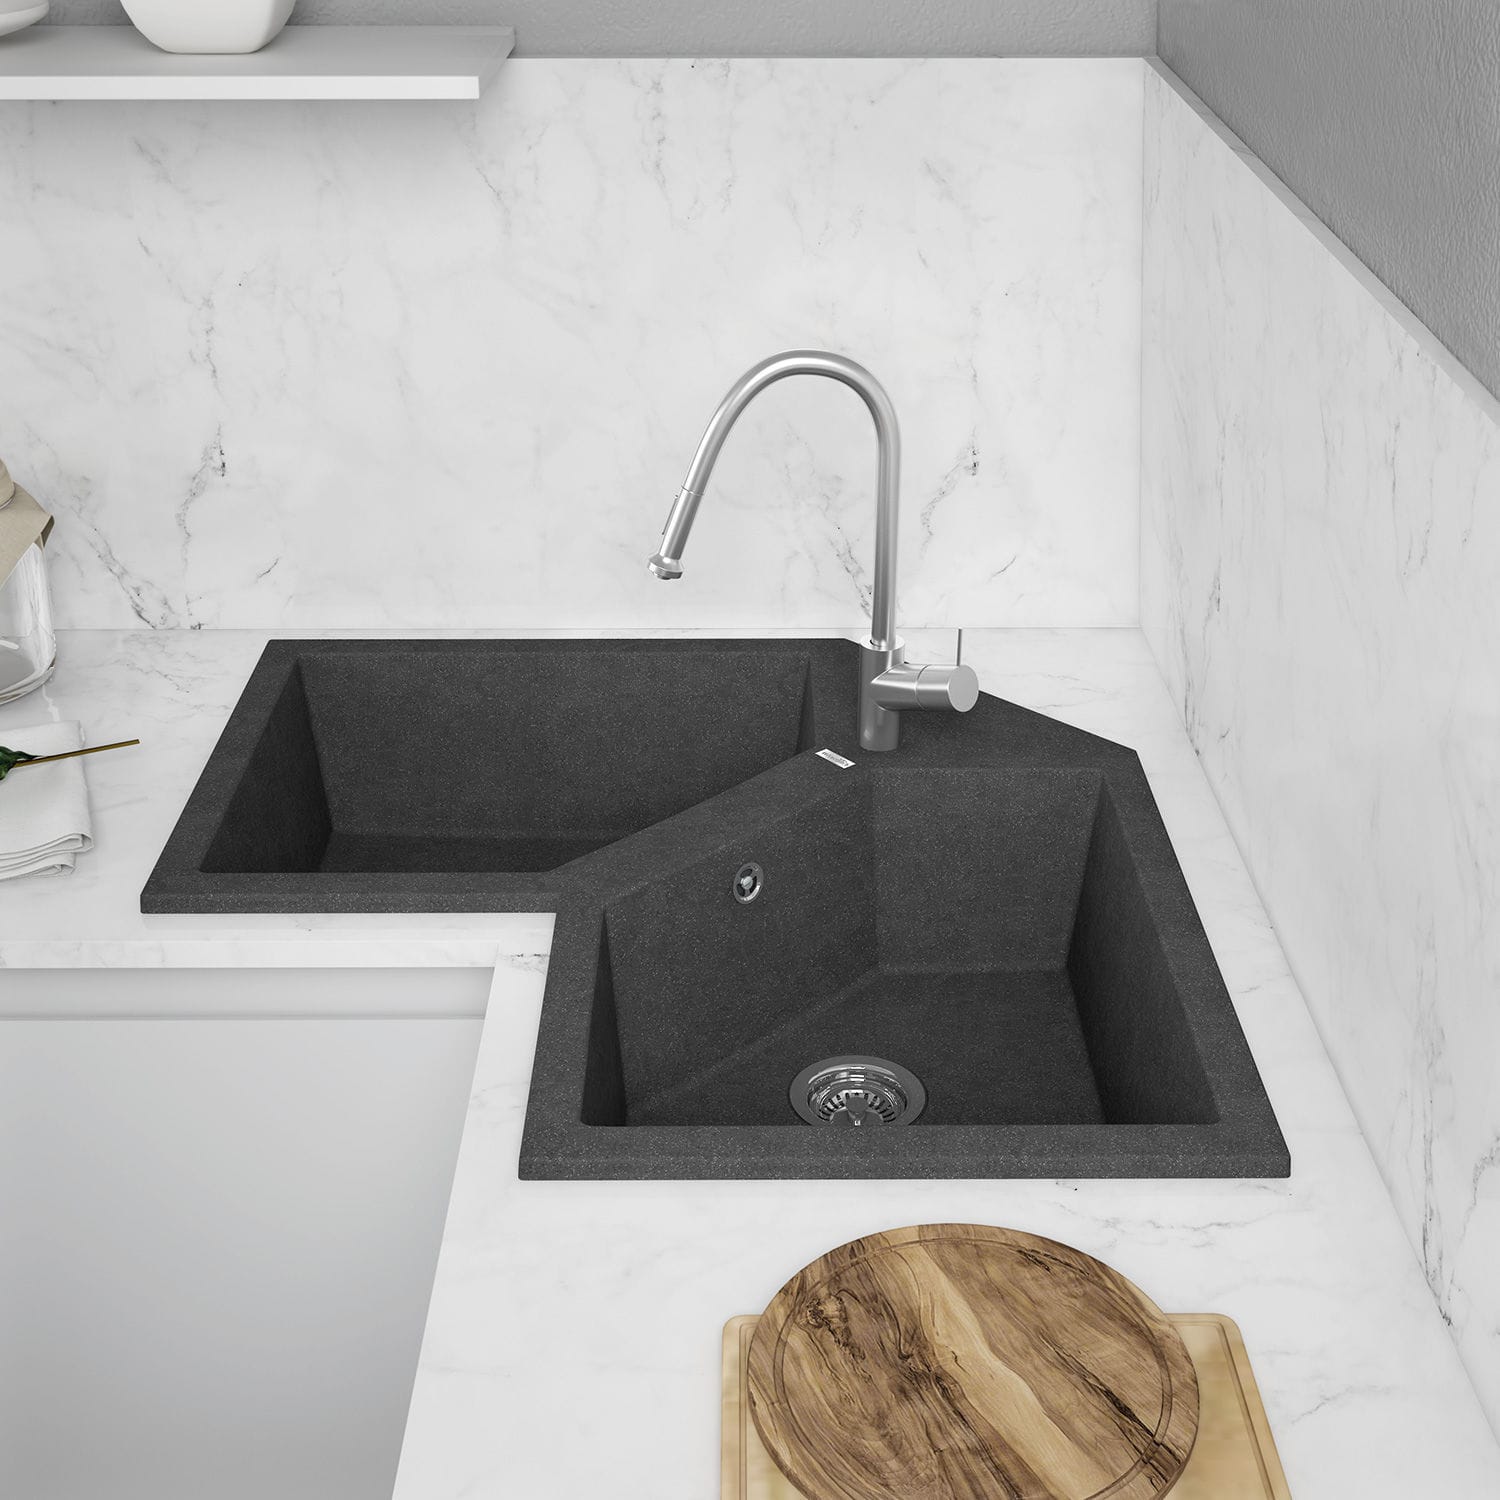
The corner kitchen sink is an essential fixture in any kitchen, serving various functions. It is not only a practical necessity for everyday tasks but also plays a significant role in the overall design and aesthetics of the kitchen space.
Basic Cleaning and Food Preparation:
The primary function of a kitchen sink is to provide a dedicated space for cleaning and food preparation. From washing fruits and vegetables to rinsing dishes and utensils, the sink acts as a central hub for these activities. It allows you to conveniently fill and empty the sink with water, making cleaning and prepping more efficient and hygienic. The size and depth of the sink play a crucial role in accommodating various tasks, ensuring that you have enough space to handle the workload.
Dishwashing and Soaking:
One of the most common uses of a kitchen sink is for dishwashing. After a meal, dirty dishes and utensils are conveniently placed in the sink, enabling you to scrape off food particles, rinse away residues, and apply dishwashing liquid to clean them thoroughly. The sink’s design often includes a drainboard or a separate attachment that allows you to let dishes air dry. Additionally, the sink can be used for soaking dishes with stubborn stains, making it easier to remove grease and grime before washing.
Waste Disposal:
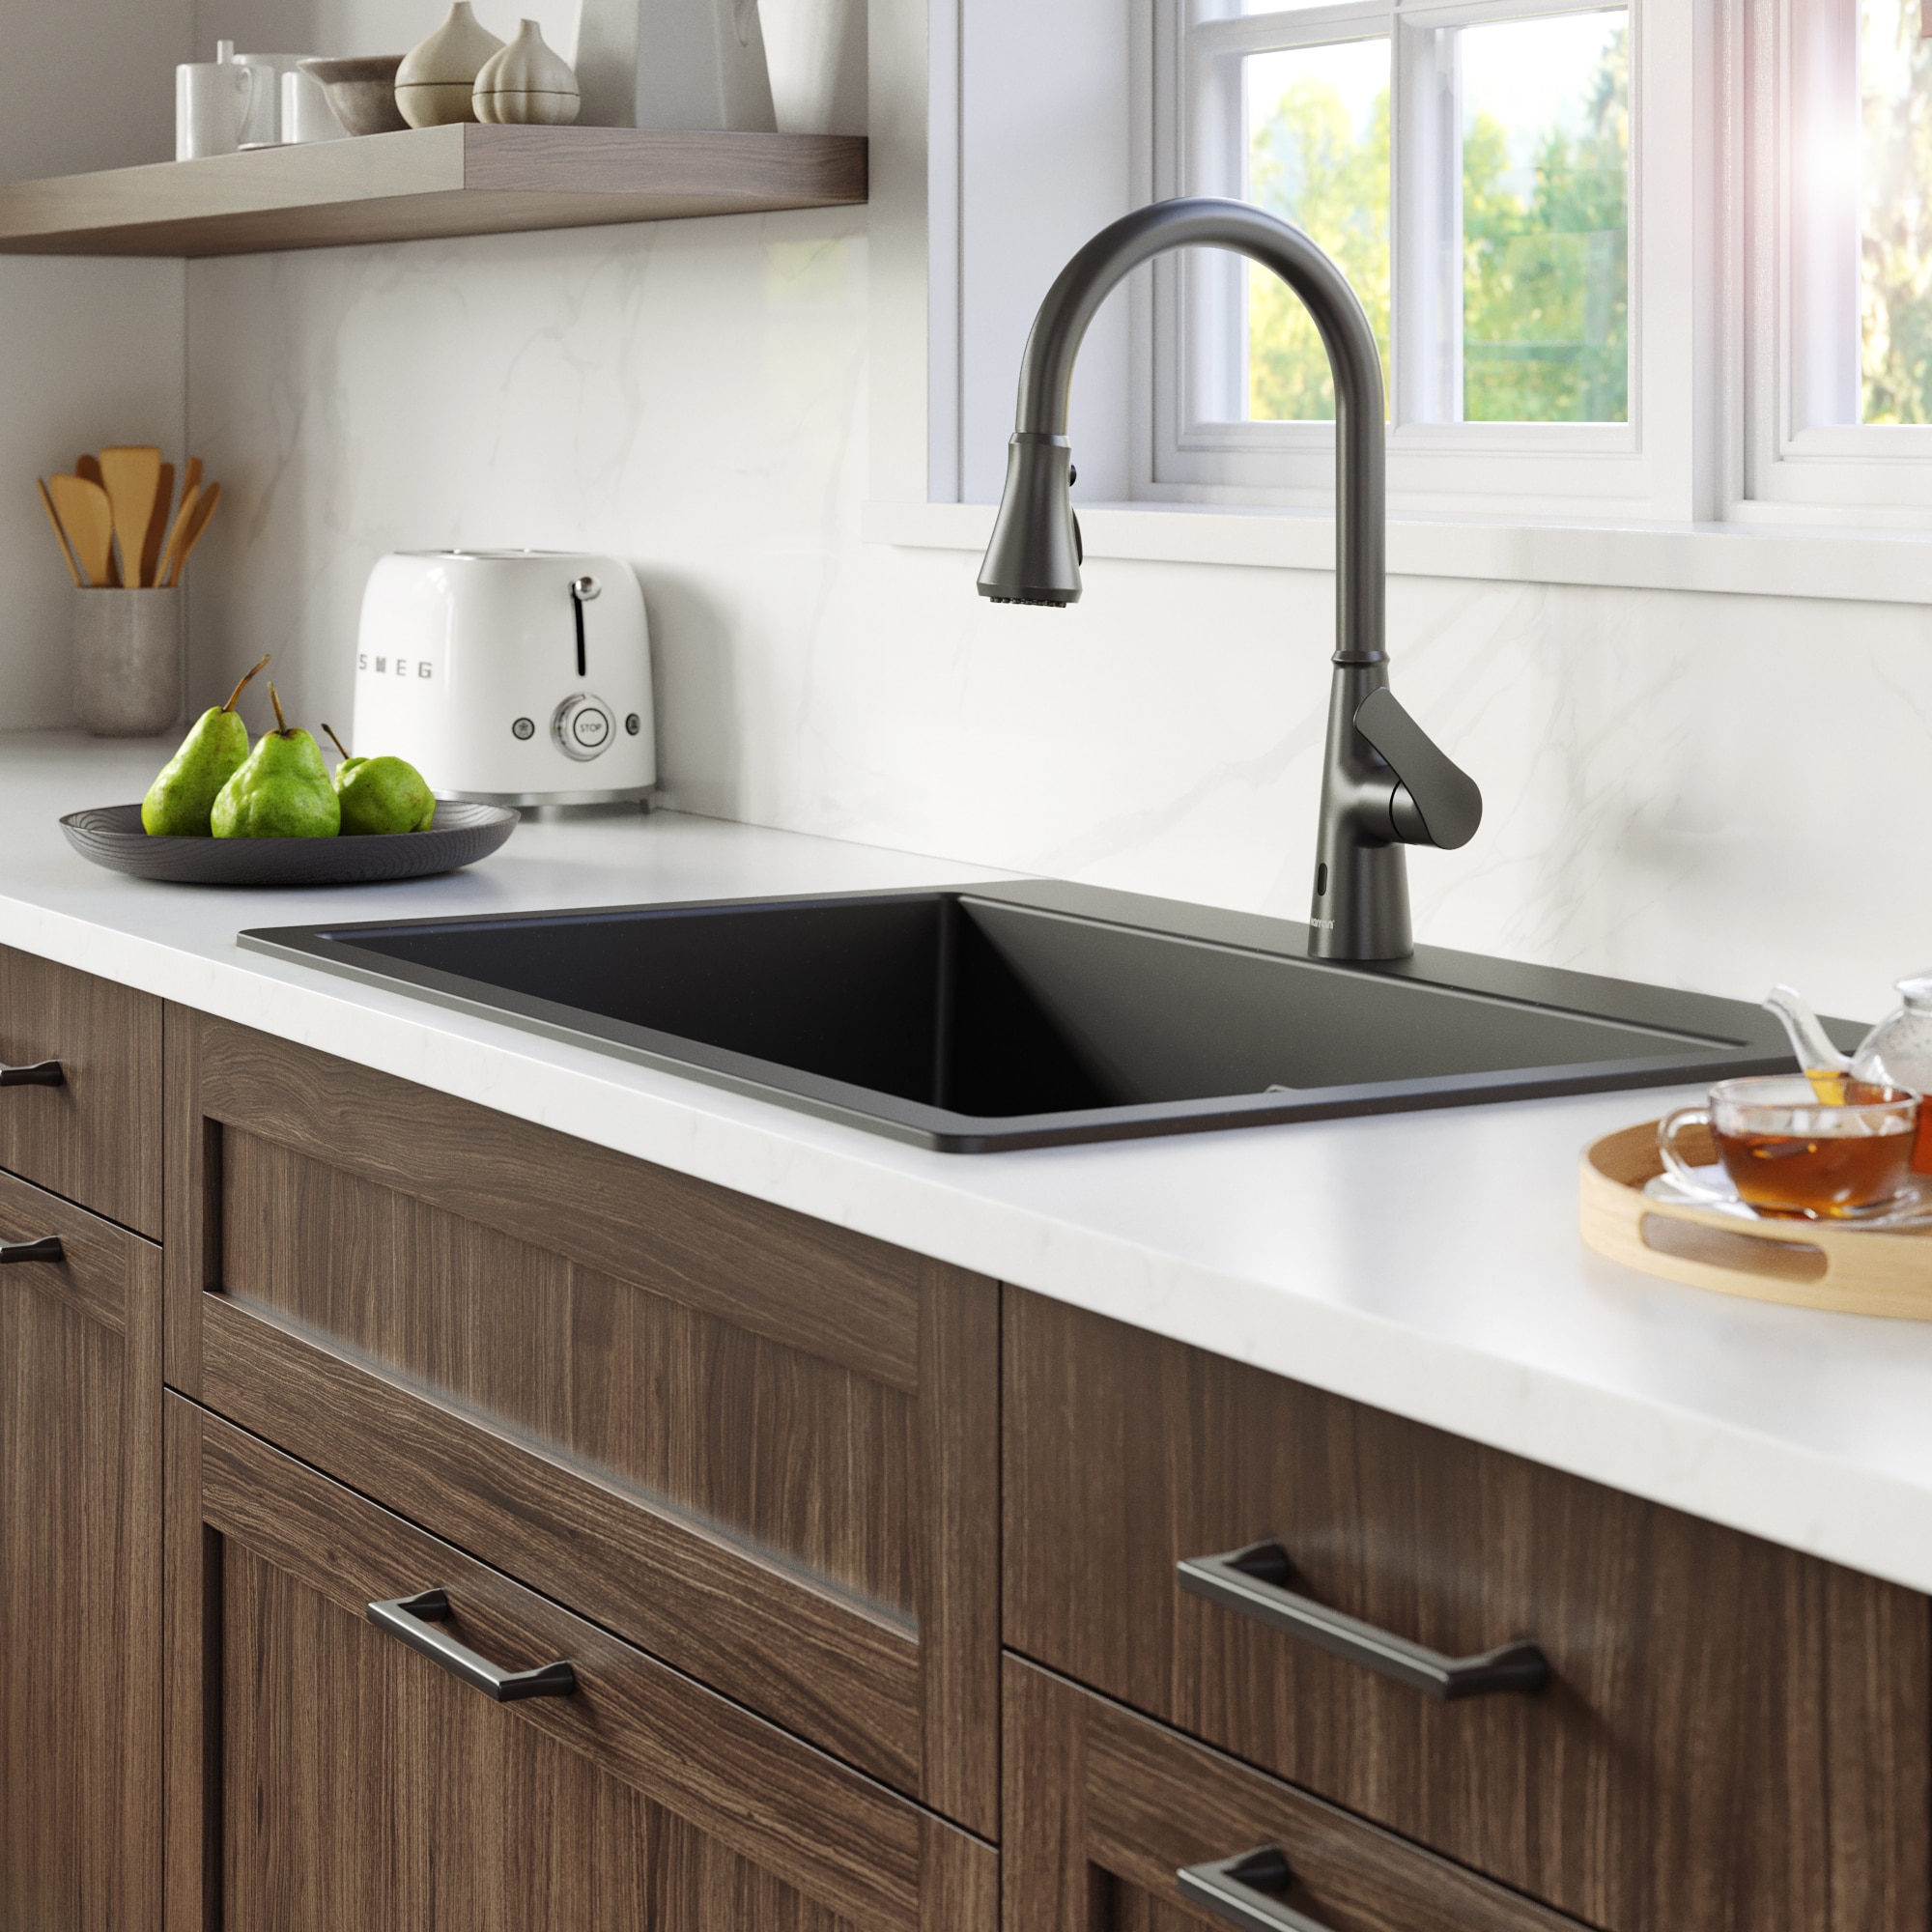
A kitchen sink often comes equipped with a garbage disposal unit, providing a convenient solution for disposing of food waste. When scraps and leftovers are rinsed down the drain, the garbage disposal unit grinds the waste into small particles, which are then flushed away with water. This feature helps to minimize odors and reduces the amount of organic waste that ends up in landfills. Regular maintenance and proper usage of the garbage disposal unit ensure its longevity and prevent clogs.
Handwashing and Personal Hygiene:
Apart from its primary function in cleaning dishes, the kitchen sink also serves as a convenient location for personal hygiene, particularly handwashing. From food preparation to handling raw meat, it is essential to maintain good hygiene habits in the kitchen. With the sink readily available, you can wash your hands with ease before and after handling food, thereby minimizing the risk of cross-contamination.
Conclusion:
Removing a kitchen sink may take a bit of time and effort, but by following the steps outlined in this guide, you can accomplish the task successfully. Remember to take necessary safety precautions and use the appropriate tools throughout the process. By completing the removal of a kitchen sink yourself, you can save money and gain valuable knowledge in tackling future plumbing projects.
