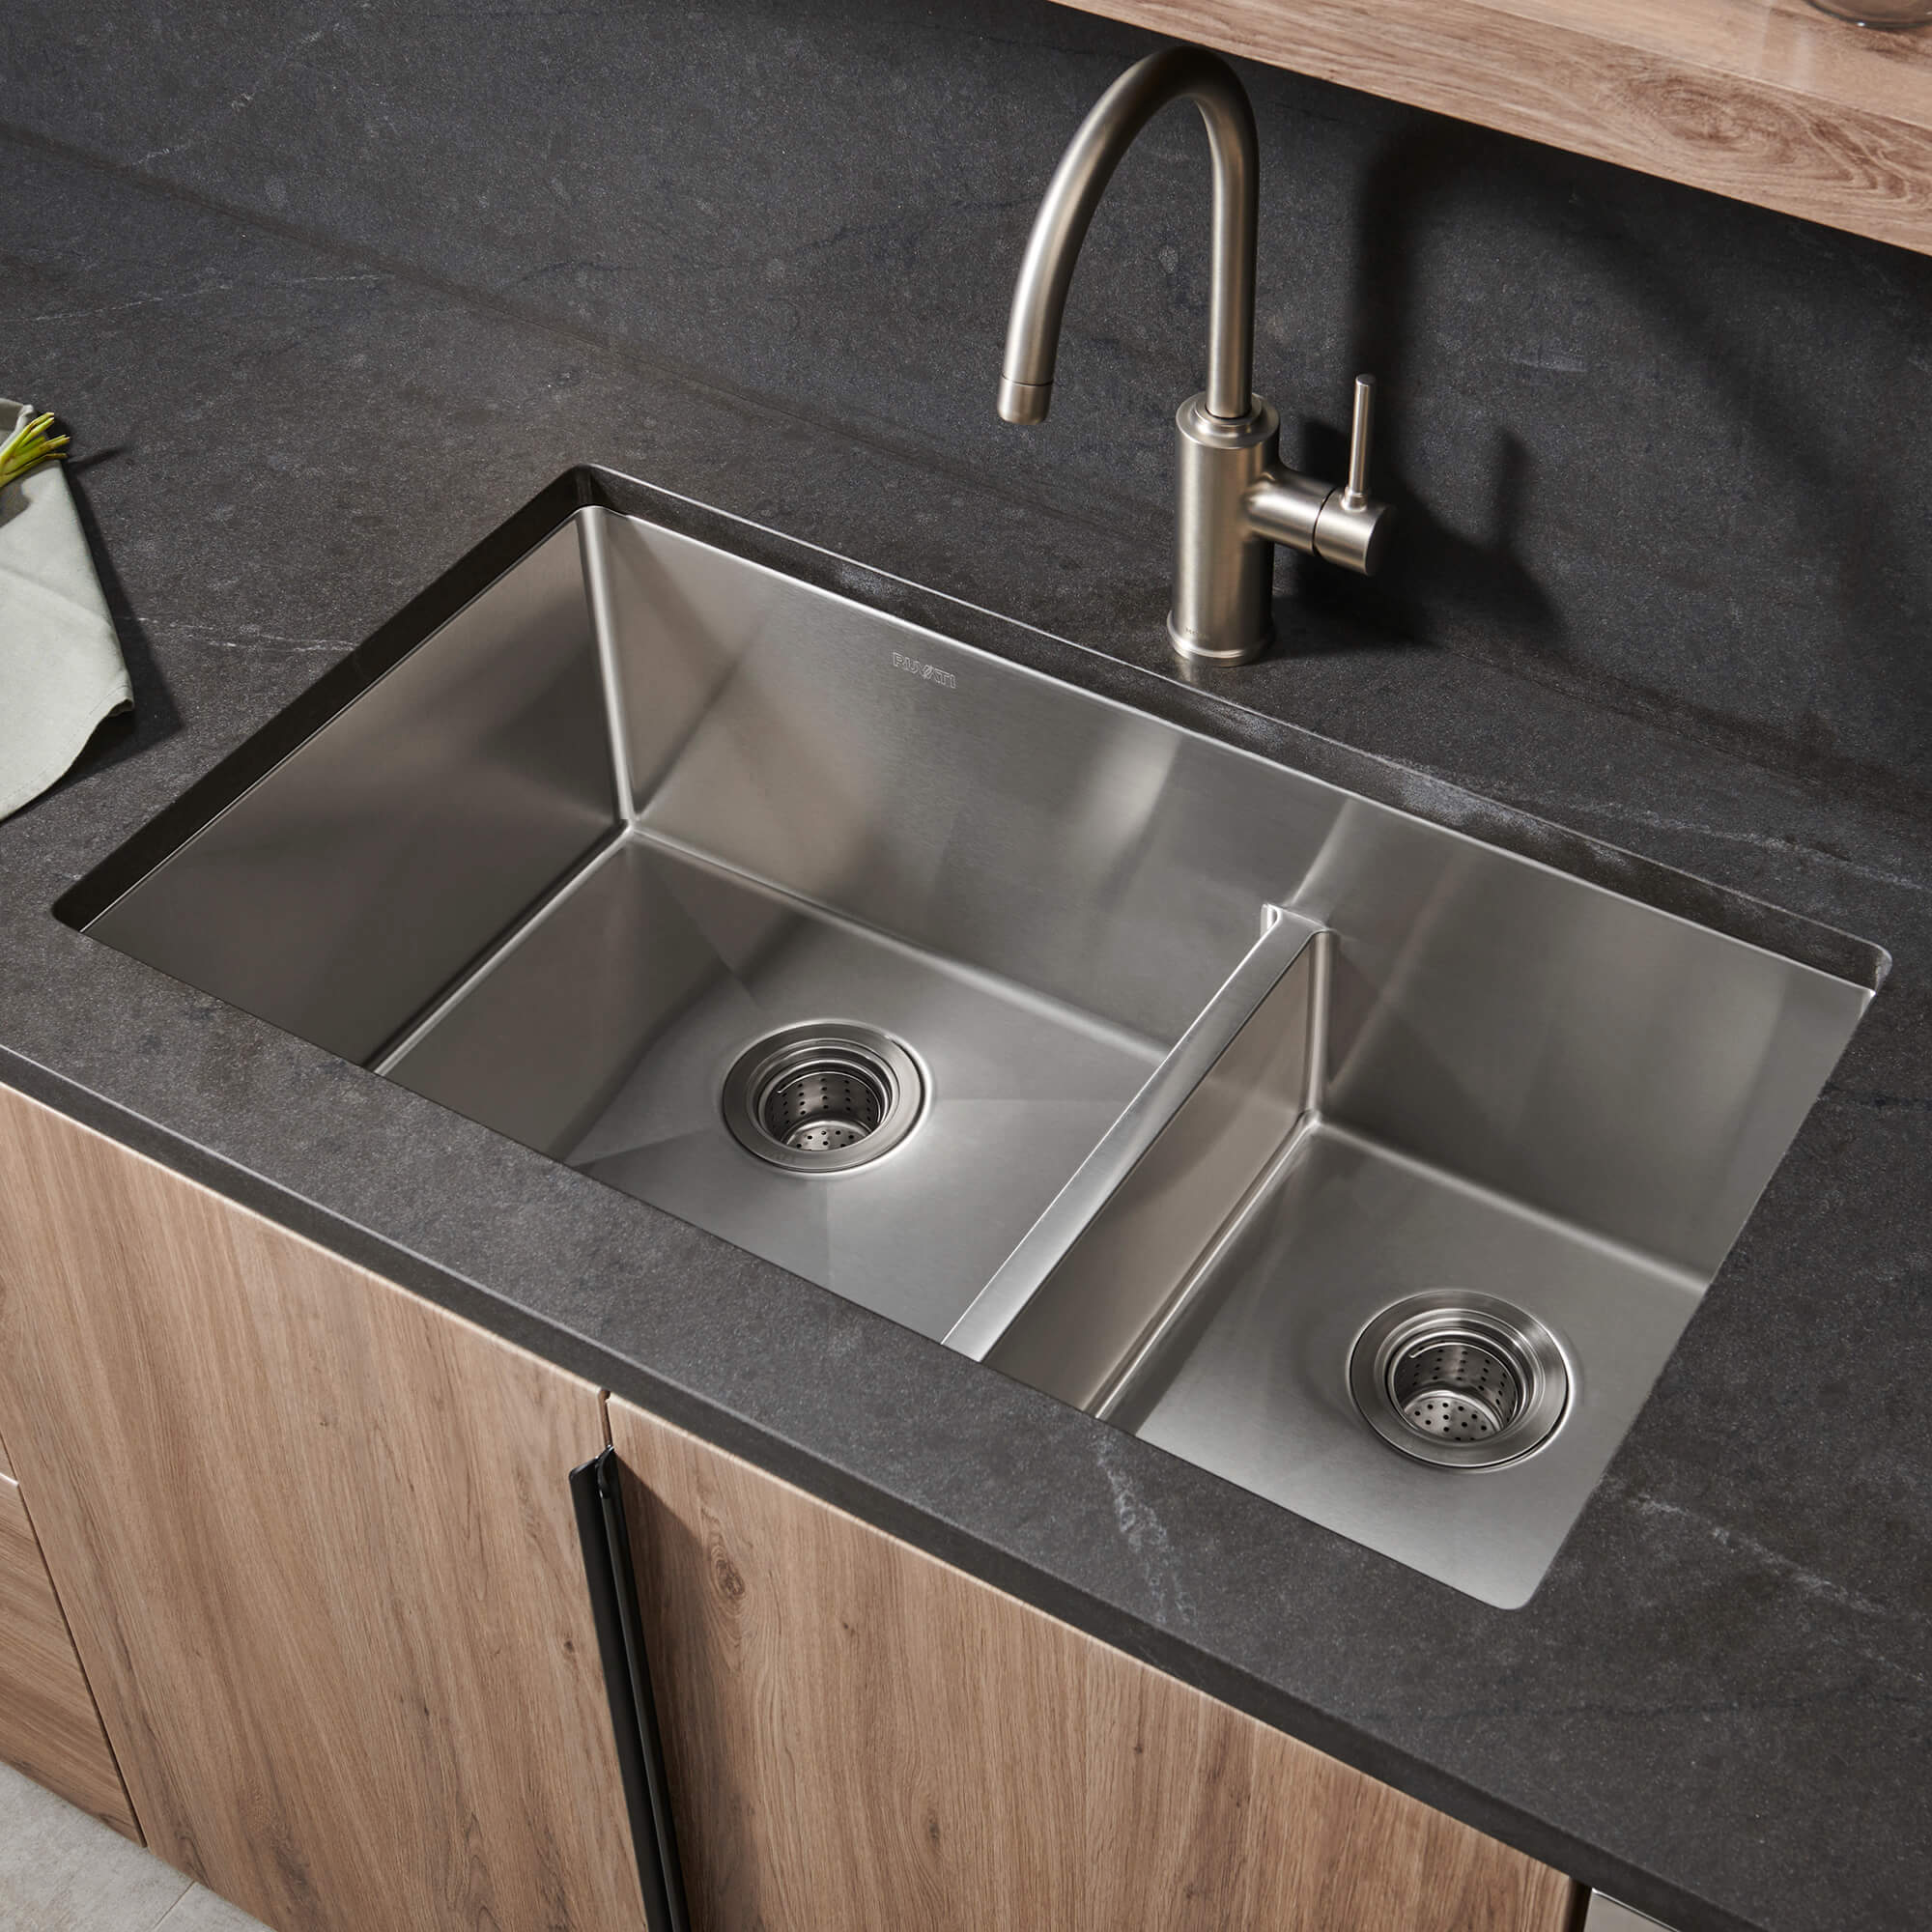
How to replace kitchen sink? Replacing a kitchen sink is a major home improvement project that can enhance the functionality and aesthetic appeal of your kitchen. Whether you’re upgrading to a new sink or replacing a damaged one, it’s important to follow a step-by-step process to ensure a successful installation. By understanding the necessary tools, materials, and techniques, you can confidently replace your kitchen sink.
Preparing for the Replacement:
Gather the Tools and Materials: Before starting the replacement process, gather the necessary tools and materials, including a bucket, adjustable wrench, channel lock pliers,putty knife, silicone sealant, plumber’s putty or tape, a screwdriver, and a sink installation kit.
Turn Off the Water Supply: Locate the shut-off valves under the sink and turn off the water supply. If there are no individual shut-off valves, turn off the main water supply to your home.
Clear the Area: Clear out everything from under the sink to create a spacious and clutter-free work area.
Removing the Old Sink:
Disconnect the Water Supply Lines: Use an adjustable wrench to disconnect the water supply lines from the shut-off valves.
Disconnect the Drain Pipes: Loosen and remove the slip nut connecting the drain pipes to the sink trap. Place a bucket underneath to catch any residual water.
Remove the Sink Mounting Clips: Locate the mounting clips or brackets that secure the sink to the countertop. Use a screwdriver to remove them, freeing the sink from the countertop.
Cut the Caulk Seal: Run a putty knife along the edges of the sink to cut through any caulk or adhesive sealing the sink to the countertop.
Installing the New Sink:
Measure and Test Fit: Measure the dimensions of the new sink to ensure it fits properly into the cutout on the countertop. Test fit the sink before proceeding.
Apply a Caulk or Sealant: Apply a bead of silicone sealant around the edge of the sink cutout on the countertop. This creates a watertight seal between the sink and the countertop.
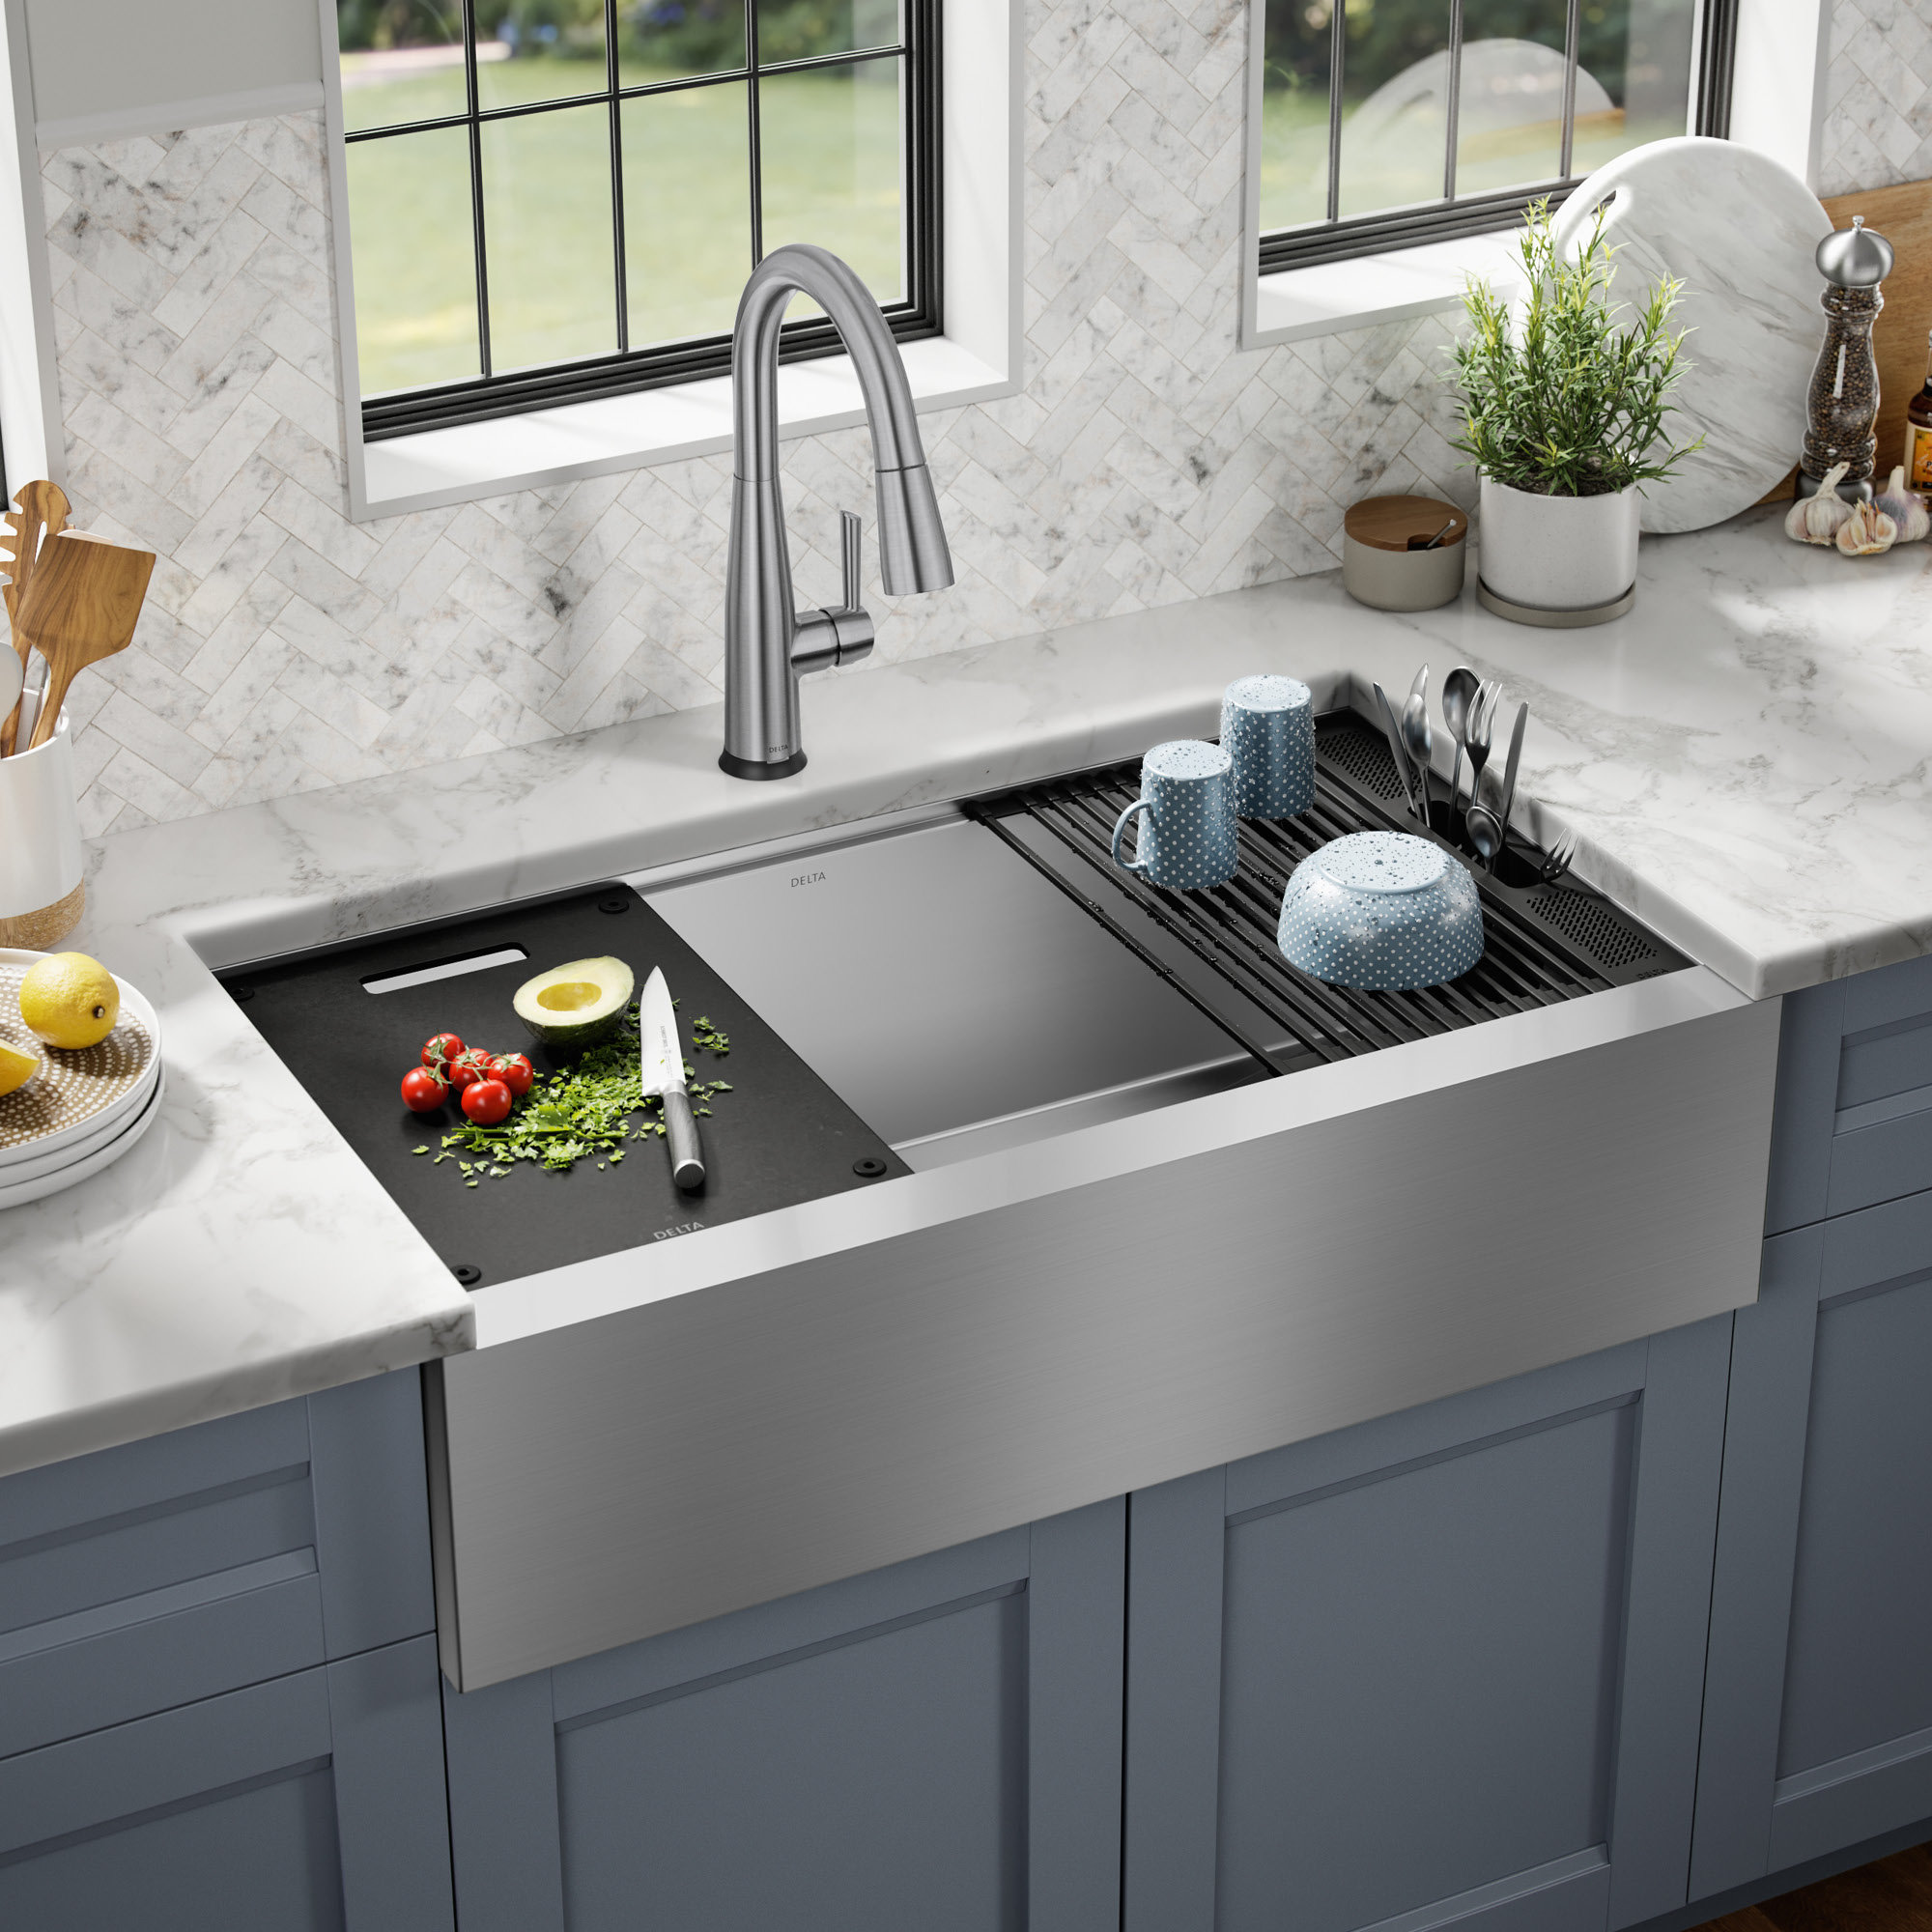
Mount the Sink: Carefully lower the new corner kitchen sink into the cutout, making sure it aligns properly. Apply pressure to create a firm seal with the silicone sealant.
Secure the Sink: Depending on the sink type, secure it to the countertop using the mounting clips or brackets provided. Follow manufacturer’s instructions for the specific installation method.
Finalizing the Plumbing Connections:
Connect the Drain Pipes: Attach and tighten the slip nuts to reconnect the drain pipes to the sink trap. Ensure a secure connection, but avoid overtightening.
Connect the Water Supply Lines: Apply plumber’s tape or use a plumber’s putty to the threads of the water supply lines. Reconnect the lines to the shut-off valves and tighten them securely.
Test for Leaks: Turn on the water supply and check for any leaks around the connections. If leaks are detected, tighten the connections further or use plumbing tape or putty to seal the joints.
Post-Installation:
Reinstall Other Plumbing Components: If you removed a garbage disposal or other plumbing components during the sink replacement process, follow the manufacturer’s instructions to reinstall them.
Restore the Under-Sink Storage: Organize and return the items previously stored under the sink to their proper places.
Enjoy Your New Sink: Take a moment to appreciate your newly installed sink. Whether it’s a decorative upgrade or a functional replacement, your round island kitchen will now be more functional and aesthetically pleasing.
How to clean a kitchen sink
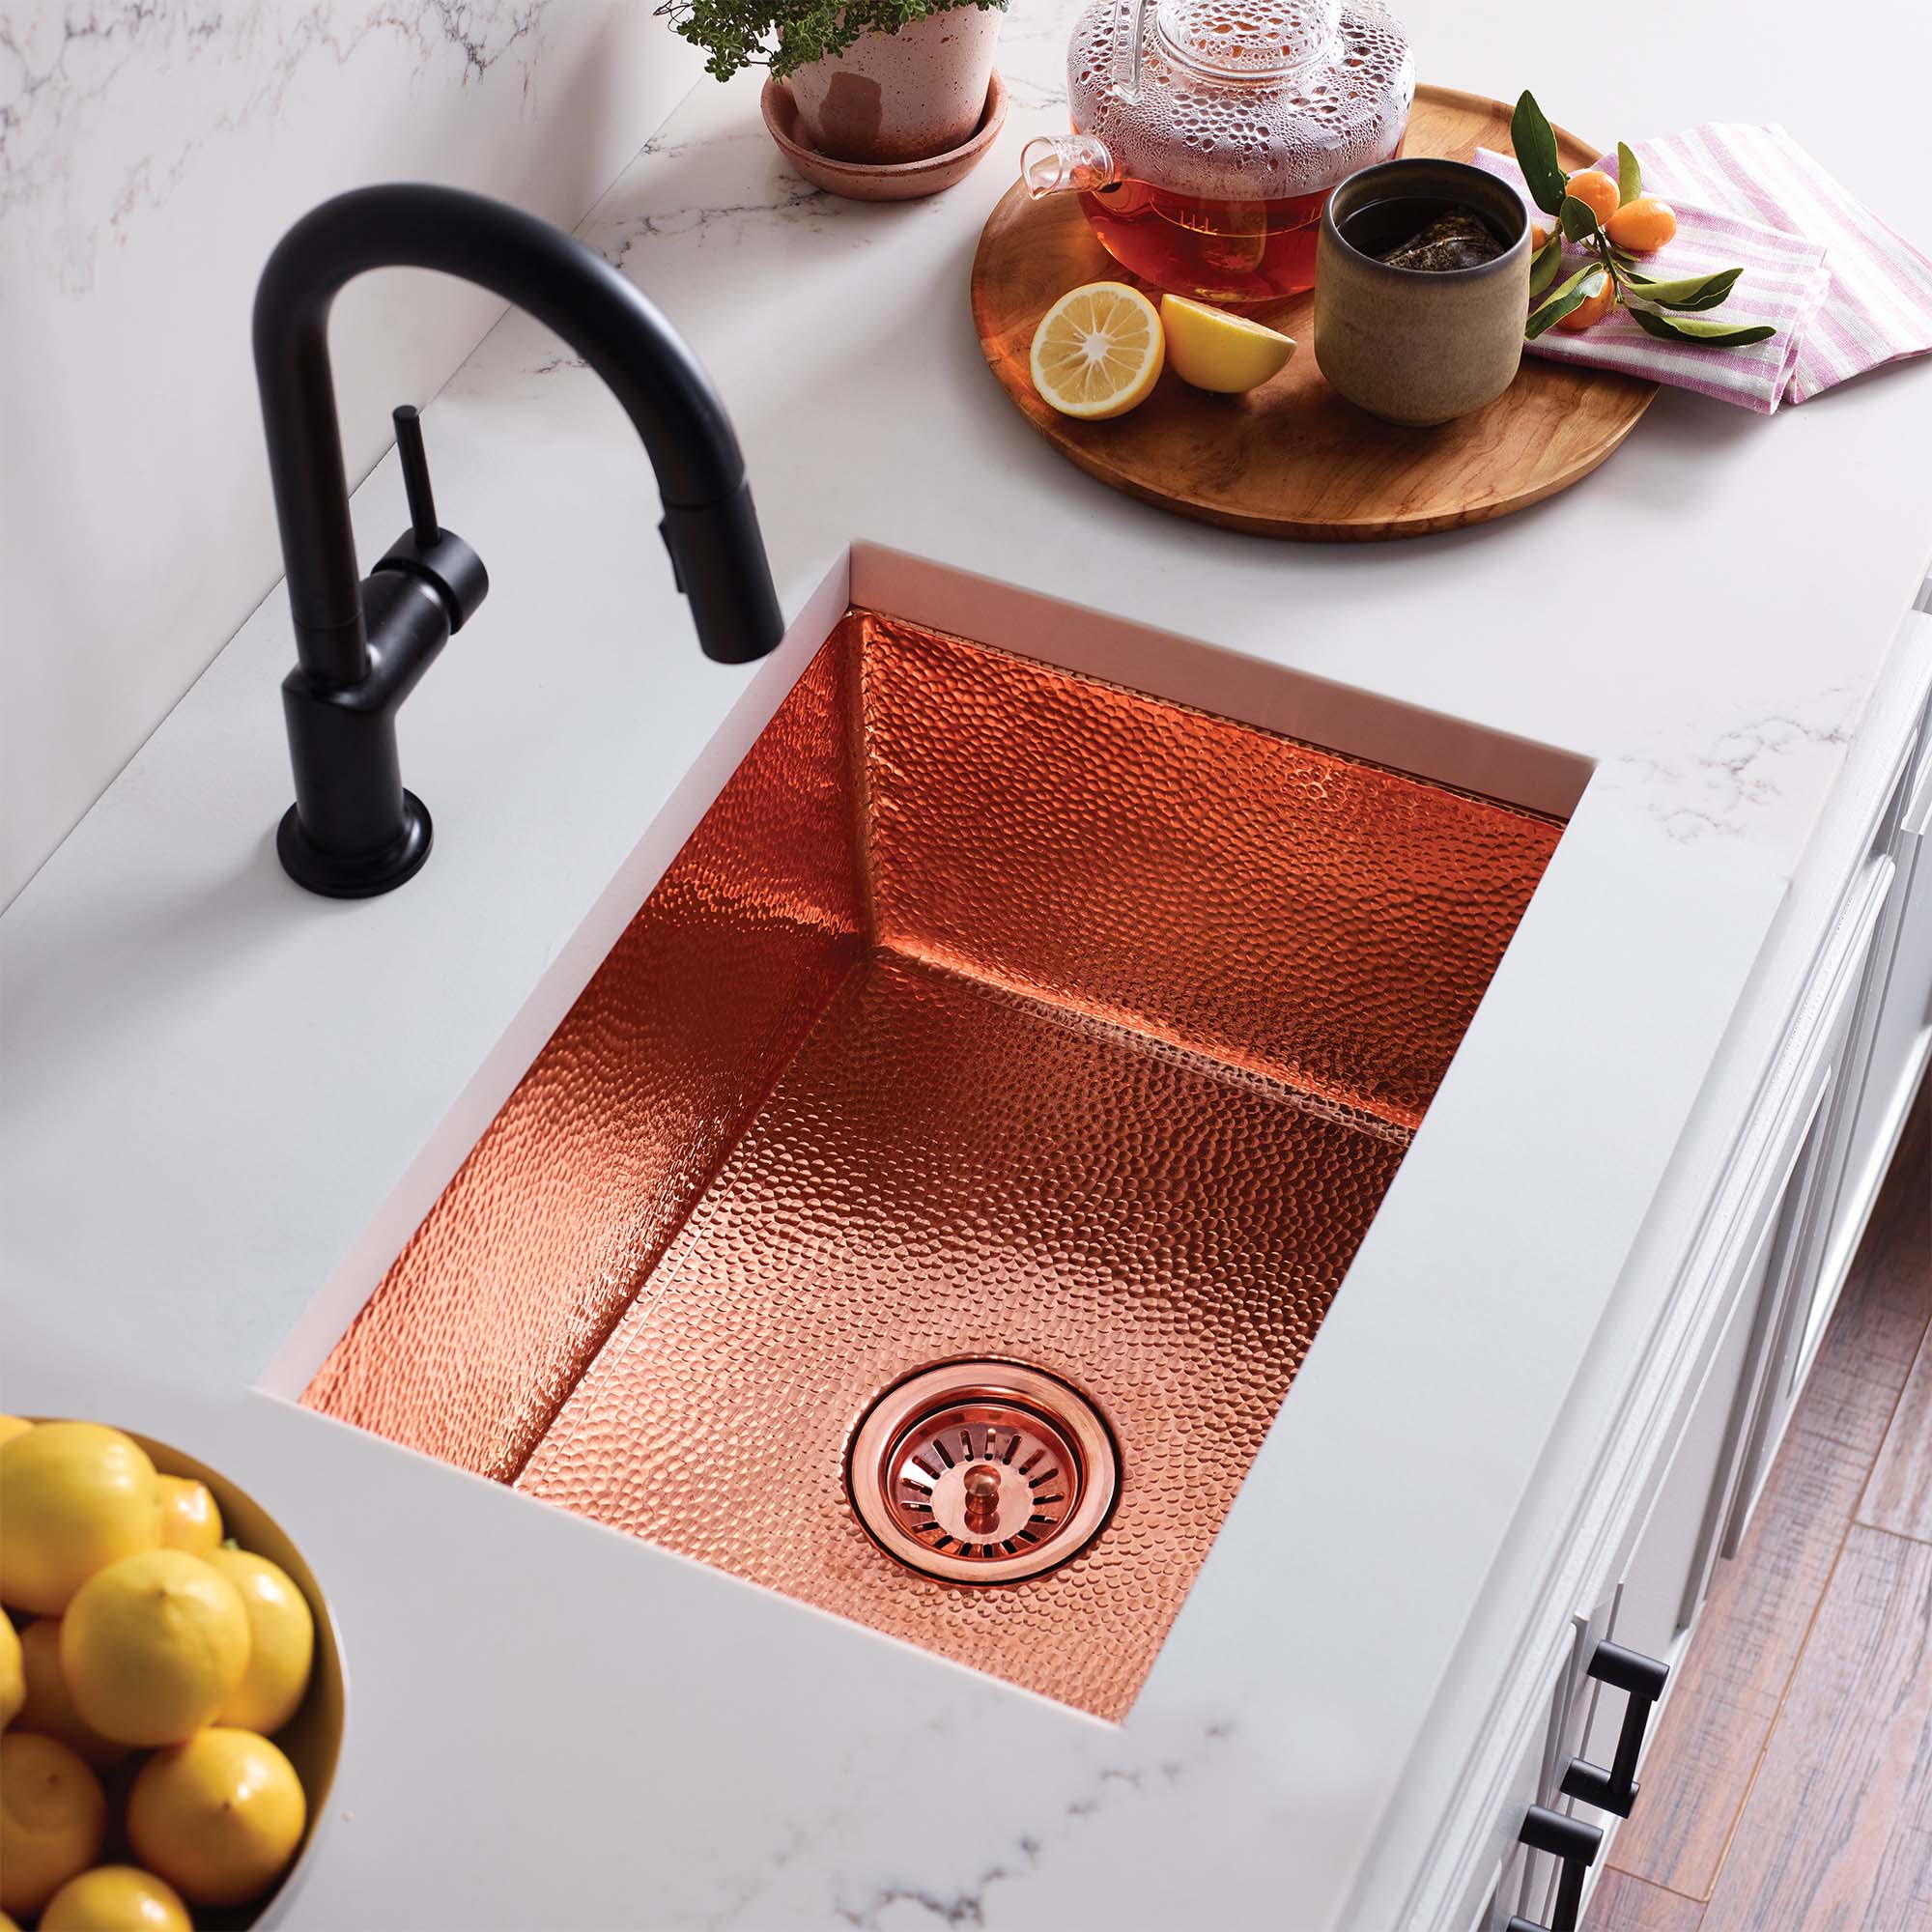
A clean and hygienic kitchen sink is essential for maintaining a healthy and sanitary kitchen island environment. A sink can accumulate food particles, stains, and bacteria over time, so regular cleaning is necessary to keep it looking and smelling fresh.
General Cleaning:
Remove Debris: Begin by removing any debris or food particles from the sink. Use a paper towel or a sponge to wipe away loose dirt and debris.
Rinse the Sink: Rinse the sink thoroughly with warm water to remove any remaining residue.
Apply a Cleaning Agent: Depending on the type of sink material, choose a suitable cleaning agent. Common options include dish soap, baking soda, vinegar, or a commercial sink cleaner. These agents effectively clean and disinfect the sink while being gentle on the surface.
Scrub the Sink: Use a soft sponge, scrub brush, or non-abrasive scrubbing pad to gently scrub the sink, focusing on stained or heavily soiled areas. Pay attention to corners, edges, and the drain.
Stainless Steel Sink:
Use a Soft Cloth: To avoid scratching the stainless steel surface, use a soft cloth or non-scratch sponge for cleaning.
Apply Baking Soda Paste: For stubborn stains or discoloration, make a paste with baking soda and water. Apply the paste to a soft cloth or sponge and gently scrub the stained area. Rinse and dry thoroughly.
Remove Hard Water Stains: To tackle hard water stains, wipe the sink with a cloth soaked in white vinegar. Leave it for a few minutes and then rinse with warm water. Dry the sink thoroughly to prevent water spots.
Polish the Sink: Use a few drops of olive oil or mineral oil on a clean cloth to polish the sink and restore its shine. This step helps to maintain the luster and appearance of the stainless steel surface.
Porcelain or Ceramic Sink:
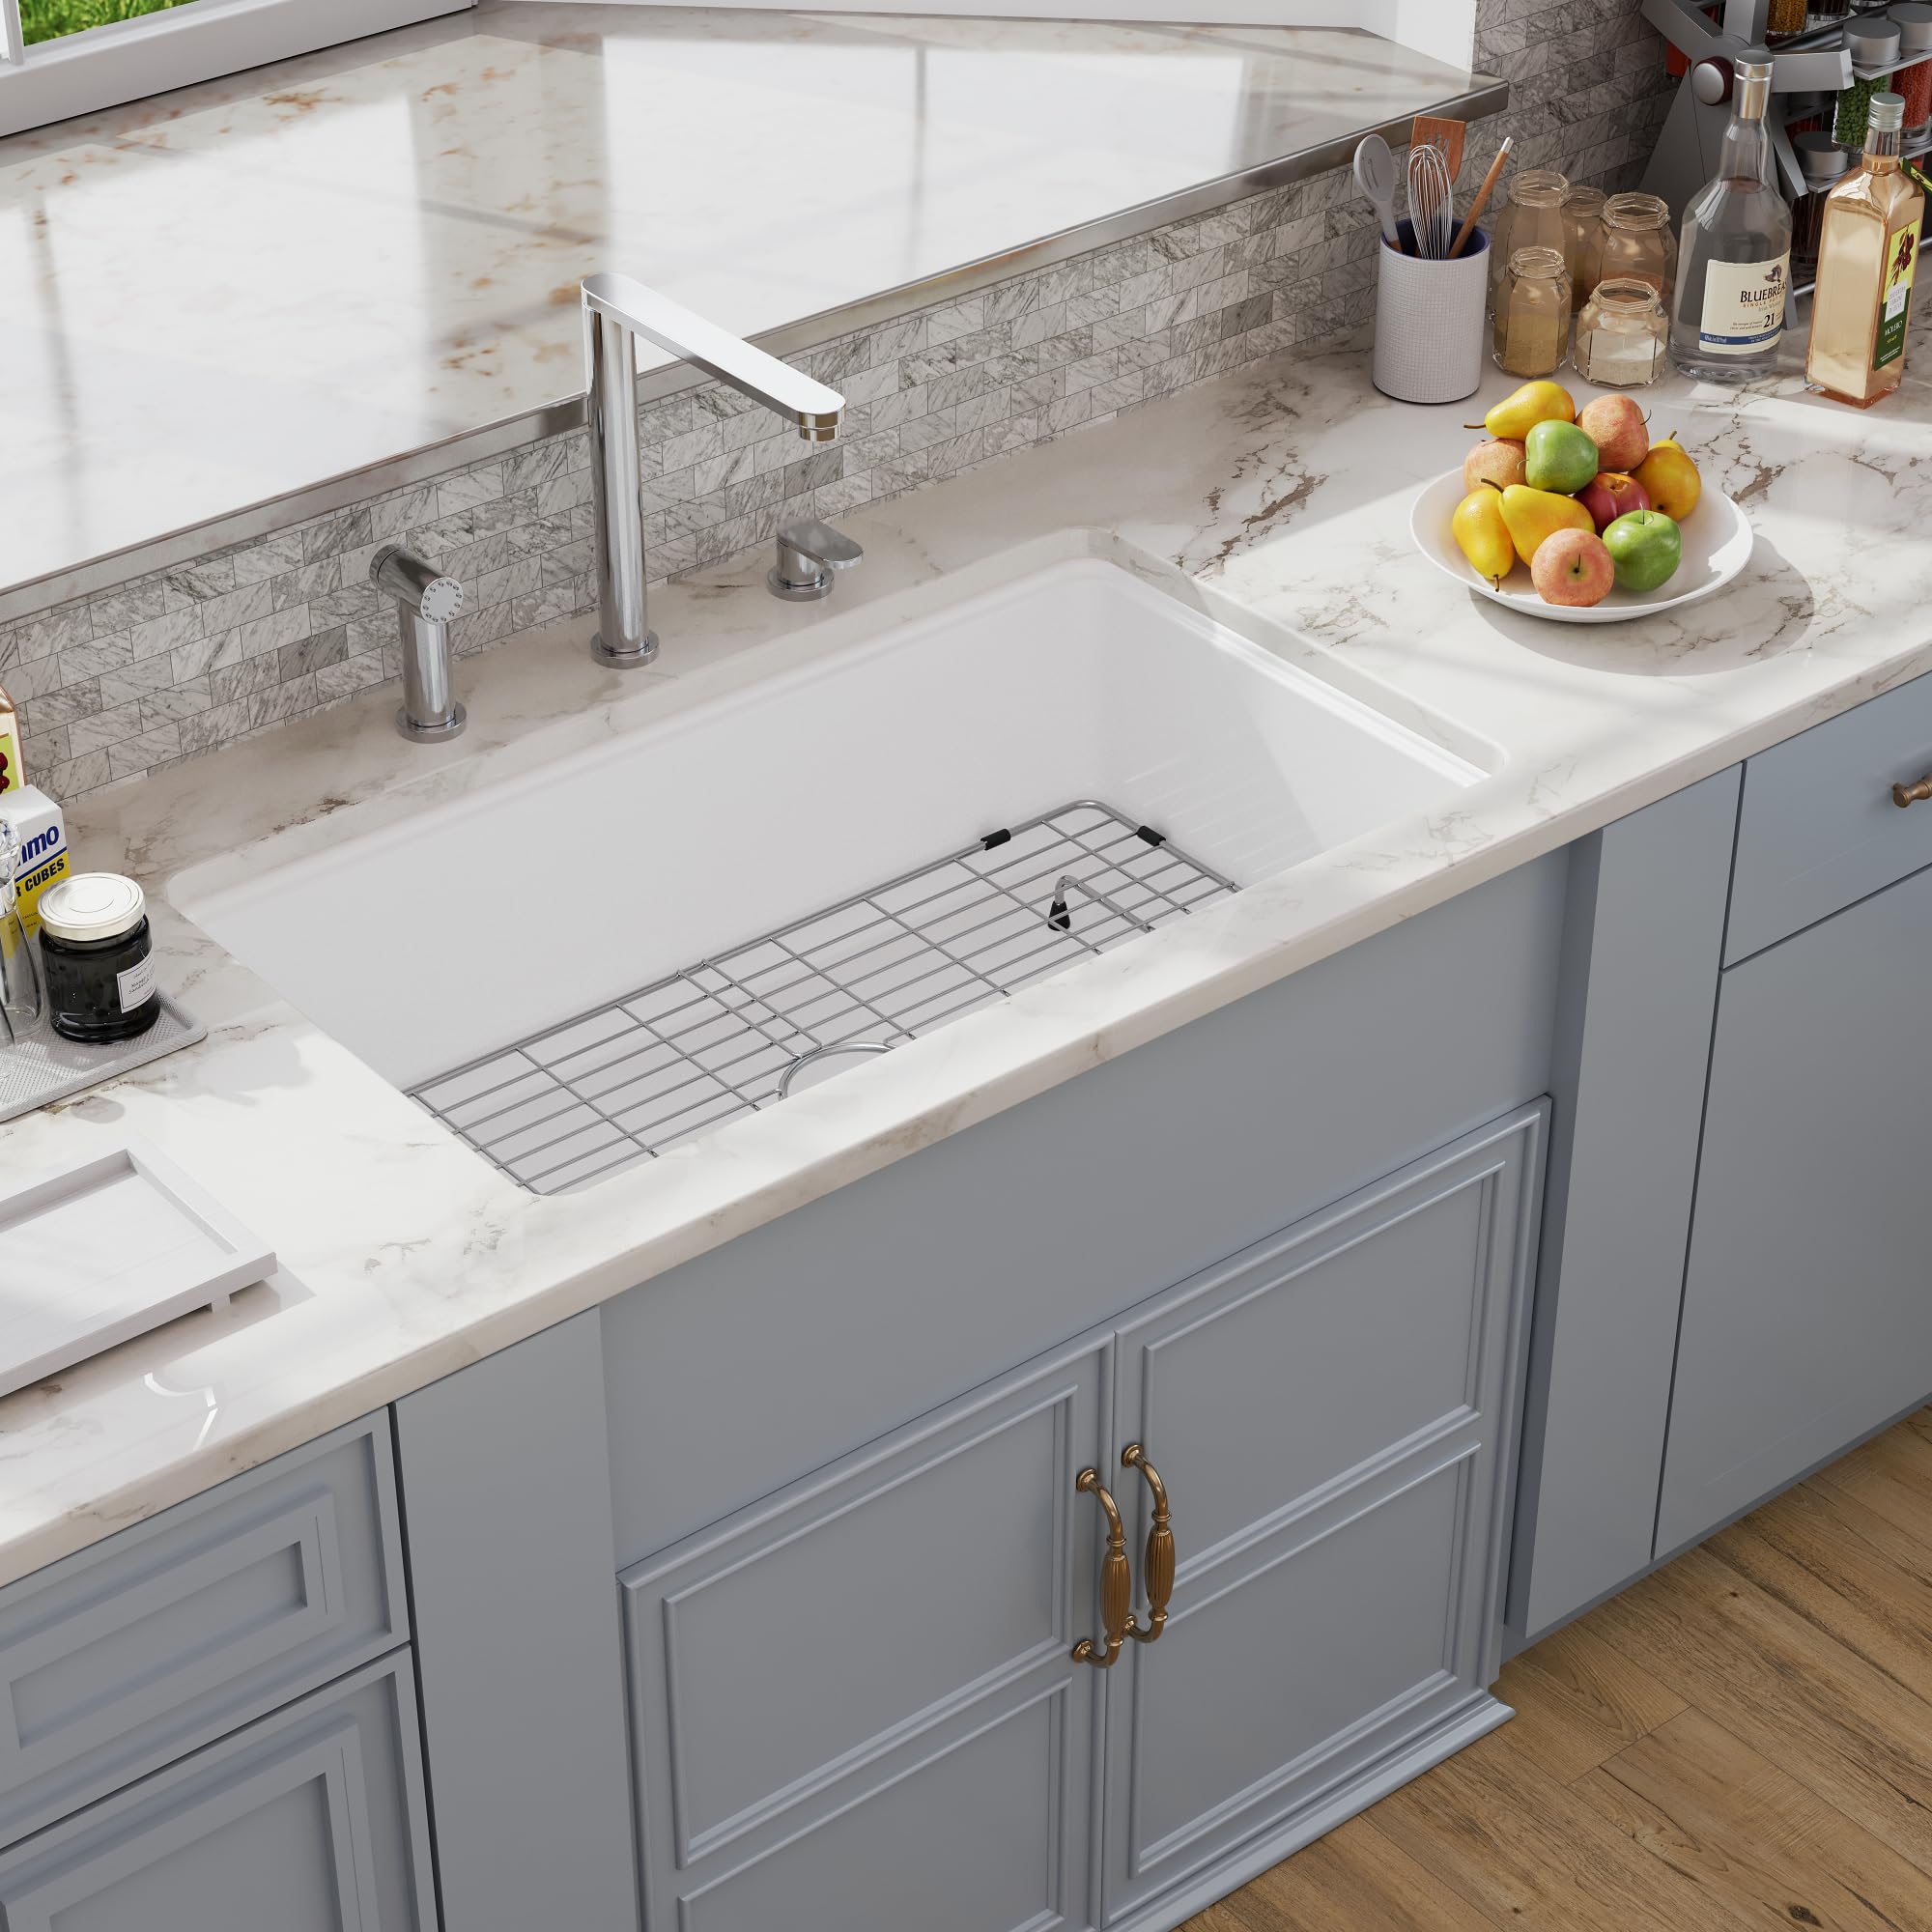
Use Mild Cleaners: Porcelain or ceramic sinks can be more delicate, so it’s important to avoid abrasive cleaners. Use a mild dish soap or a gentle all-purpose cleaner to clean the sink.
Make a Baking Soda Paste: For tough stains or discoloration, make a paste with baking soda and water. Apply the paste to the stained area and let it sit for a few minutes. Gently scrub with a soft brush or sponge, then rinse thoroughly.
Remove Rust or Mineral Stains: For rust or mineral stains, make a paste with lemon juice and borax. Apply the paste to the stained area, let it sit for a few minutes, and then gently scrub with a soft brush or sponge. Rinse thoroughly.
Composite Sink:
Use Gentle Cleaners: Composite sinks are generally more resistant to staining, but it’s still important to use gentle cleaners. Avoid abrasive or harsh chemicals that can damage the surface.
Apply Dish Soap and Warm Water: Using a soft sponge or cloth, clean the sink with warm water and dish soap. Gently scrub to remove any dirt or stains.
Removing Stains: For stubborn stains, make a paste with baking soda and water. Apply the paste to the stained area, let it sit for a few minutes, and then scrub gently with a soft brush or sponge. Rinse well.
In conclusion
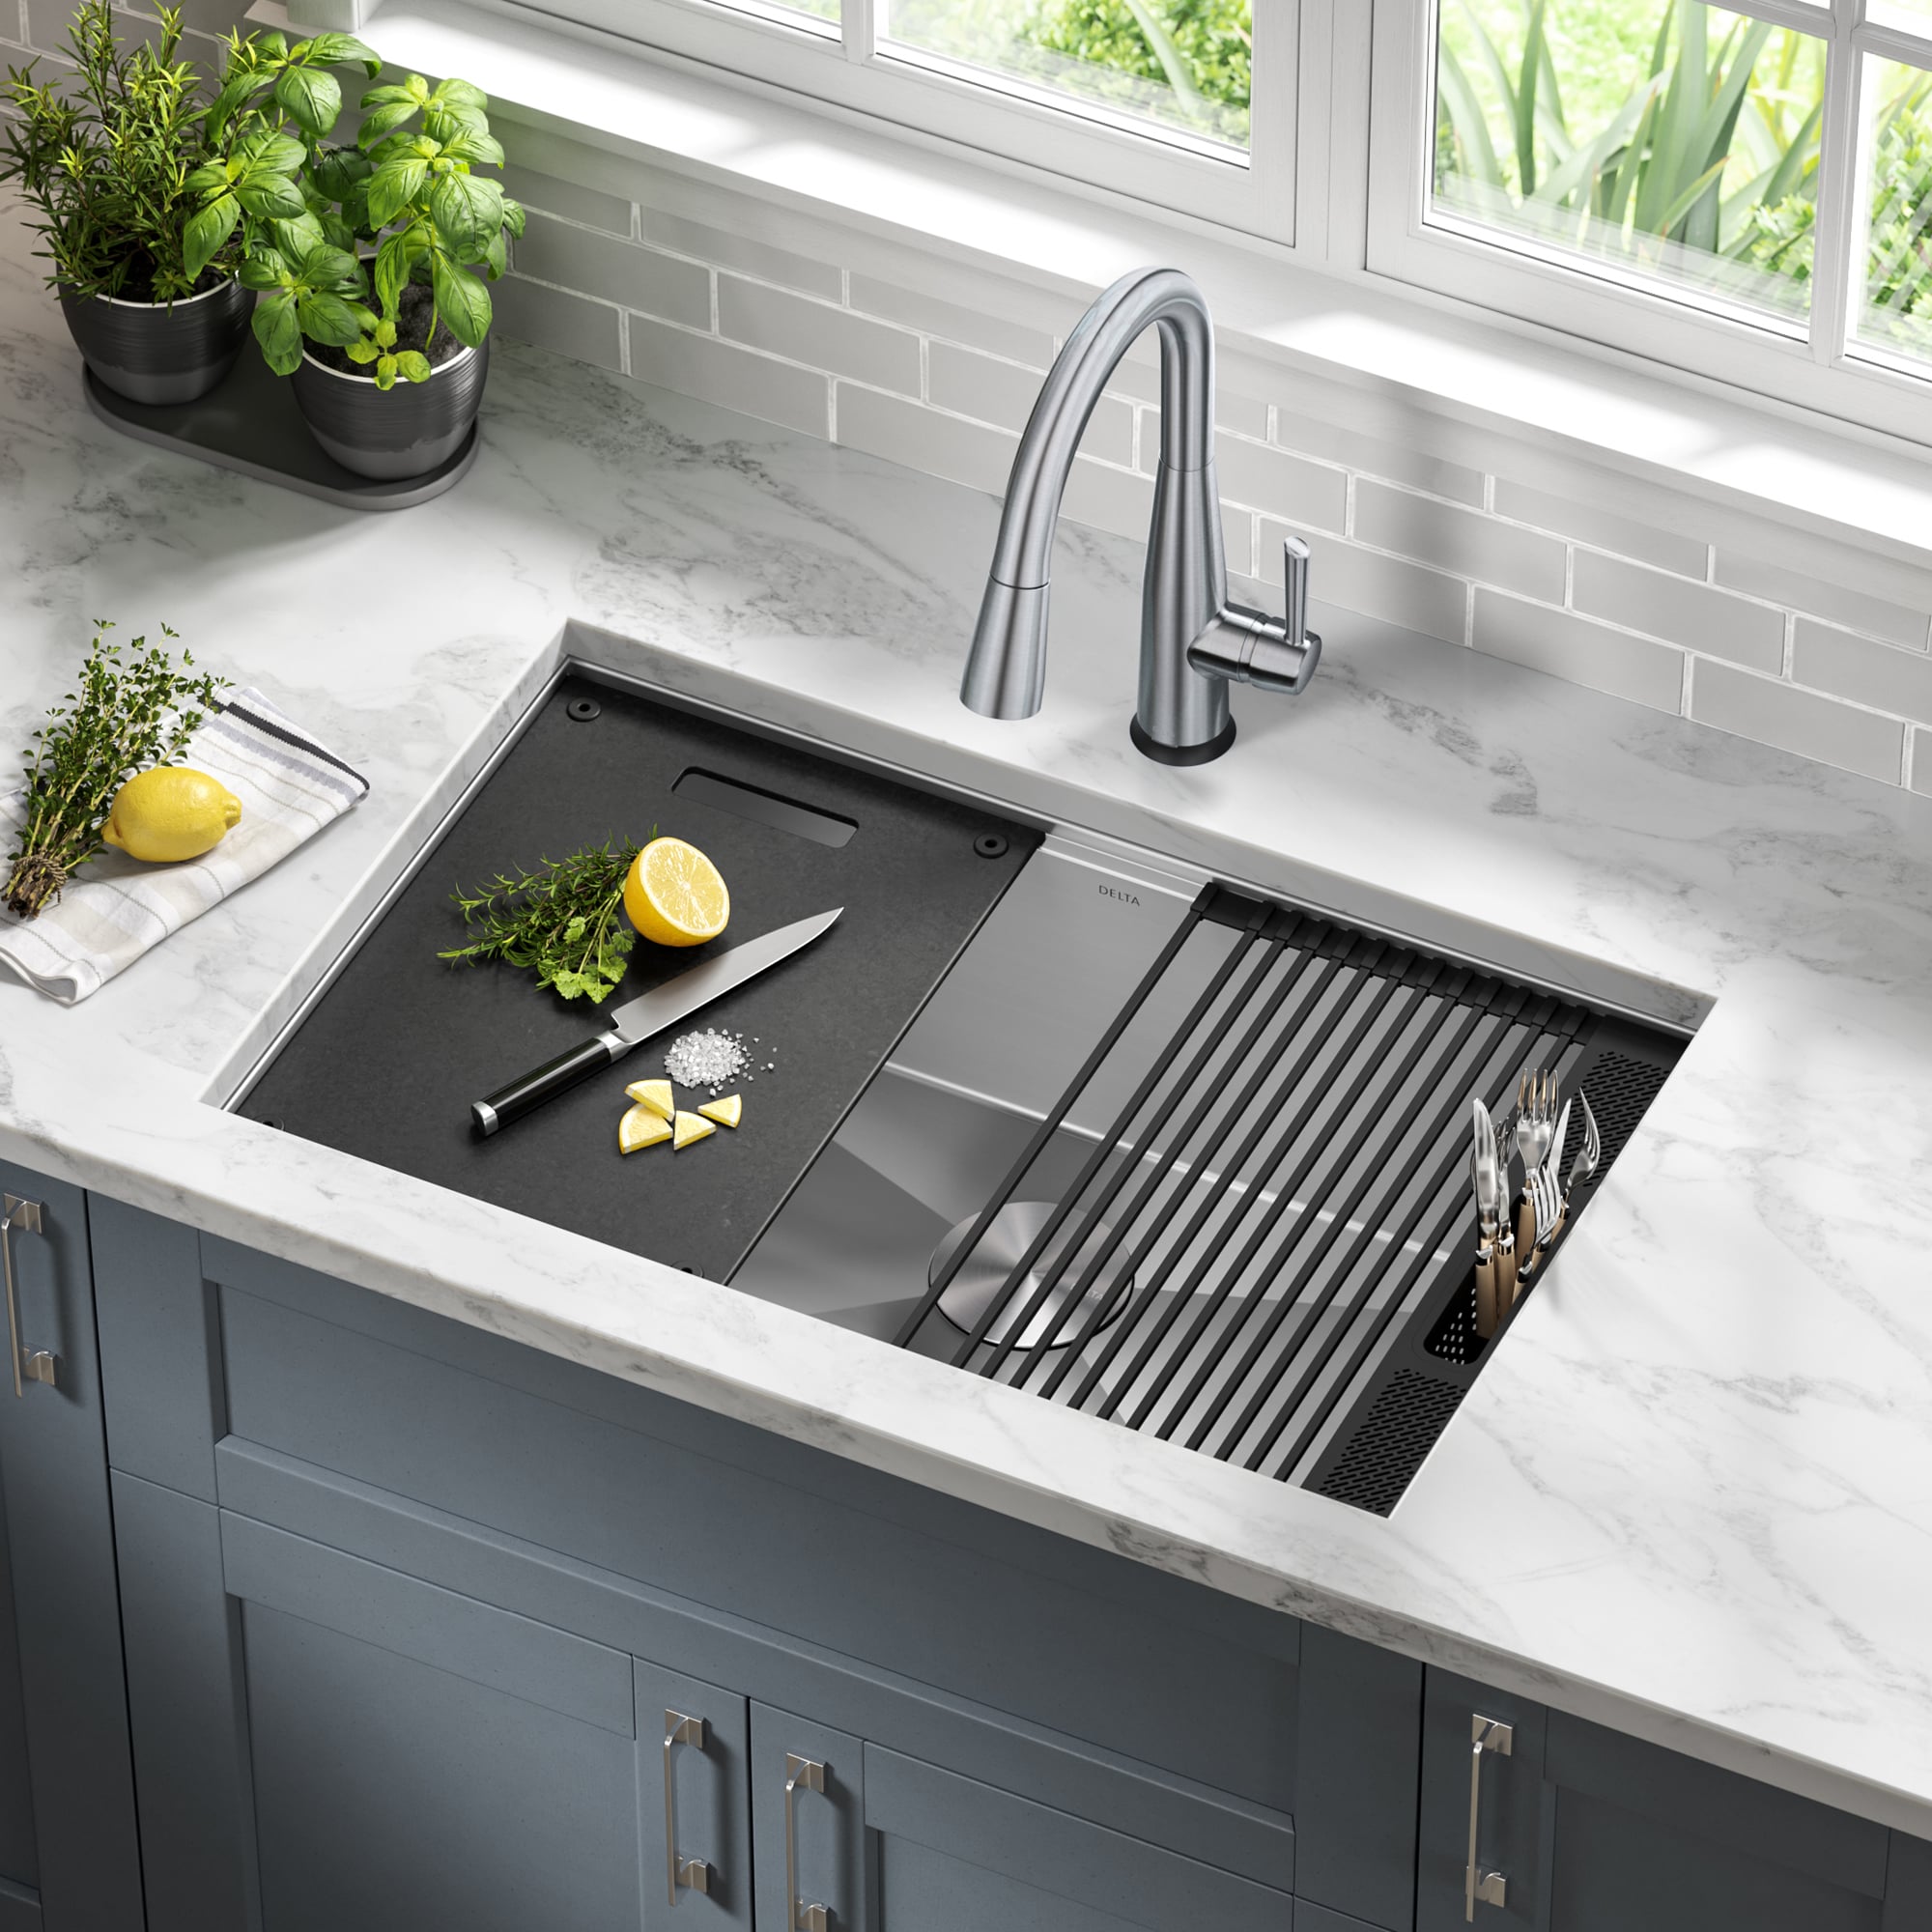
Replacing a kitchen sink requires careful planning, preparation, and attention to detail. By following this step-by-step guide and taking the necessary precautions, you can successfully replace your kitchen sink and enjoy the benefits of a refreshed and improved kitchen space. Remember to consult manufacturer’s instructions and local building codes, and seek professional assistance if needed. With a bit of effort and the right tools, you can achieve a proper and professional-looking installation.
