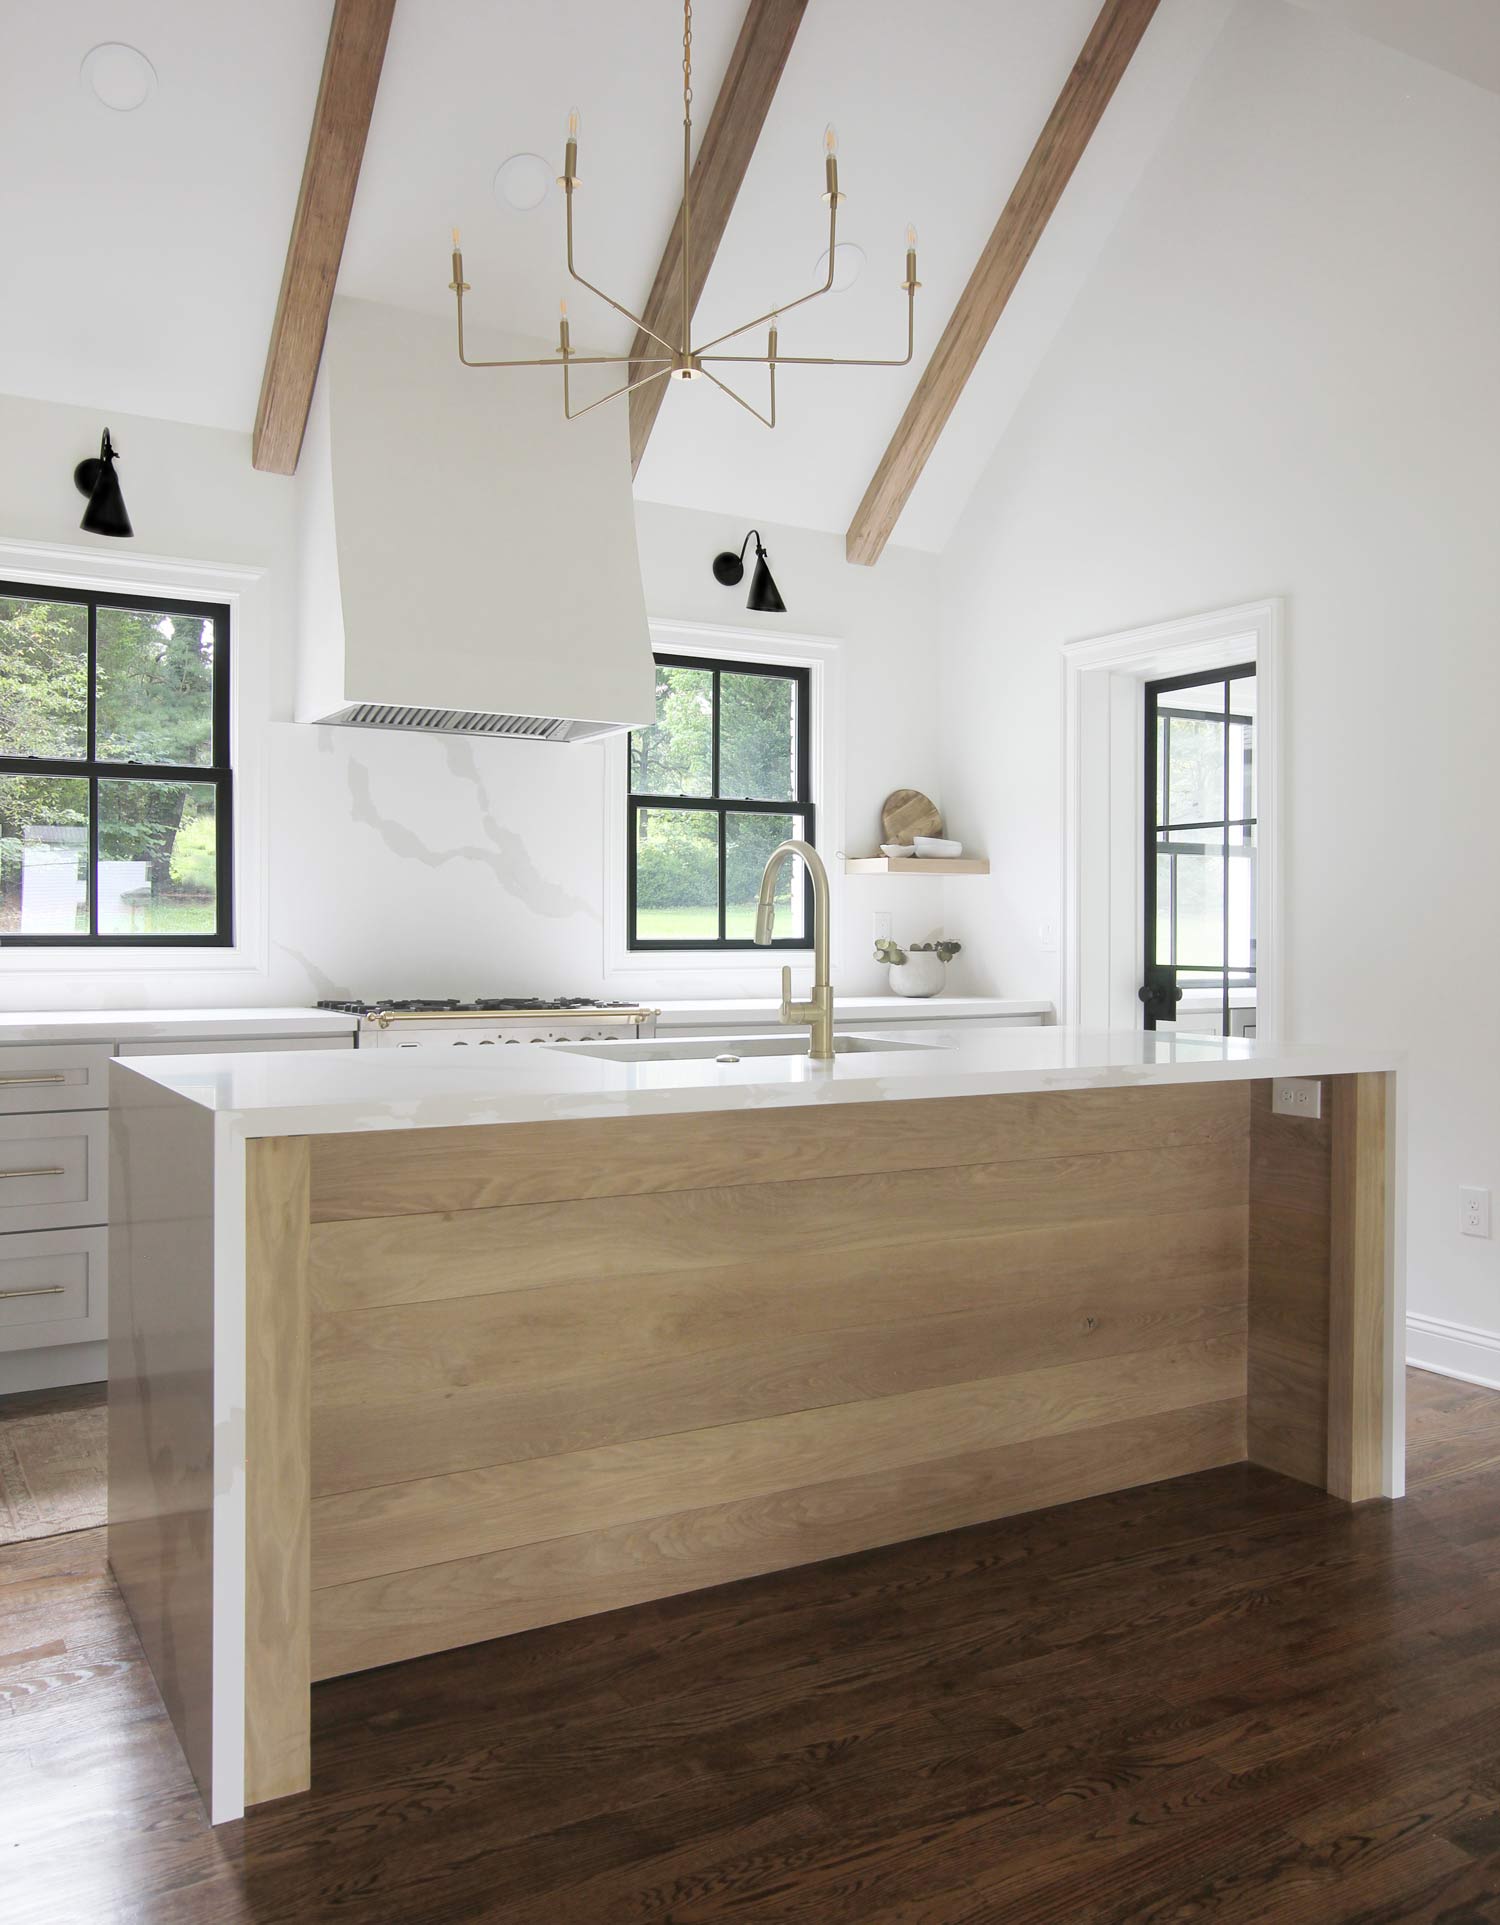
How to build kitchen island? A kitchen island serves as a versatile and functional addition to any kitchen space. Building your own kitchen island allows for customization, catering to your specific needs and design preferences. In this comprehensive guide, we will provide you with a step-by-step process to build a kitchen island, including planning, acquiring materials, construction, and finishing touches. By following these instructions, you can create a unique and personalized kitchen island that enhances both the functionality and style of your kitchen.
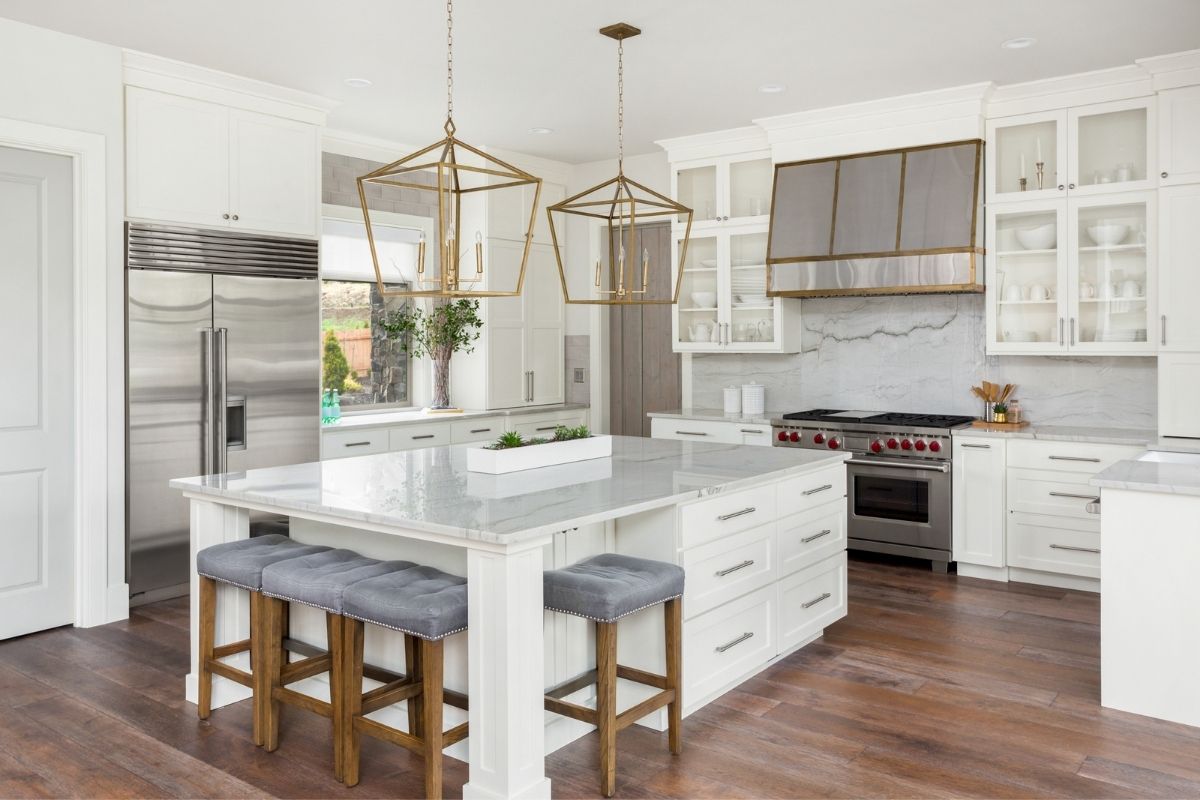
Planning and Design:
- Assess your Space: Measure the available space in your kitchen to determine the appropriate size and dimensions of your kitchen island. Consider factors such as clearance around the island and its relationship to other fixtures and appliances.
- Determine Functionality: Identify the specific functions you want your standard kitchen island to serve, such as additional workspace, storage, seating, or a combination of these elements. This will help determine the layout and features of your island.
- Sketch and Design: Create a rough sketch or use design software to visualize the layout, dimensions, and features of your kitchen island. This will serve as a guide throughout the construction process.
Materials and Tools:
- Materials: Choose the appropriate materials based on your design preferences and budget. Common options for the frame include lumber, plywood, or prefabricated cabinets. For the countertop, consider materials such as butcher block, granite, or quartz.
- Tools: Prepare the necessary tools for construction, including measuring tape, circular saw, drill, screws, sandpaper, level, clamps, wood glue, and a miter saw for more advanced cuts.
Construction:
- Building the Frame: Begin by constructing the base frame of the kitchen island. This involves cutting and assembling the lumber or prefabricated cabinets according to your design. Ensure proper bracing, reinforcing joints, and making adjustments for any uneven flooring.
- Installing the Countertop: Measure and cut the countertop material according to your desired dimensions. Attach the countertop securely to the base frame, using either screws or adhesive, depending on the material.
- Adding Storage: If you desire storage, incorporate drawers, shelves, or cabinets within the island. Measure and cut the necessary components, then assemble and attach them securely to the frame.
Finishing Touches:
- Sanding and Smoothing: Use sandpaper to smooth any rough edges and ensure a uniform surface on the countertop and any exposed edges. Sanding also helps prepare the wood for paint, stain, or finish application.
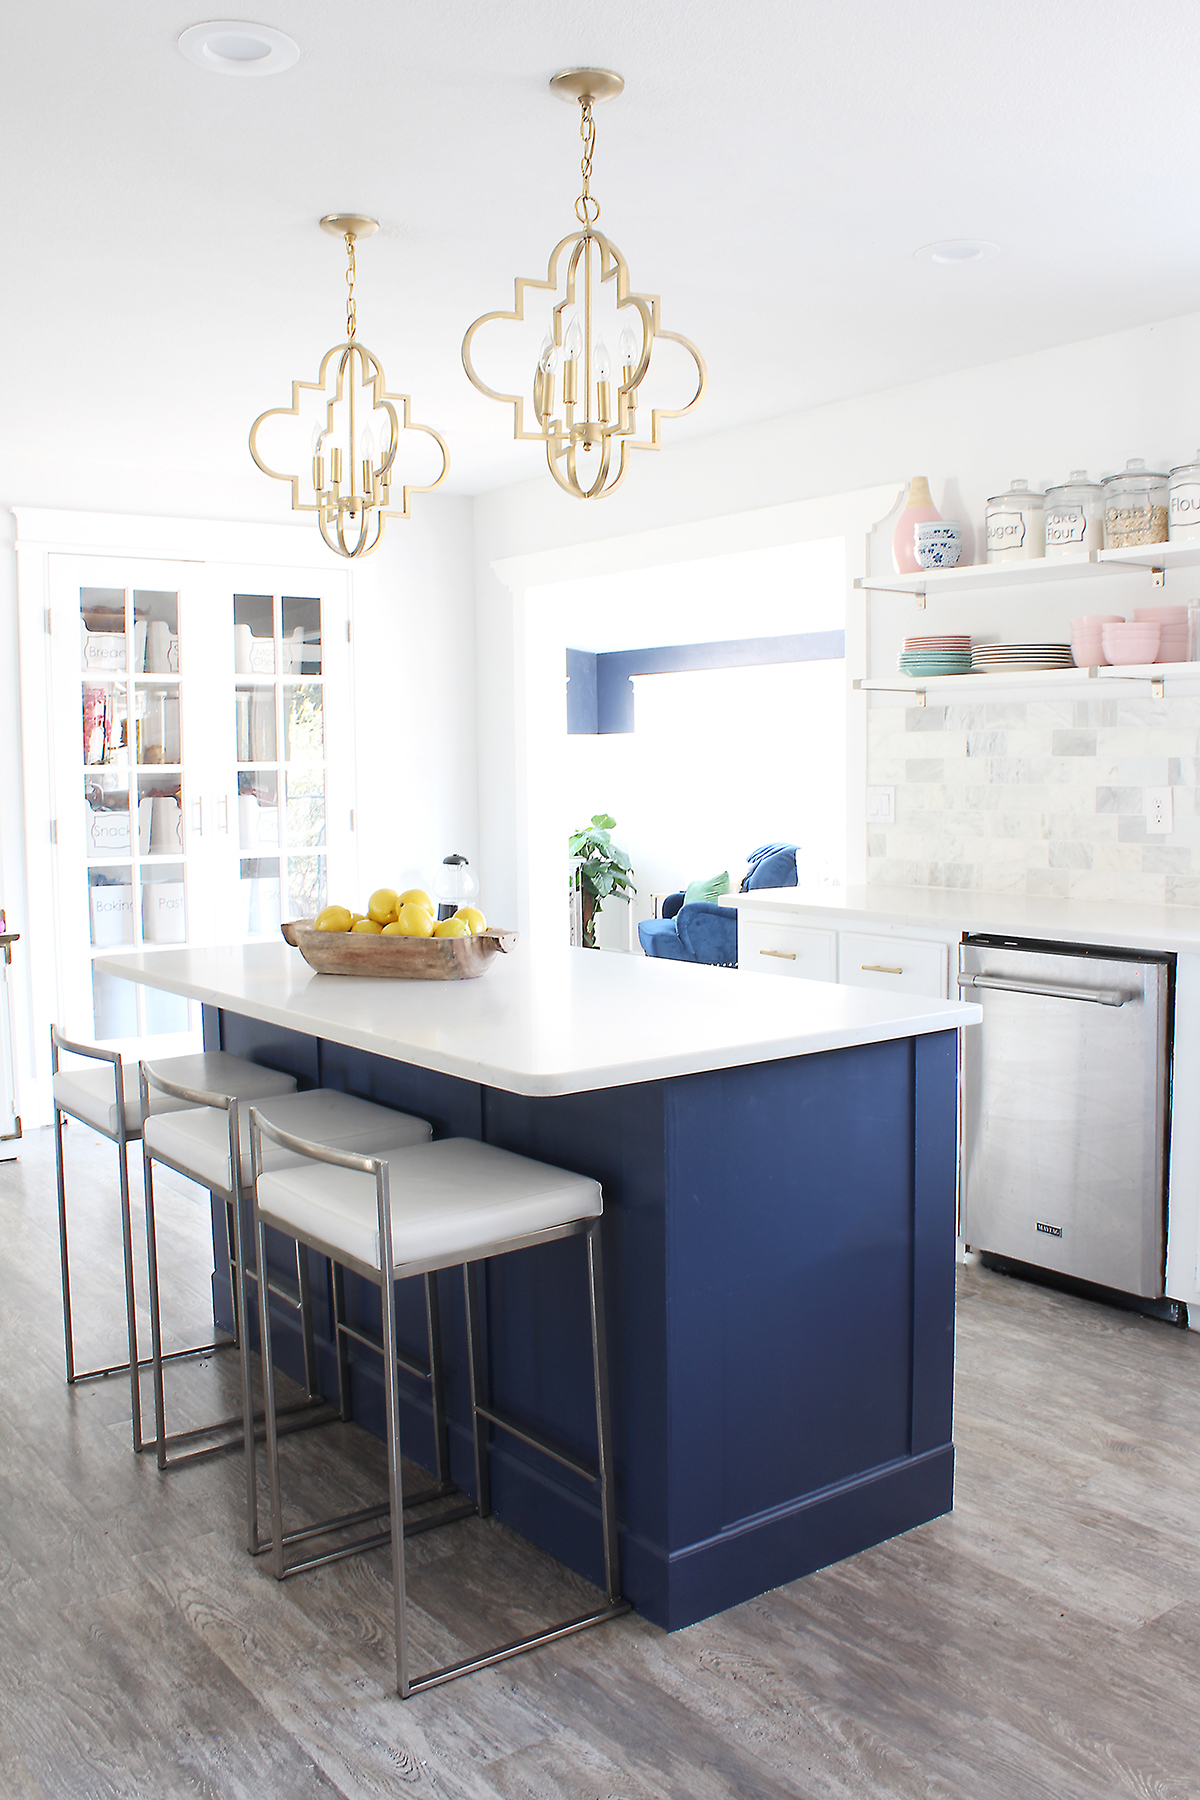
- Painting or Staining: Apply a coat of paint, stain, or finish to protect and enhance the appearance of your kitchen island. Follow the manufacturer’s instructions and allow proper drying time between coats.
- Installing Hardware: Attach cabinet handles or knobs to any drawers or doors for a finished look. Choose hardware that complements the overall style of your kitchen island stove.
Installing the Kitchen Island:
- Positioning: Determine the desired location for your kitchen island, ensuring it allows for ample movement and countertop overhang for seating, if applicable.
- Securement: Use shims, screws, or adhesive to secure the kitchen island to the floor, ensuring stability and preventing movement or shifting.
- Plumbing and Electrical Connections: If necessary, work with professionals to make plumbing and electrical connections for sinks, faucets, lighting, or other fixtures in your kitchen island.
Things to note when using a kitchen island
A kitchen island serves as a versatile and functional addition to any kitchen space, providing additional workspace, storage, and seating options. However, it is essential to consider certain factors when using a kitchen island to ensure optimal function, safety, and overall enjoyment.

Traffic Flow and Accessibility:
- Adequate Clearance: Ensure there is sufficient clearance around the kitchen island to allow for easy movement and efficient traffic flow. Aim for a minimum of 36 to 42 inches (91 to 107 centimeters) of space on all sides.
- Consider Island Shape: The shape of your kitchen island can impact traffic flow. Avoid sharp corners or irregularly shaped islands that may impede movement. A rectangular or square island often provides better accessibility.
- Seating Considerations: If your kitchen island includes seating, allow enough space between the seating area and other kitchen elements to provide comfortable access and prevent overcrowding.
Organization and Storage:
- Efficient Storage Solutions: Maximize the functionality of your kitchen island by incorporating efficient storage solutions such as drawers, shelves, or cabinets. Organize items based on frequency of use and accessibility to optimize workflow.
- Utensil and Tool Placement: Store frequently used utensils and cooking tools in compartments or hanging racks within arm’s reach of the kitchen island to minimize the need for excessive movement during food preparation.
- Efficient Waste Management: Incorporate convenient waste management systems such as pull-out trash bins or recycling compartments within the kitchen island to streamline cleanliness and reduce clutter.
Electrical Safety:
- Proper Outlet Installation: If your small kitchen island includes electrical outlets, ensure they are installed by a licensed professional. This ensures compliance with electrical codes and minimizes safety hazards.
- Ground Fault Circuit Interrupter (GFCI): Install GFCI outlets near sinks or any area where water contact is likely to occur, providing protection against electrical shocks and short circuits.
- Appliance Placement: Ensure that any kitchen appliances used on the kitchen island are placed at an appropriate distance from the water source to minimize the risk of water damage or electrical mishaps.
Maintenance and Cleanliness:
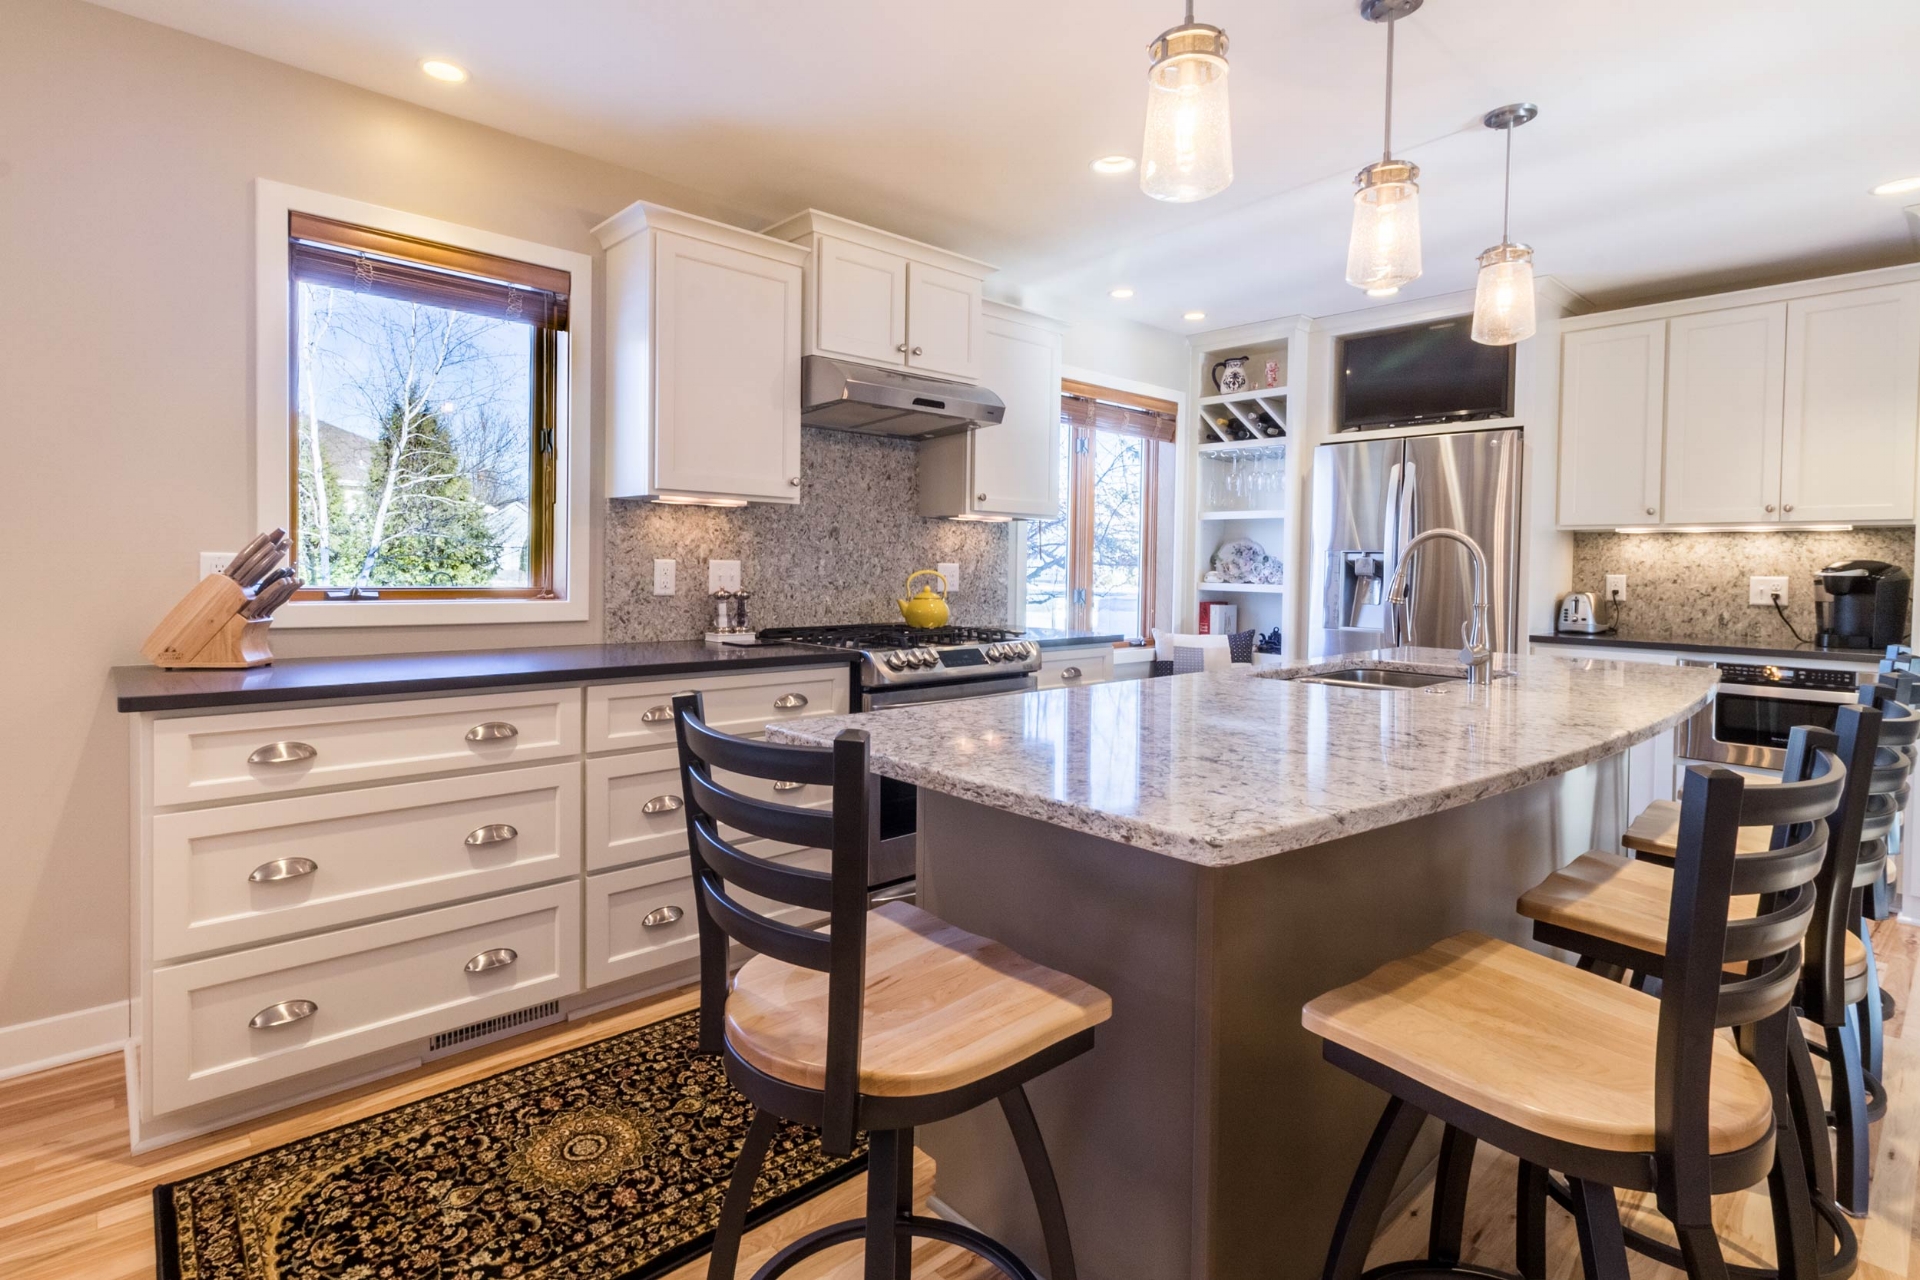
- Regular Cleaning: Frequently clean the surfaces of your kitchen island, including the countertop, cabinets, and seating area, to maintain a hygienic environment. Regular cleaning prevents the buildup of grease, stains, and food residue.
- Proper Surface Care: Follow the manufacturer’s instructions for cleaning and maintaining the specific material of your kitchen island’s countertop to prevent damage or deterioration. Use appropriate cleaning solutions and avoid harsh abrasives that may scratch or mar the surface.
- Grout and Sealant Maintenance: If your kitchen island features tiled areas or grout lines, periodically inspect and maintain them to prevent discoloration, mold growth, or damage. Apply sealant as necessary to maintain optimal cleanliness.
Safety Considerations:
- Childproofing: If you have young children, consider implementing safety measures to childproof your kitchen island. Use cabinet locks or latches to prevent access to potentially hazardous items or equipment stored within the island.
- Heat and Fire Hazards: Exercise caution when using heat-generating appliances, such as hot plates or deep fryers, on your kitchen island. Keep flammable items, such as kitchen towels or curtains, at a safe distance from heat sources.
- Proper Ventilation: Ensure that proper ventilation is available when using appliances such as grills or deep fryers on the kitchen island. Adequate ventilation helps dissipate heat, odors, and fumes, maintaining a safe and comfortable kitchen environment.

Conclusion:
Building your own kitchen island allows for customized functionality and style that fits your specific needs and design preferences. By carefully planning and considering the available space, functionality, and materials, you can create a kitchen island that enhances both the usability and aesthetic appeal of your kitchen. With the right tools, materials, and step-by-step construction process, you can build a functional and stylish kitchen island that becomes the centerpiece of your culinary activities.
