How to change kitchen sink? Replacing a kitchen sink is a rewarding and practical home improvement project that can enhance the functionality and aesthetics of your kitchen. Whether you are upgrading to a newer model or replacing a damaged sink, this guide will provide you with a step-by-step process to change your kitchen sink efficiently and safely.
Materials and Tools Needed:
Before you begin changing the kitchen sink, gather the following materials and tools:
- New kitchen sink
- Bucket or basin
- Adjustable wrench
- Pliers
- Screwdriver (flathead and Phillips)
- Plumber’s putty
- Plumbers tape
- Silicone adhesive
Turn Off the Water Supply:
Locate the water shut-off valves under the sink and turn them clockwise until they are fully closed. Alternatively, if you cannot find the dedicated shut-off valves, shut off the main water supply to the house temporarily.
Disconnect the Water Supply Lines:
Place a bucket or basin under the sink to catch any remaining water in the supply lines. Use an adjustable wrench to loosen the water supply line connections to the faucet. Once loose, carefully unscrew the lines by hand and remove them from the faucet.
Remove the Drain Pipes:
Place a bucket or towels beneath the sink to catch any excess water in the drain pipes. Use pliers or an adjustable wrench to loosen the nuts connecting the drain pipes to the sink’s drain. Disconnect and remove the drain pipes, ensuring that any residual water is collected in the bucket or towels.
Loosen the Sink Clips or Mounting Brackets:
Many sinks are secured to the countertop with clips or mounting brackets. Locate and loosen these clips or brackets using a screwdriver or pliers. These are usually found underneath the sink and may require some maneuvering to access.
Remove the Old Sink:
Once all the connections and mounting hardware are loosened, carefully lift the old sink out of the countertop and place it aside. Be cautious while removing the kitchen sink faucet, as it can be heavy and may have sharp edges.
Clean the Countertop:
Take this opportunity to clean the countertop thoroughly before installing the new sink. Remove any remaining debris, caulking, or adhesive from the previous sink. Ensure the countertop is dry before proceeding.
Apply Plumber’s Putty or Silicone Adhesive:
For drop-in or top-mount sinks, apply a thin, even layer of plumber’s putty around the underside of the sink’s rim. If you are installing an undermount sink, skip this step and proceed to the next one. For either type of sink, you can use silicone adhesive as an alternative, following the manufacturer’s instructions.
Install the New Sink:
Carefully position the new sink into the countertop opening. For drop-in sinks, ensure the sink’s rim rests evenly on the countertop all around. For undermount sinks, align the sink with the countertop opening and secure it with clips or mounting brackets according to the manufacturer’s instructions.
Reconnect the Plumbing:
Reconnect the drain pipes to the sink’s drain, ensuring a snug fit. Use a plumbers’ wrench or basin wrench to tighten the connections, making sure they are leak-free. Apply plumber’s tape to any threaded connections for added protection against leaks.
Connect the Water Supply Lines:
Connect the water supply lines to the faucet, ensuring a secure and leak-free connection. Use an adjustable wrench to tighten the connections, but be careful not to overtighten and damage the lines or faucet.
Turn On the Water Supply and Test:
Turn on the water supply valves or the main water supply to the house. Inspect all connections for leaks and tighten as necessary. Allow water to flow through the faucet and check for any leaks around the sink. Make sure the drains are working correctly.

What are the good-looking styles of kitchen sinks?
The kitchen sink serves as a focal point in the kitchen and plays a significant role in both functionality and style. With a wide range of options available, you can find a kitchen sink that not only meets your practical needs but also enhances the aesthetics of your kitchen.
Undermount Sink:
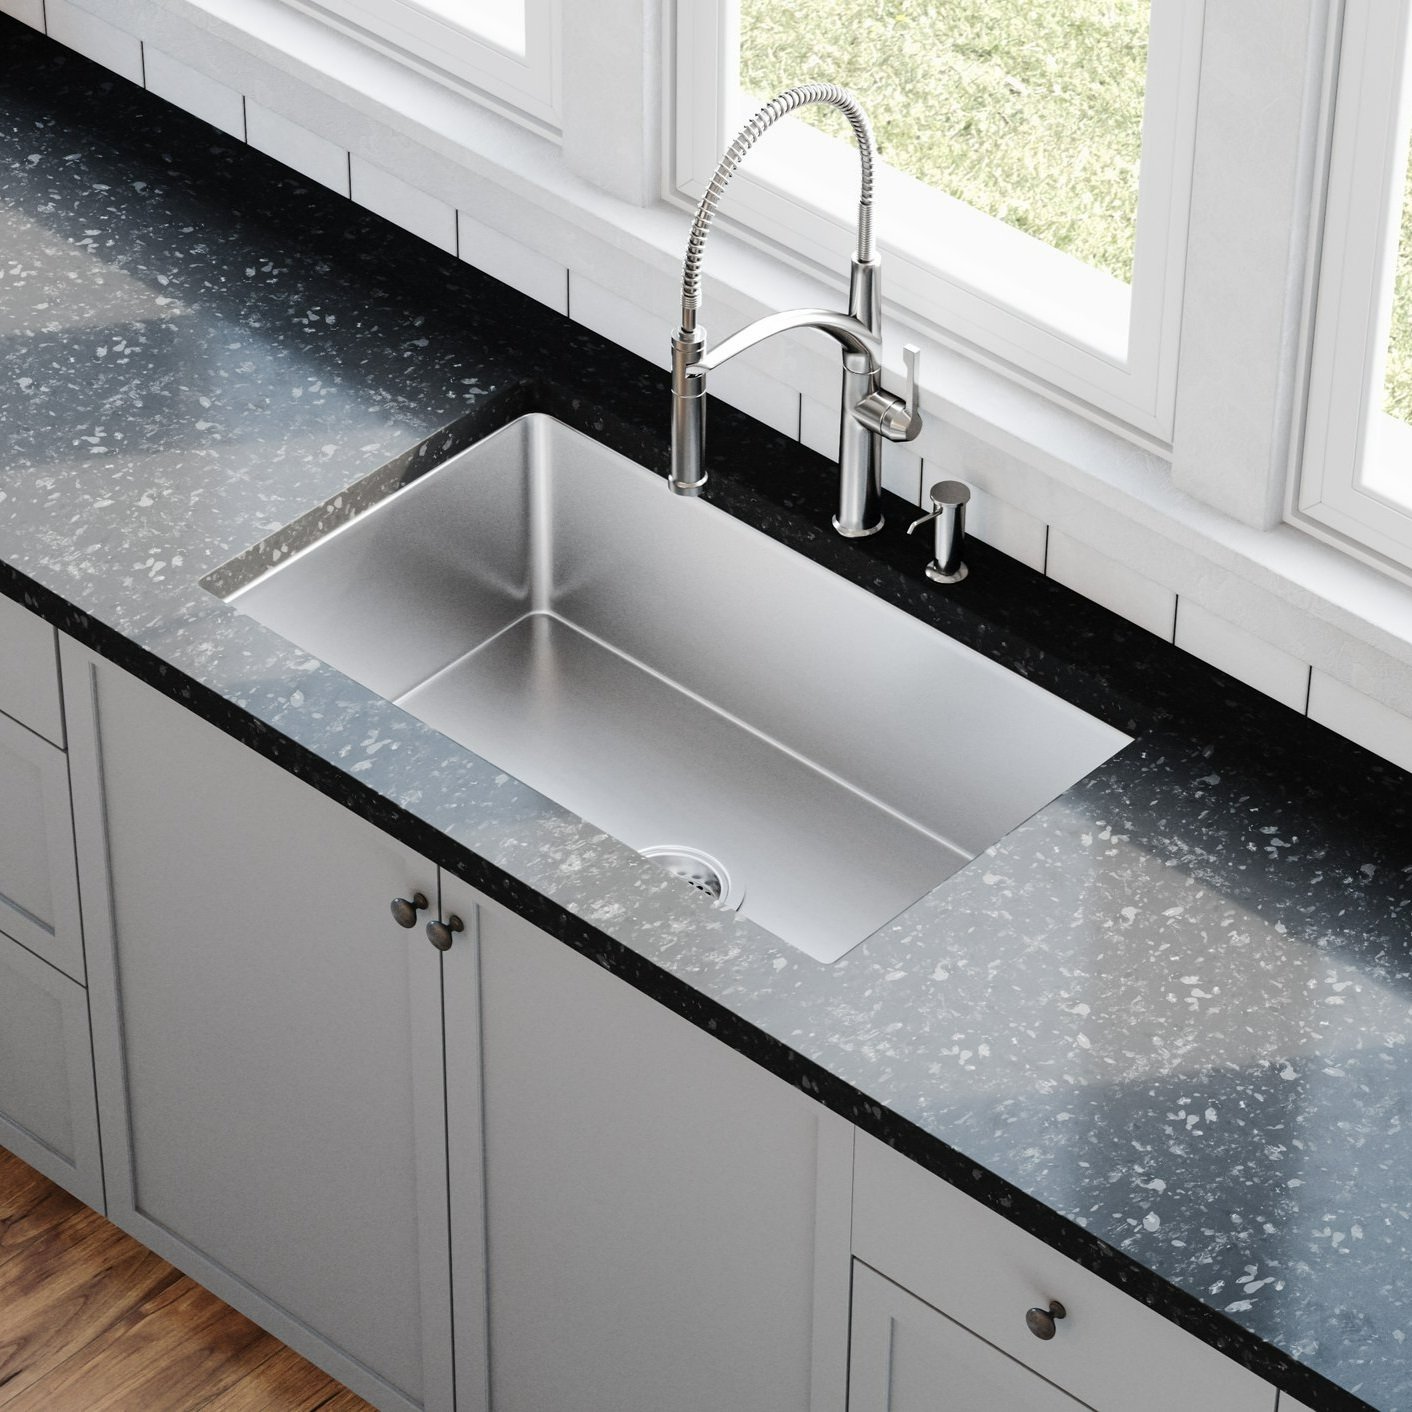
Undermount sinks are known for their sleek and seamless appearance. This type of sink is installed beneath the countertop, creating a clean and modern look. Undermount sinks are available in different shapes, including rectangular, square, and round, allowing you to choose a style that complements your kitchen design. Pairing an undermount sink with a solid surface or natural stone countertop can further enhance its elegant and timeless appeal.
Apron Front Sink:
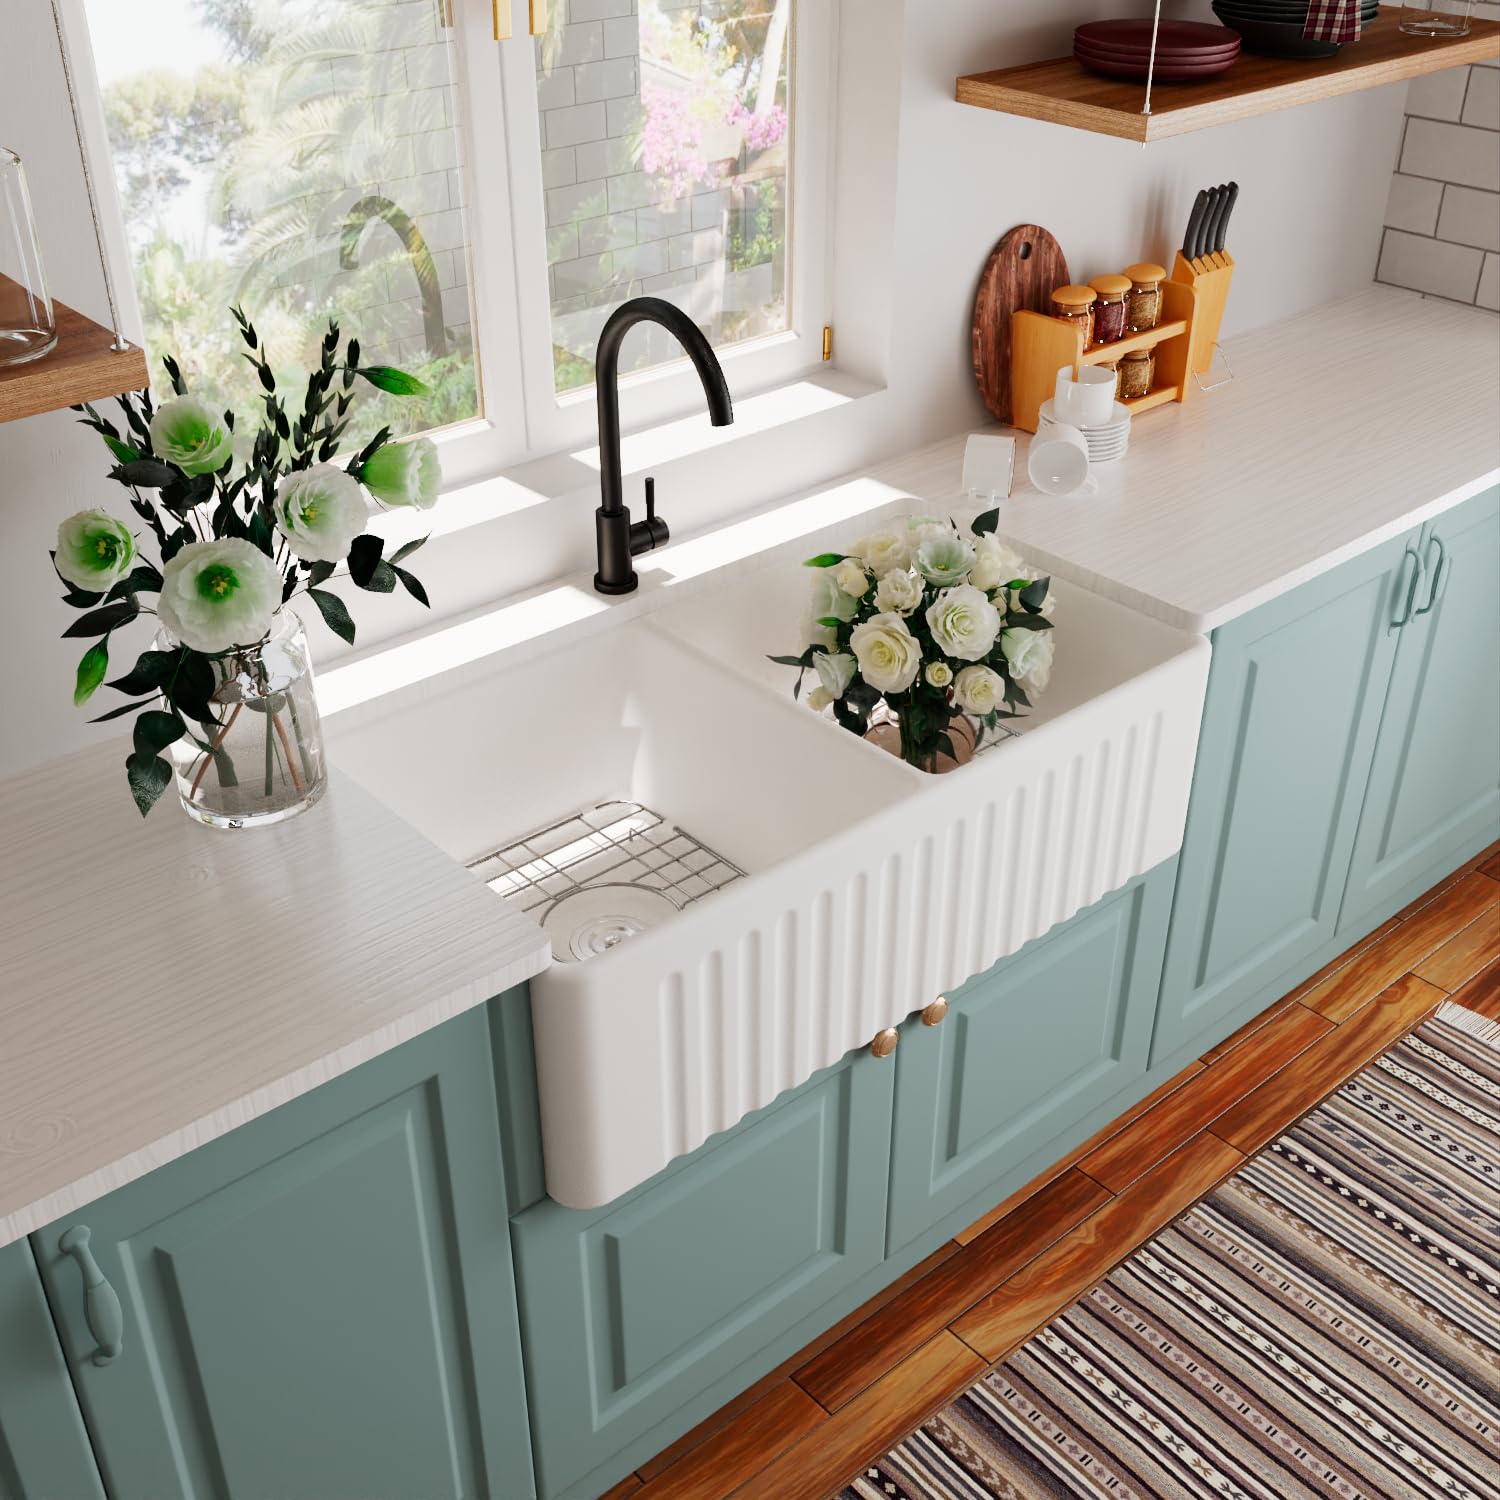
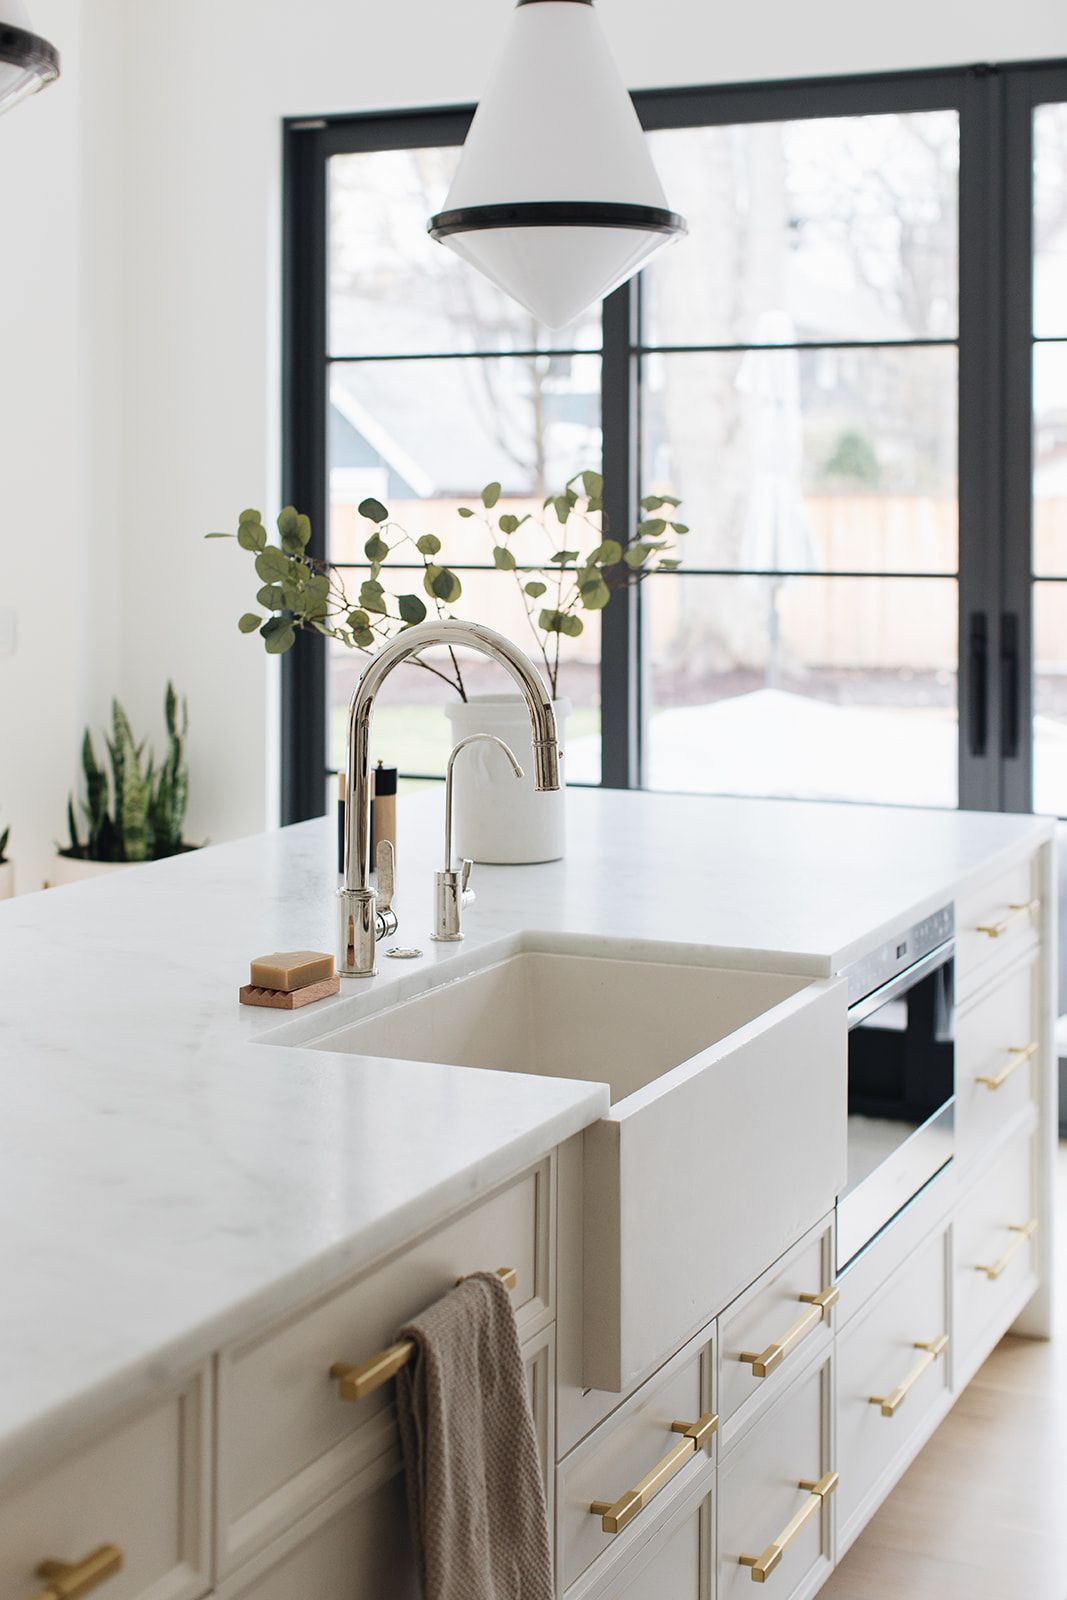
Also known as farmhouse sinks, apron front types of sinks are popular for their charming and rustic aesthetics. Featuring a large, exposed front panel, apron front sinks create a striking visual impact. They are available in different materials such as fireclay, cast iron, stainless steel, and porcelain, allowing you to choose one that suits your kitchen’s design and color palette. Apron front sinks are a perfect choice for farmhouse or cottage-inspired kitchens.
Double Basin Sink:
Double basin sinks offer practicality and versatility. These sinks are divided into two separate compartments, allowing you to simultaneously perform tasks like washing dishes and preparing food. Double basin sinks are available in various materials, such as stainless steel, composite granite, and fireclay. Consider a farmhouse-style double basin sink for a seamless blend of style and functionality.
Stainless Steel Sink:
Stainless steel sinks are a popular choice for their durability, ease of maintenance, and contemporary appeal. They are resistant to stains, heat, and corrosion, making them ideal for busy kitchens. Stainless steel sinks are available in different finishes like brushed, satin, and polished, allowing you to select one that matches your kitchen’s overall style. Pairing a stainless steel sink with modern or industrial-style kitchen designs can create a cohesive and stylish look.
Drop-In Sink:
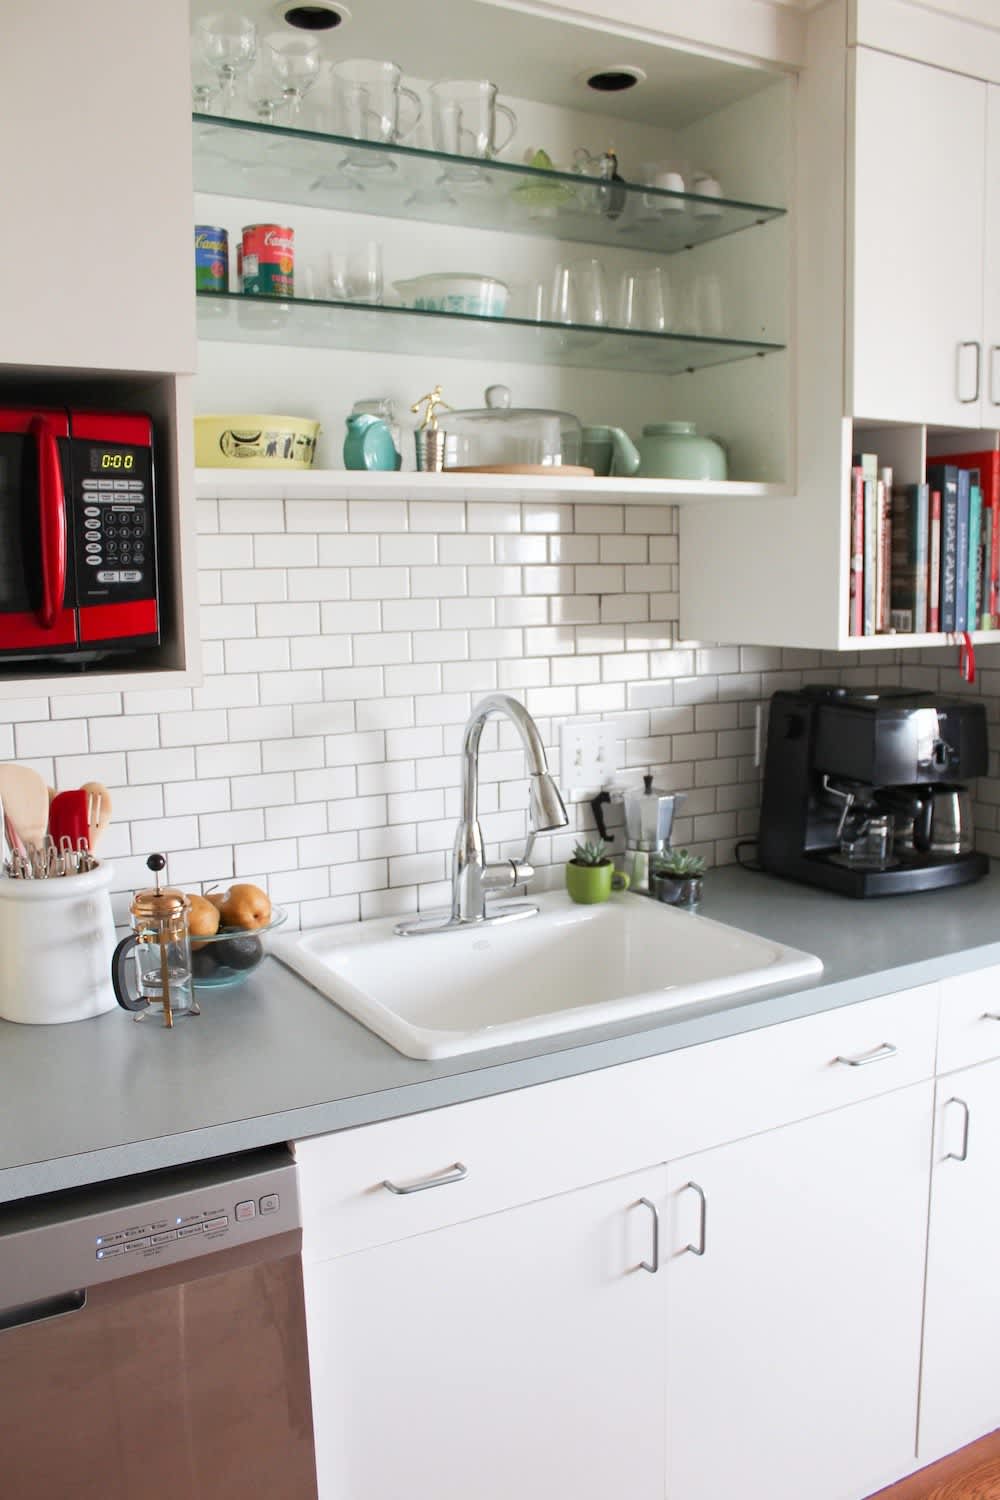
Drop-in sinks, also known as top-mount or self-rimming sinks, are versatile and easy to install. These sinks are dropped into a pre-cut hole in the countertop and feature a visible, raised rim that provides a secure fit. Drop-in sinks come in various shapes, sizes, and materials, allowing you to choose one that suits your style preferences. They are a popular choice for traditional or transitional kitchen designs.
Conclusion:
Replacing a kitchen sink can be a satisfying and relatively straightforward home improvement project. By following the step-by-step guide above and taking necessary safety precautions, you can successfully change your kitchen sink. Enjoy your new sink, improved functionality, and the refreshed appearance it brings to your kitchen space.
