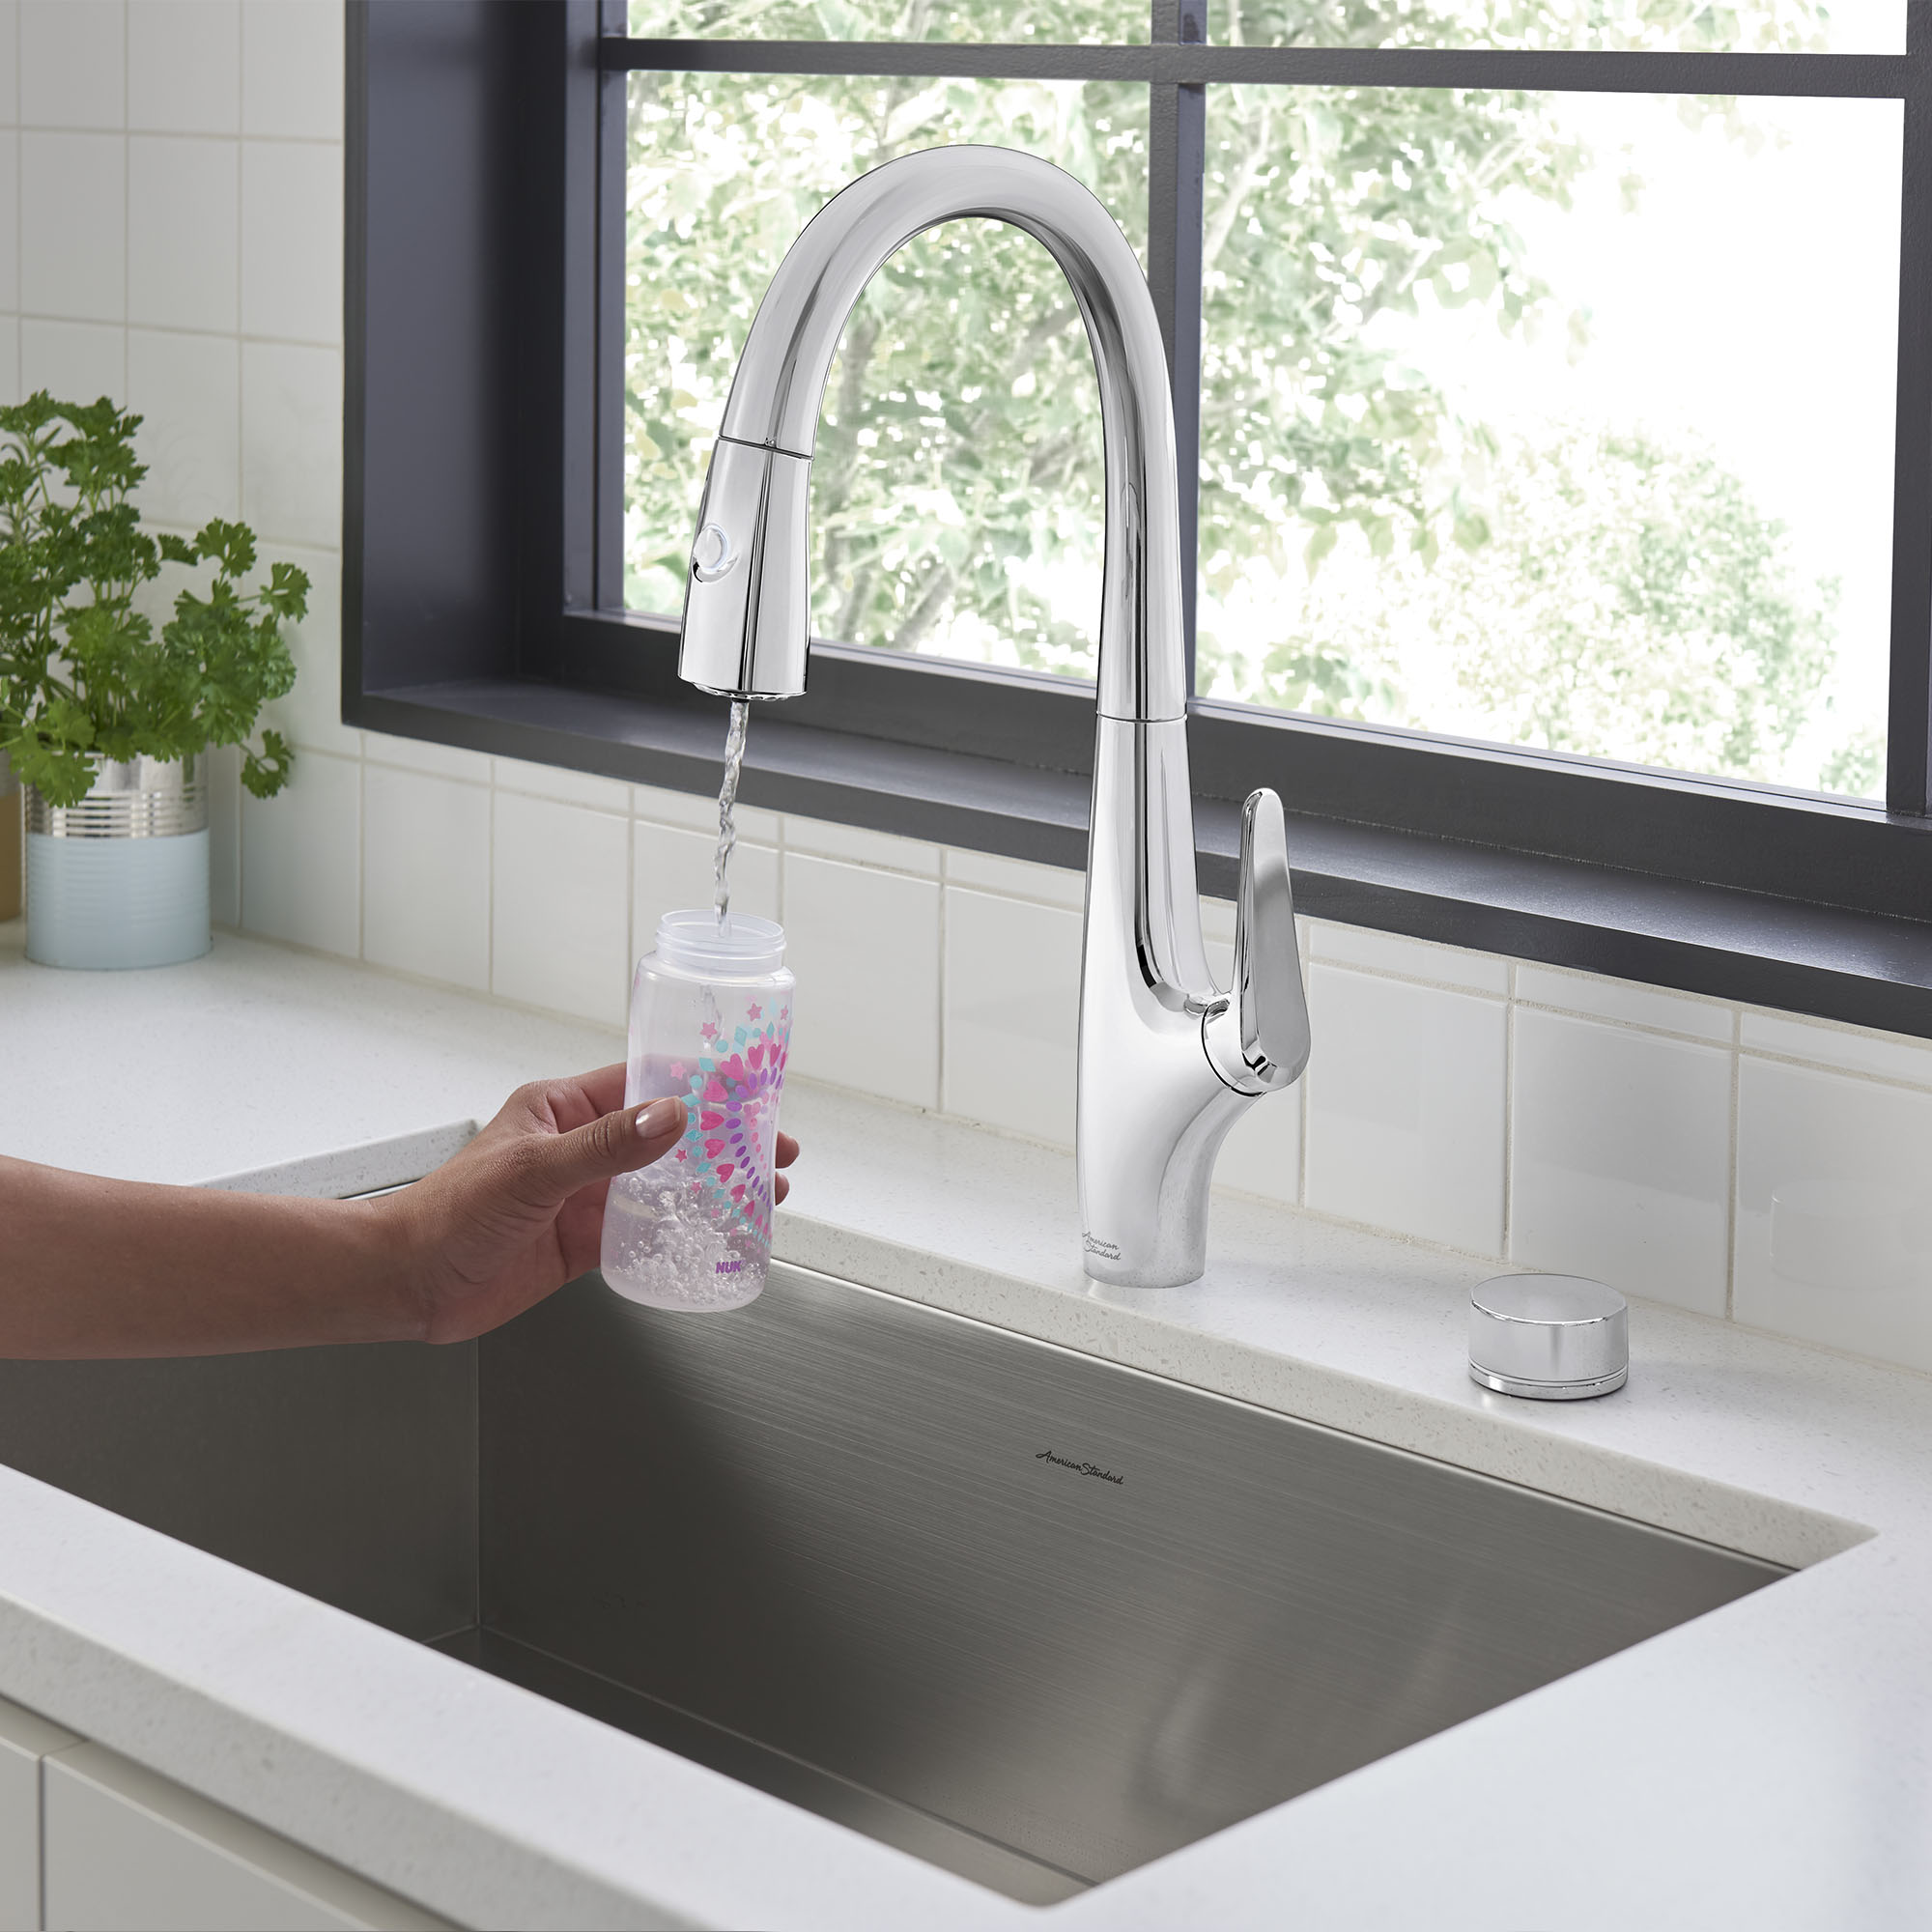
Removing kitchen sink faucet is an essential component of any kitchen, providing water for cooking, cleaning, and other daily tasks. Over time, faucets may need to be replaced due to wear and tear, leaks, or simply to update the kitchen’s aesthetics. Removing a kitchen sink faucet may seem daunting, but with the right tools, preparation, and step-by-step guidance, it can be a straightforward DIY project. This comprehensive guide will walk you through the process of removing a kitchen sink faucet, ensuring that you can tackle this task confidently and efficiently.
Preparation Steps
Proper preparation is crucial for a successful faucet removal. Follow these steps to get ready:
- Clear the Area: Remove any items stored under the kitchen sink to provide ample working space. Place a towel or rag on the bottom of the cabinet to catch any water drips or debris.
- Turn Off Water Supply: Locate the shut-off valves under the sink and turn them off by rotating them clockwise. If there are no individual shut-off valves, turn off the main water supply to the house.
- Relieve Pressure: Open the faucet to relieve any remaining water pressure and to drain any water left in the pipes.
- Disconnect Supply Lines: Use an adjustable wrench to disconnect the hot and cold water supply lines from the faucet. Have a bucket or container ready to catch any excess water that may spill out.
Step-by-Step Faucet Removal
With the preparations complete, you can now proceed with the actual removal of the kitchen sink faucet.
Identify the Mounting Type
Faucets can be mounted in different ways, typically using either a single-hole, three-hole, or four-hole configuration. Identify your faucet’s mounting type to understand how it is secured to the sink.
Remove Faucet Handles
Some faucets have handles that need to be removed separately. If your faucet has removable handles:
- Pry off the decorative caps covering the handle screws using a flathead screwdriver.
- Unscrew the handle screws with a Phillips screwdriver.
- Gently lift or pull the handles off the faucet body.
Loosen Mounting Nuts
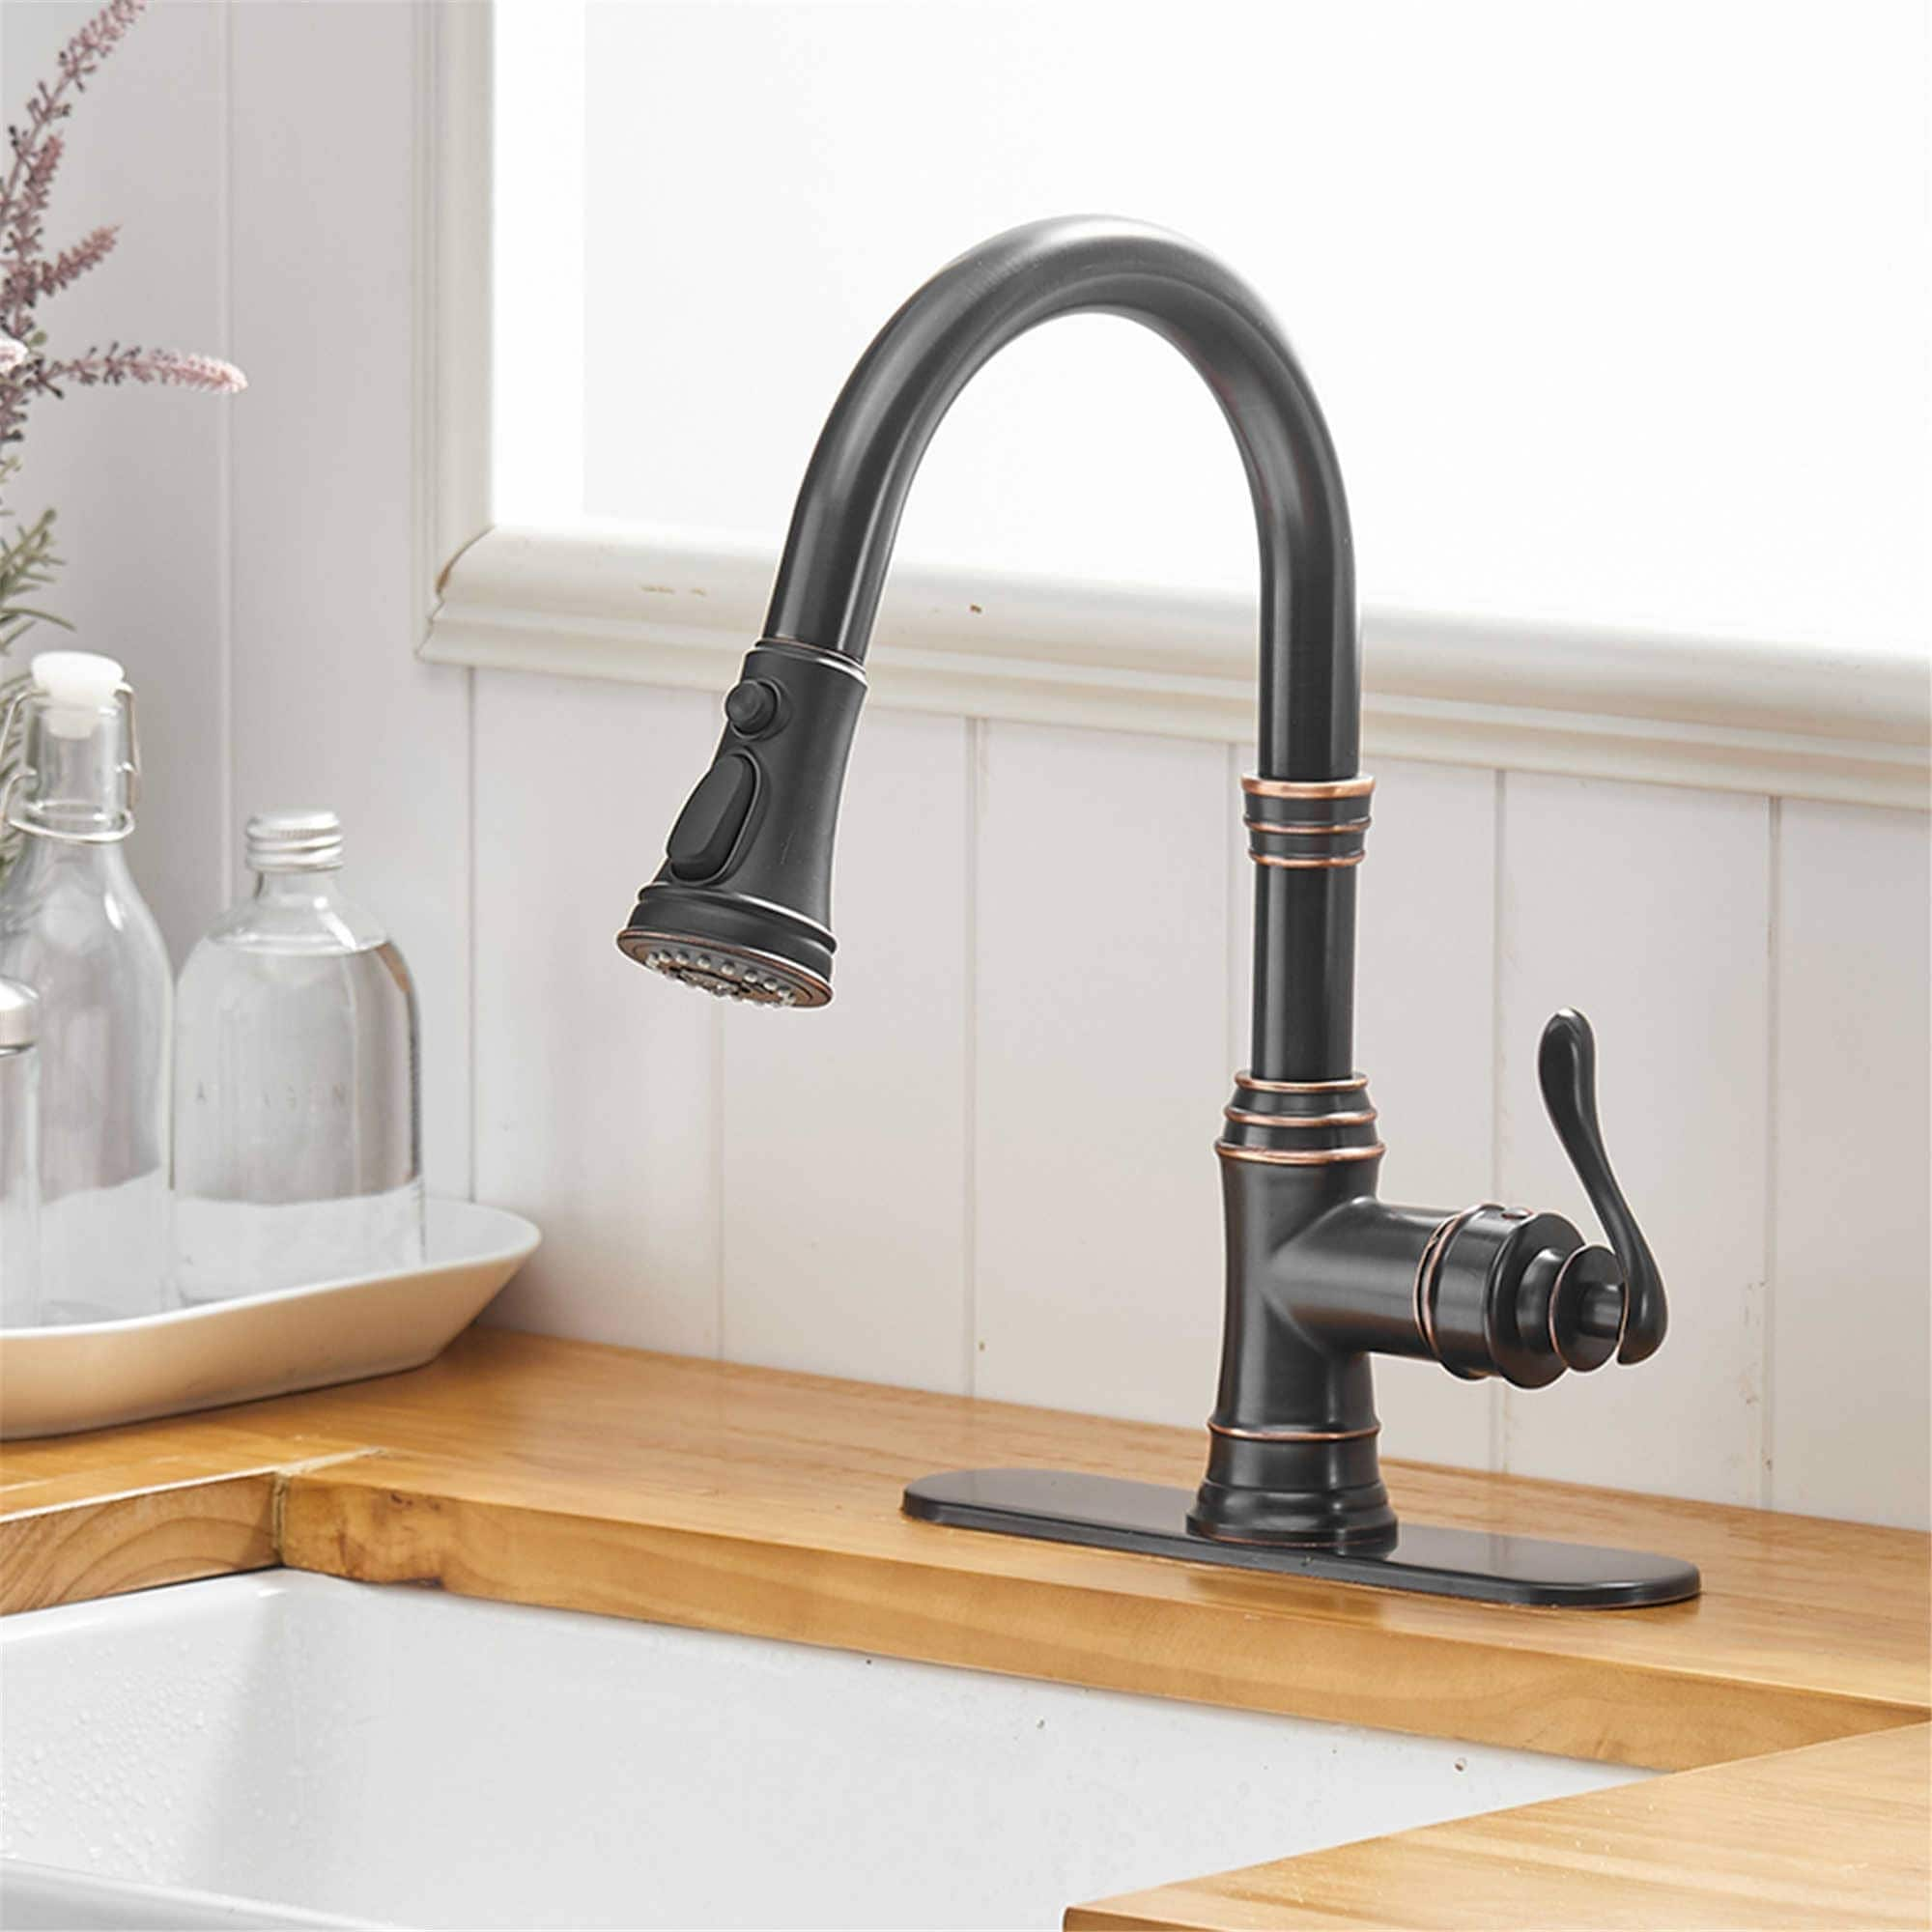
Locate the mounting nuts or bolts securing the faucet to the sink. These are usually found underneath the sink, near the base of the faucet. Use a basin wrench to reach and loosen these nuts:
- Position the basin wrench around the mounting nut.
- Turn the wrench counterclockwise to loosen and remove the nut. If the nut is difficult to turn, apply penetrating oil and allow it to sit for a few minutes before trying again.
Disconnect the Spray Hose
If your faucet has a separate spray hose, disconnect it from the faucet body:
- Trace the spray hose back to the connection point on the faucet.
- Use an adjustable wrench to unscrew the hose connector from the faucet body.
- Pull the spray hose out from above the sink.
Remove the Faucet Body
Once all the mounting nuts and hoses are disconnected, you can remove the faucet body:
- Gently lift the faucet body away from the sink. If it is stuck due to old plumber’s putty or sealant, carefully cut around the base with a utility knife.
- Pull the faucet straight up and out of the sink holes.
Troubleshooting Tips
Sometimes, you may encounter challenges during the removal process. Here are some troubleshooting tips to help you overcome common issues:
- Stuck Mounting Nuts: If the mounting nuts are rusted or corroded, applying penetrating oil and allowing it to sit for a while can help loosen them. Using a pipe wrench may also provide additional leverage.
- Limited Space: Working under the kitchen sink faucet can be cramped. Using a flashlight for better visibility and a basin wrench, which is designed for tight spaces, can make the job easier.
- Old Putty or Sealant: If the faucet is stuck due to old putty or sealant, carefully use a utility knife or scraper to cut through the material without damaging the sink surface.
Reinstalling a New Faucet
After successfully removing the old faucet, you can proceed with installing a new one. Here’s a brief overview of the installation process:
- Assemble the New Faucet: Follow the manufacturer’s instructions to assemble the new faucet components.
- Apply Plumber’s Tape: Wrap plumber’s tape around the threaded ends of the new faucet’s connections to ensure a watertight seal.
- Position the Faucet: Insert the new faucet into the sink holes and secure it with mounting nuts or bolts from underneath the sink.
- Reconnect Supply Lines: Attach the hot and cold water supply lines to the corresponding connections on the new faucet.
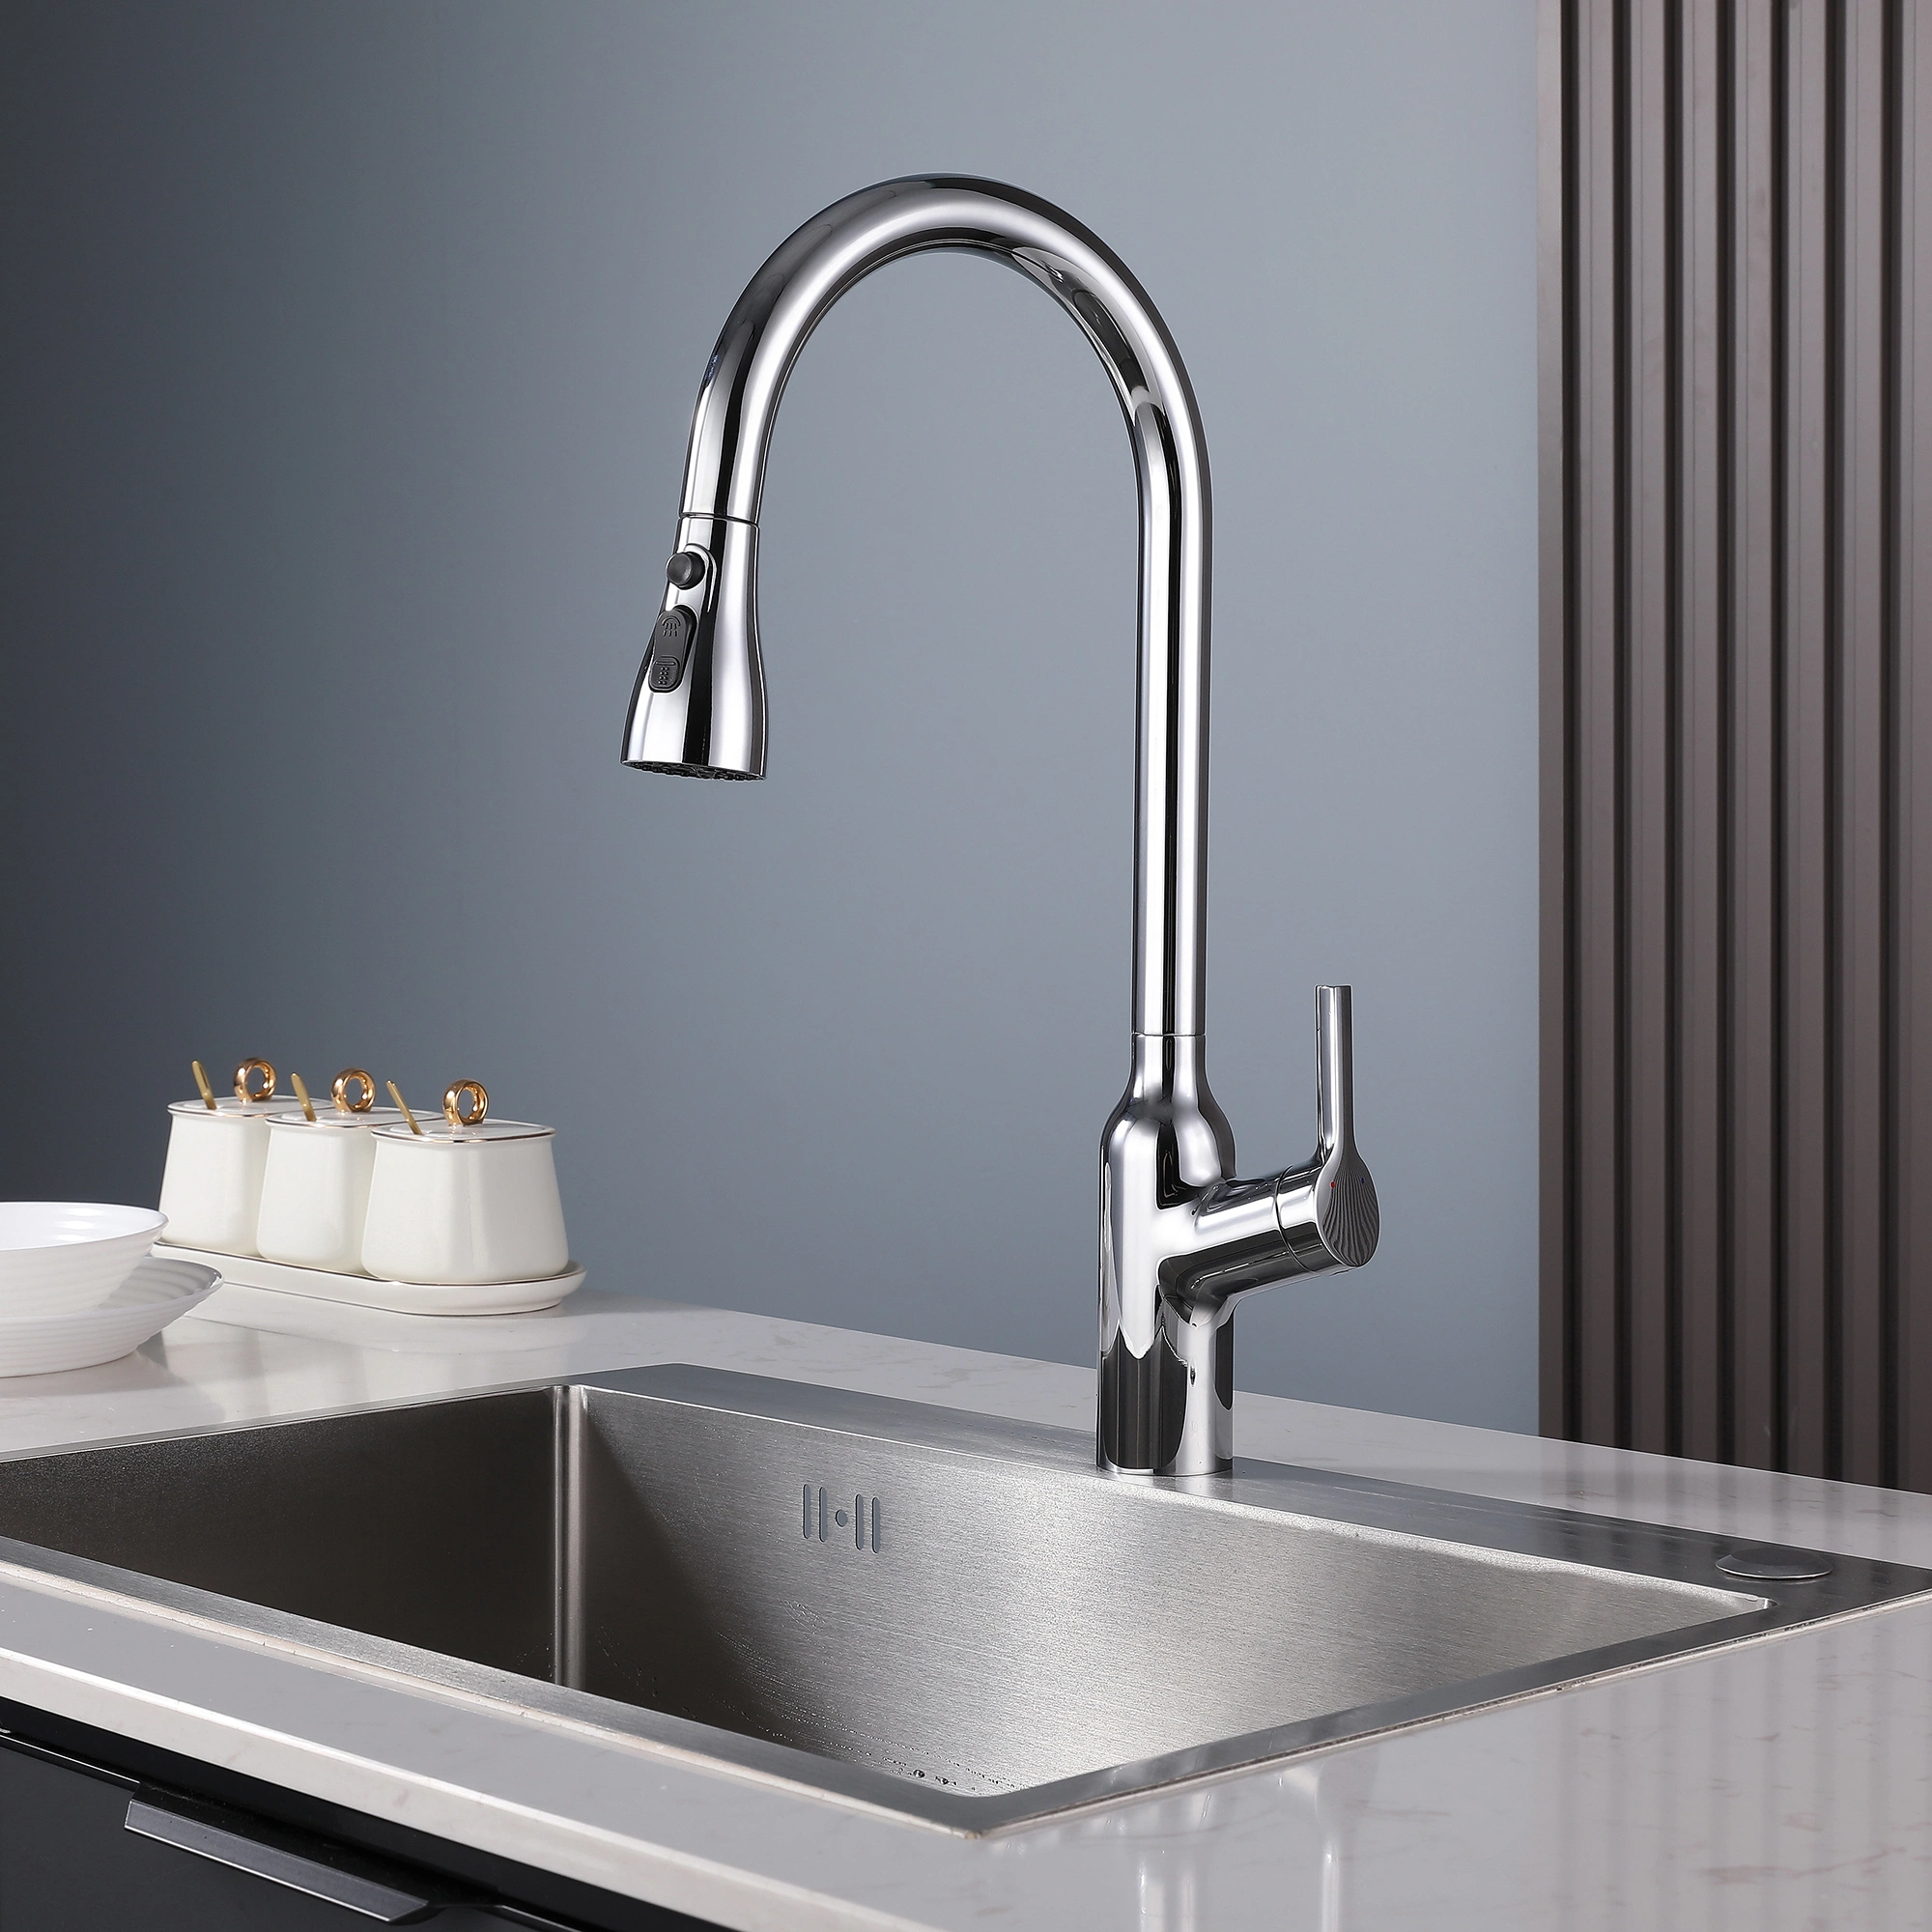
How to clean a kitchen sink faucet
The kitchen sink faucet is a central fixture in any household, serving as a vital source of water for cooking, cleaning, and a variety of daily tasks. Over time, faucets can accumulate dirt, grime, and mineral deposits, detracting from their functionality and aesthetic appeal. Regular cleaning and maintenance are essential to ensure that your kitchen sink faucet remains in optimal condition.
Importance of Cleaning Your Kitchen Sink Faucet
A clean and well-maintained faucets style offers numerous benefits, including:
- Optimal Performance: Clean faucets operate more efficiently, providing better water flow and pressure for various kitchen tasks.
- Prevention of Buildup: Regular cleaning prevents the accumulation of mineral deposits, grime, and mold, which can affect the faucet’s performance and visual appeal.
- Enhanced Aesthetics: A sparkling clean faucet enhances the overall appearance of the kitchen, contributing to a welcoming and hygienic environment.
- Longevity: Proper maintenance and cleaning can extend the lifespan of your faucet, delaying the need for replacement and minimizing repair costs.
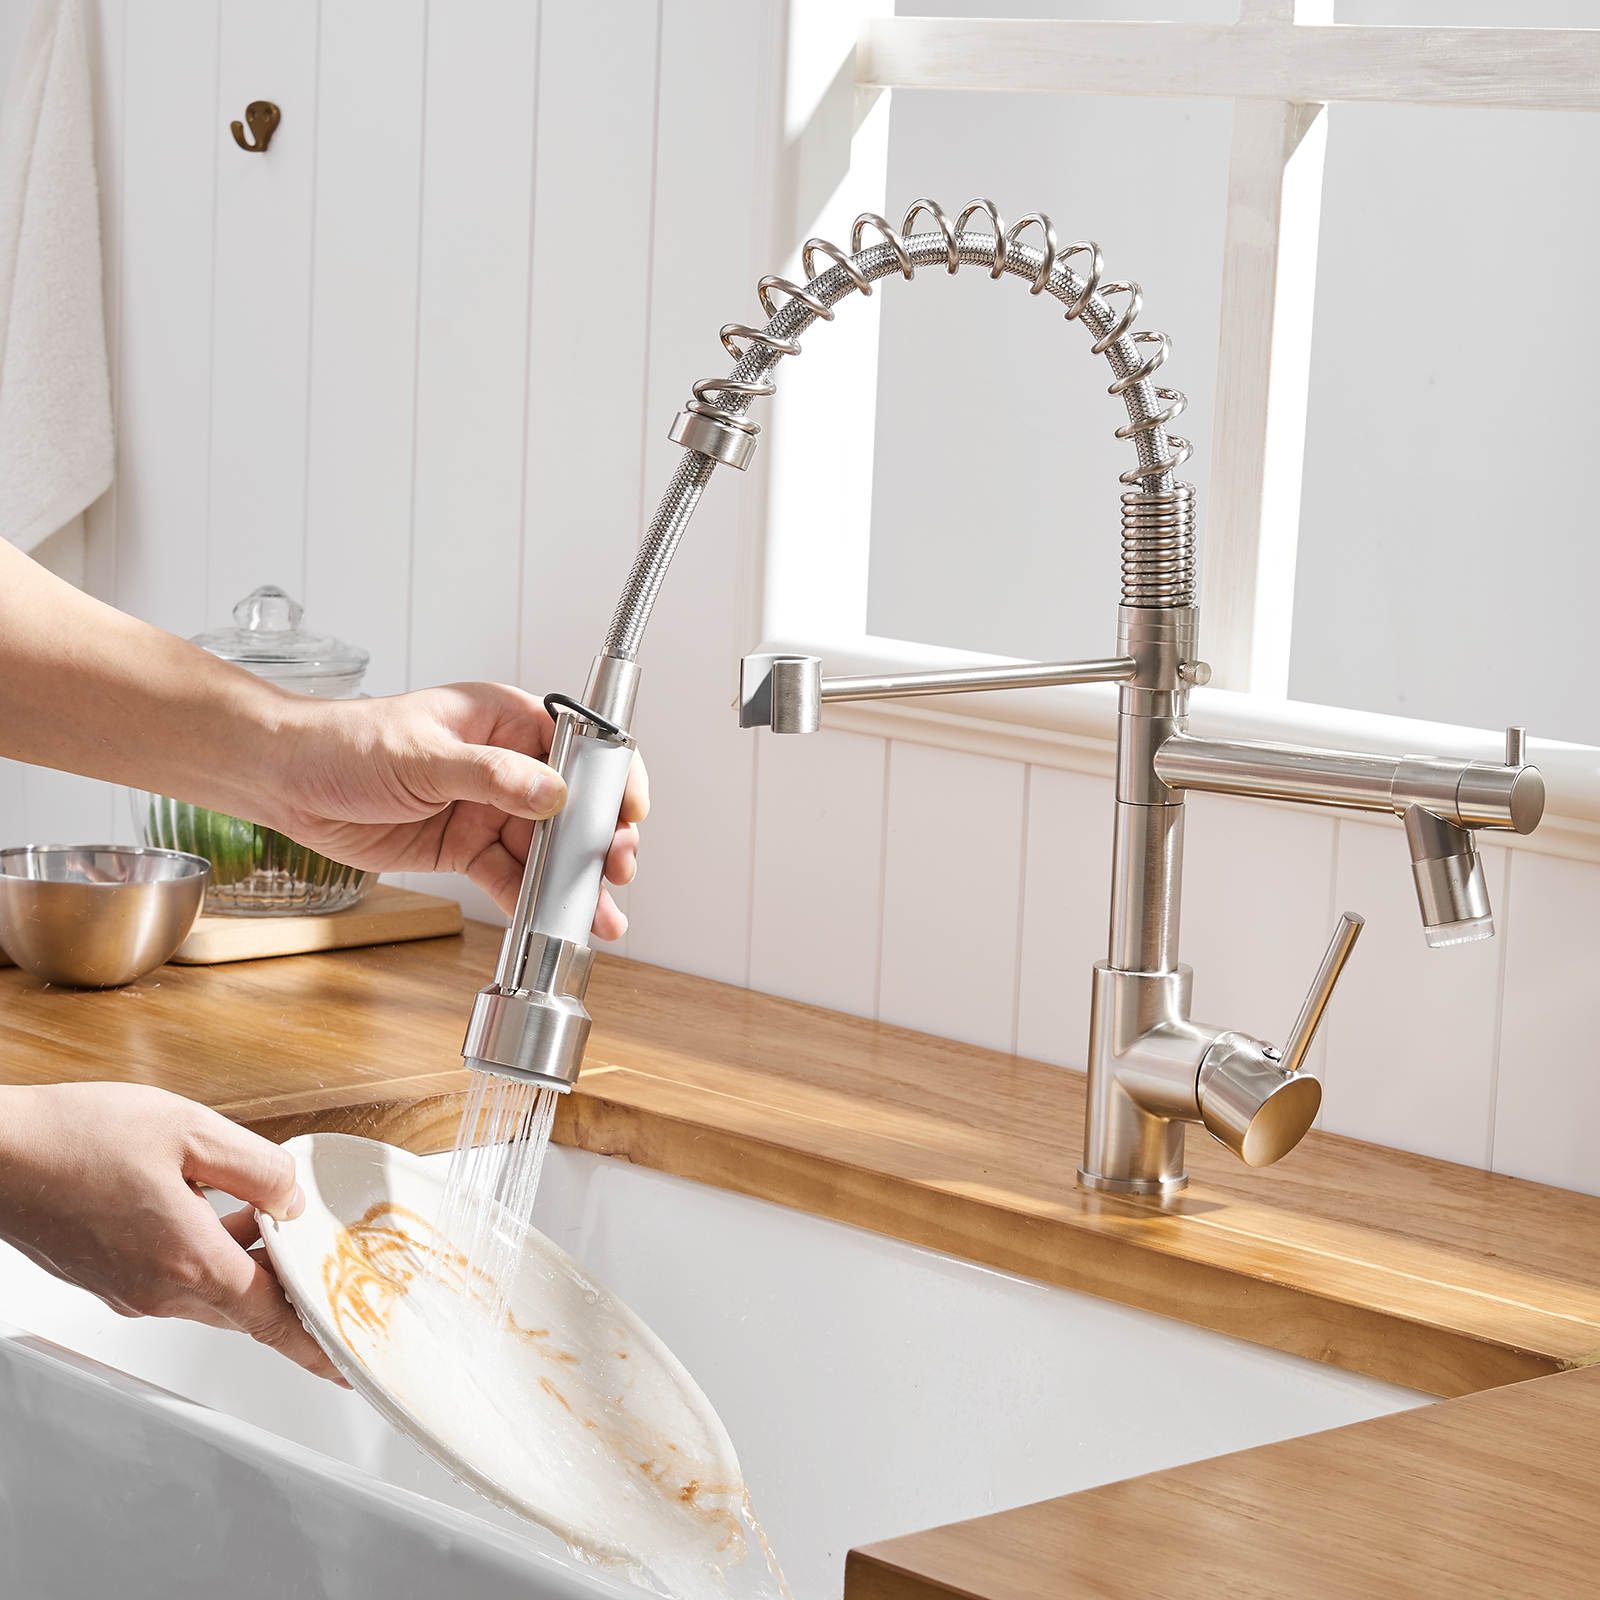
Methods for Cleaning Your Kitchen Sink Faucet
-
Routine Cleaning with Soap and Water:
- Start by wiping the faucet with a soft cloth or sponge dampened with warm water.
- Use mild dish soap to gently scrub the entire surface of the faucet, including the spout, handles, and base.
- Rinse thoroughly with clean water and dry with a soft, lint-free cloth to prevent water spots.
-
Removing Mineral Deposits with Vinegar:
- For stubborn mineral deposits, soak a paper towel or cloth in white vinegar.
- Wrap the vinegar-soaked cloth around the faucet and secure it with a rubber band or clip.
- Allow the vinegar to sit for 15-30 minutes to dissolve the mineral deposits, then remove the cloth and rinse the faucet with water.
-
Polishing with Lemon and Baking Soda:
- Create a paste by mixing baking soda with lemon juice or water.
- Apply the paste to the faucet using a soft cloth, focusing on areas with tarnish or water spots.
- Gently scrub the faucet with the paste, then rinse thoroughly and dry with a clean cloth.
Conclusion
Removing a kitchen sink faucet is a manageable task that can save you time and money compared to hiring a professional plumber. By following the detailed steps outlined in this guide, you can confidently and safely remove your old faucet and prepare for the installation of a new one. Remember to take your time, use the right tools, and practice safety precautions throughout the process.
