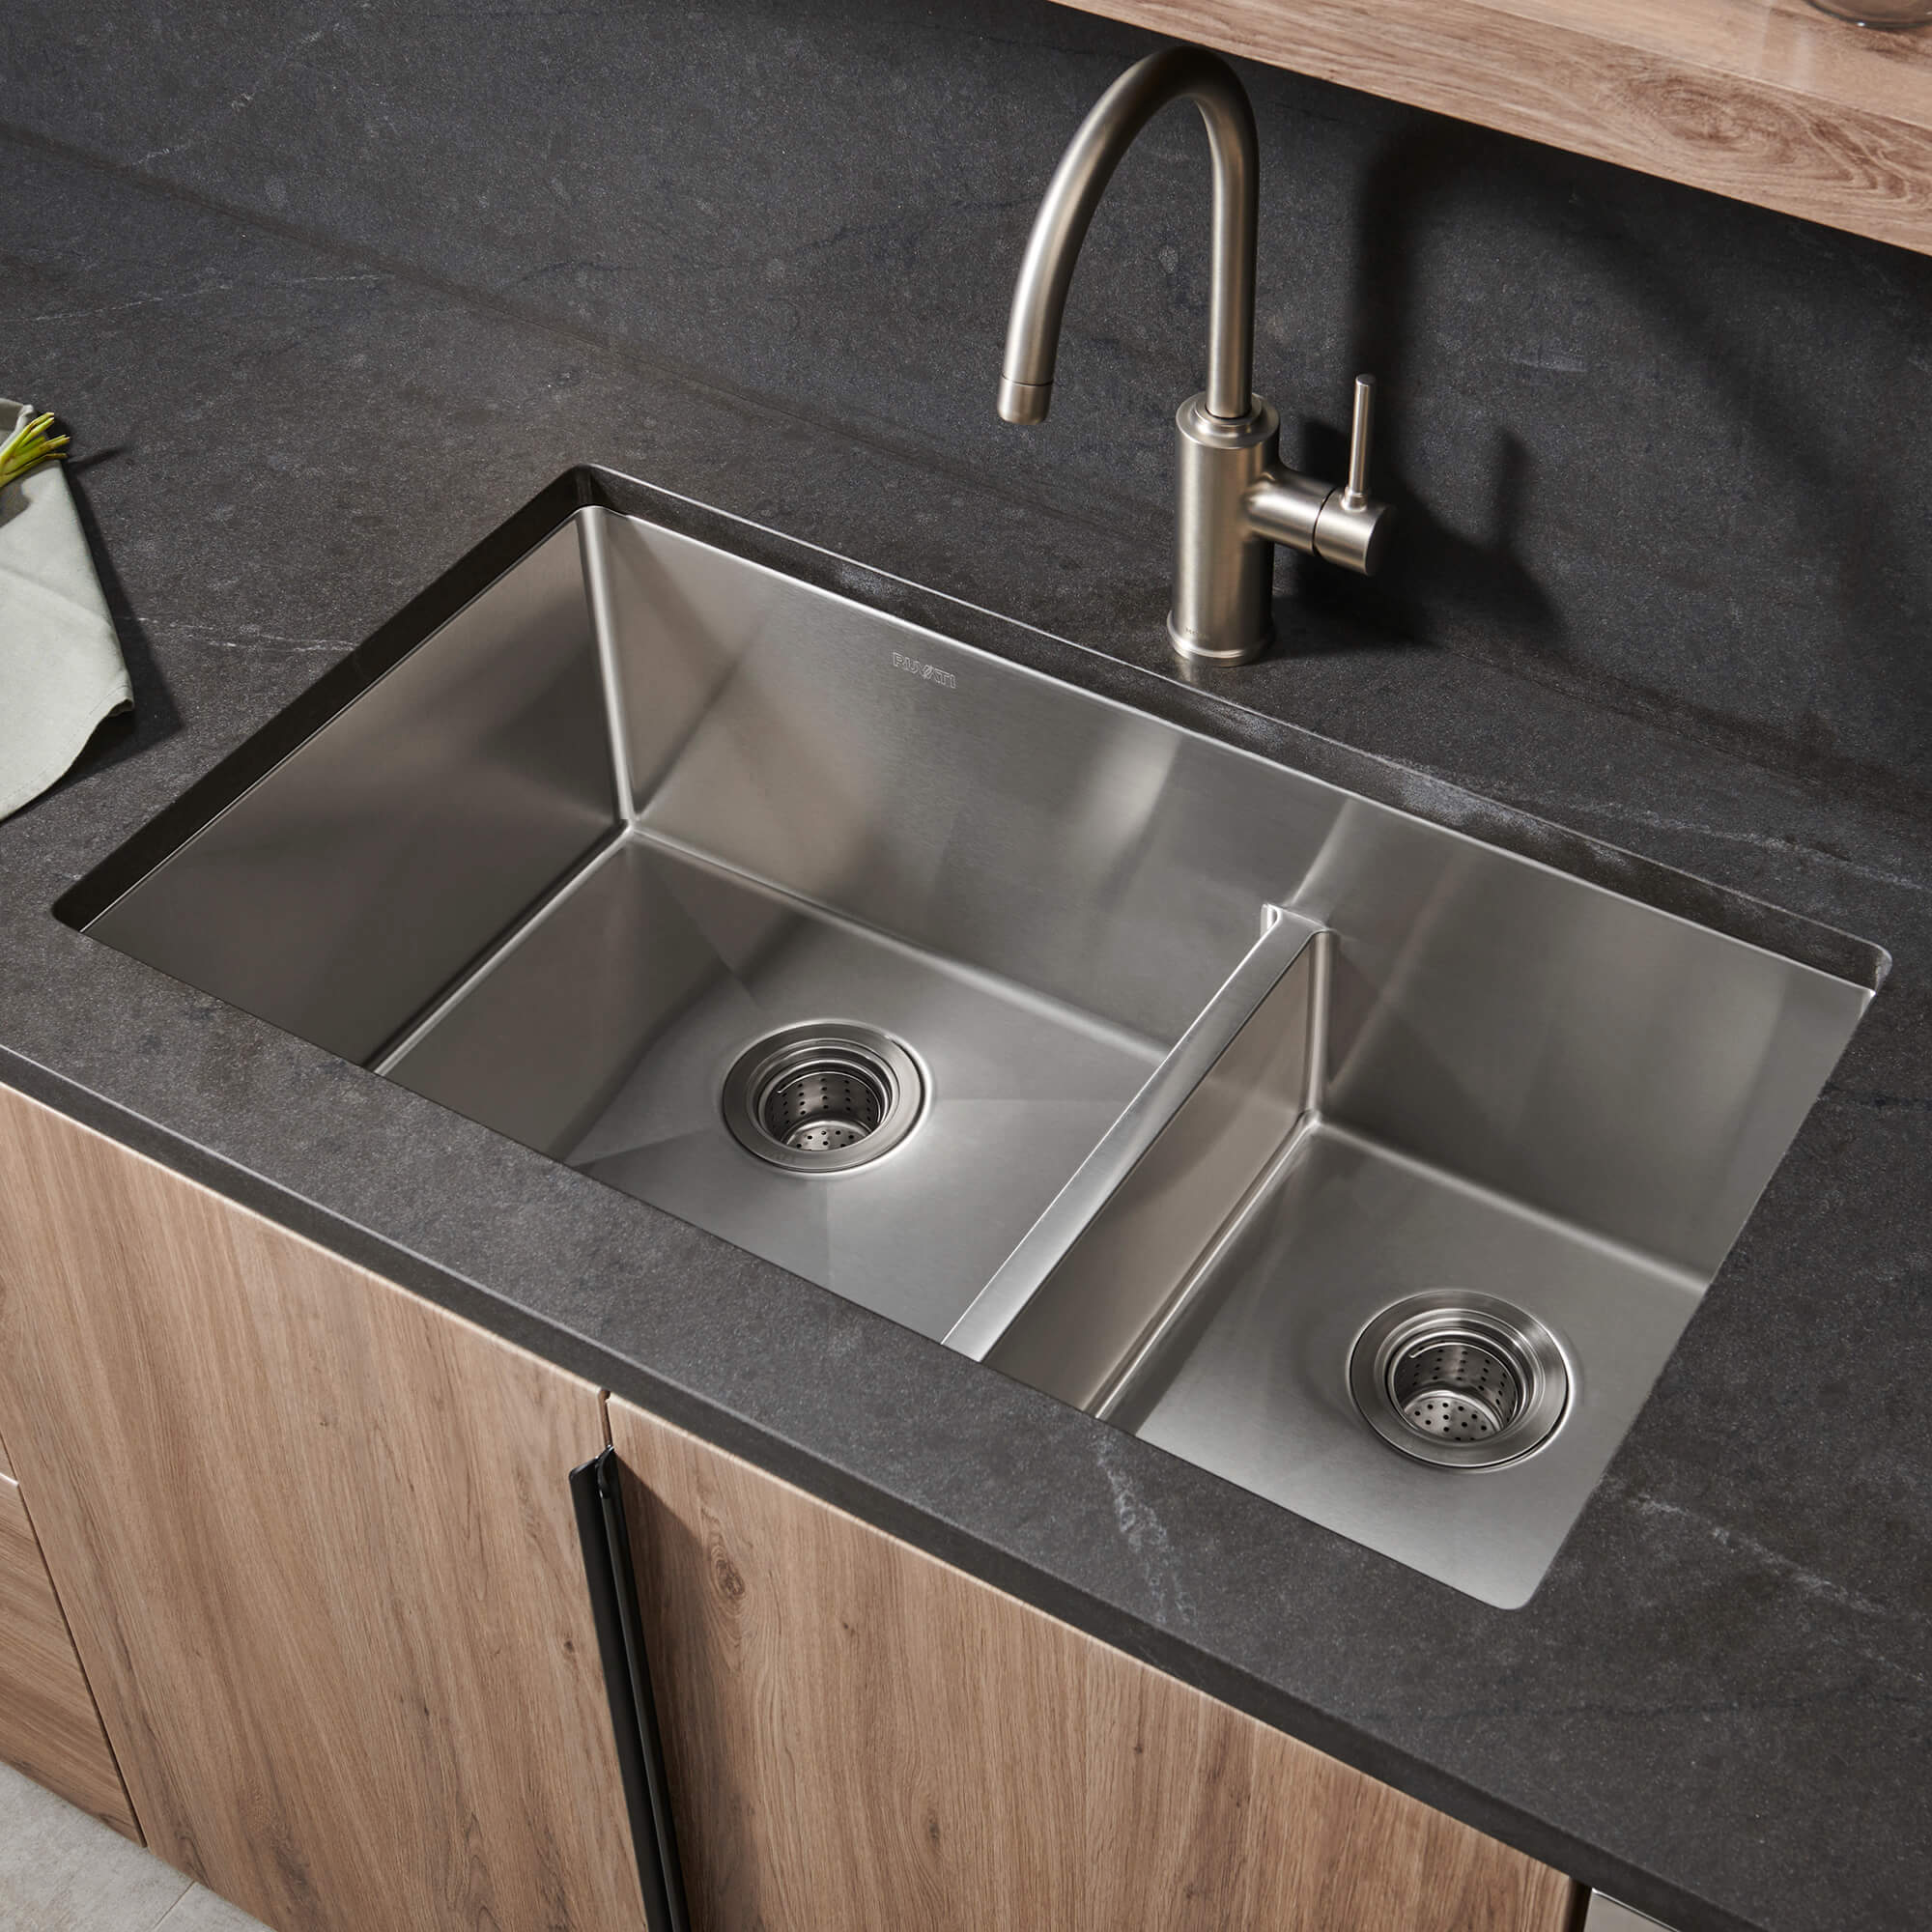
How to install a kitchen sink? Installing a kitchen sink can be a rewarding home improvement project that adds functionality and aesthetics to your kitchen. While the process may seem daunting, with the right tools and instructions, it can be successfully accomplished by most DIY enthusiasts. In this step-by-step guide, we will walk you through the process of installing a kitchen sink, from removing the old sink to connecting the plumbing and ensuring a secure and leak-free installation.
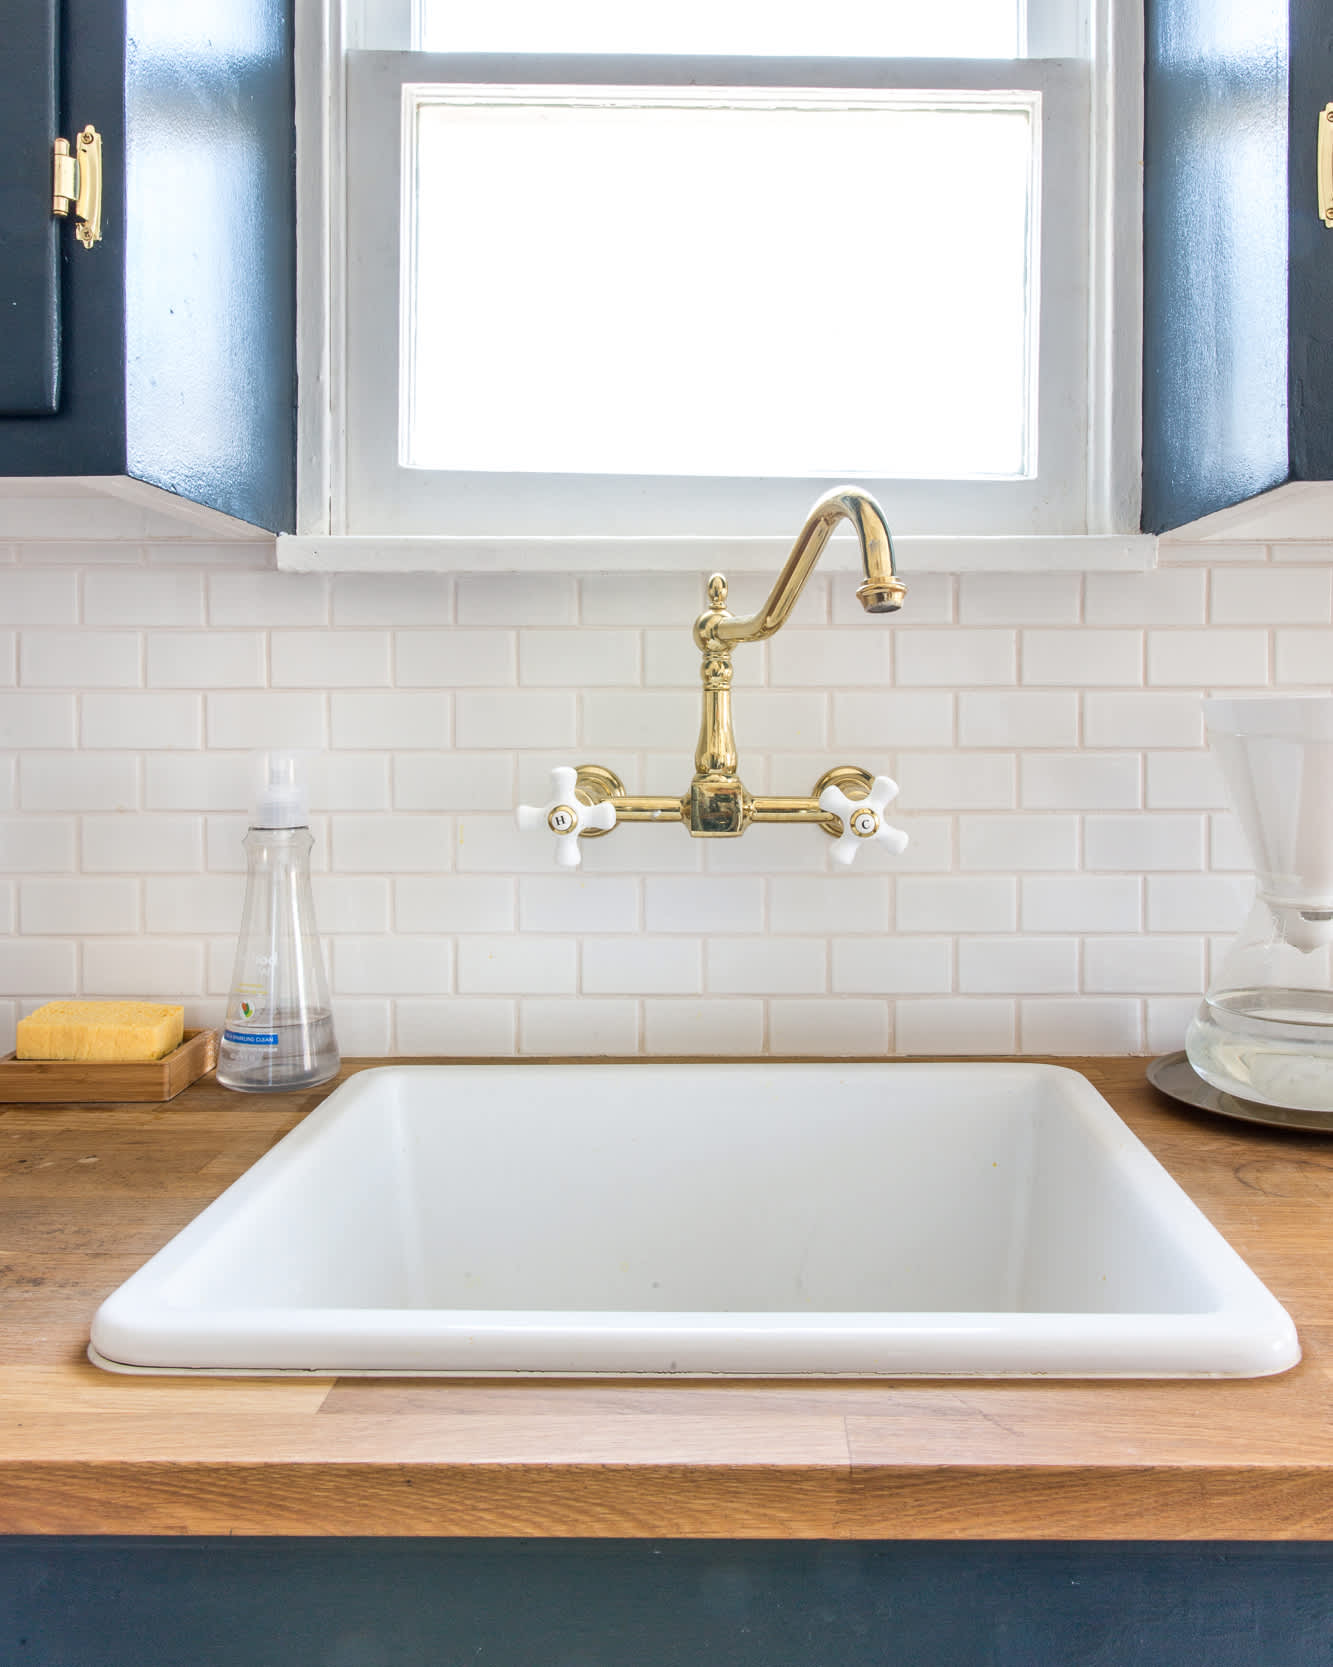
Gather the Necessary Tools and Materials:
Before beginning the installation, gather the following tools and materials:
- New kitchen sink
- Adjustable wrench
- Screwdriver
- Pipe wrench
- Plumber’s putty
- Basin wrench
- Plunger
- Silicone adhesive
- Bucket
- Towels or rags
Remove the Old Sink:
Shut Off the Water Supply: Locate the shutoff valves under the sink and turn off the water supply by twisting them clockwise. If there are no shutoff valves, shut off the main water supply to your home.
Disconnect the Supply Lines: Using an adjustable wrench, disconnect the hot and cold water supply lines from the faucet. Place a bucket under the sink to catch any drips or water that may spill.
Disconnect the Drain Pipe: Loosen the slip nut connections between the drain pipe and the sink’s tailpiece using a pipe wrench. Carefully remove the drain pipe from the sink.
Remove the Sink Clips: If the sink is secured with clips, locate them underneath the countertop and remove them using a screwdriver. Gently lift the old sink out of the countertop and set it aside.
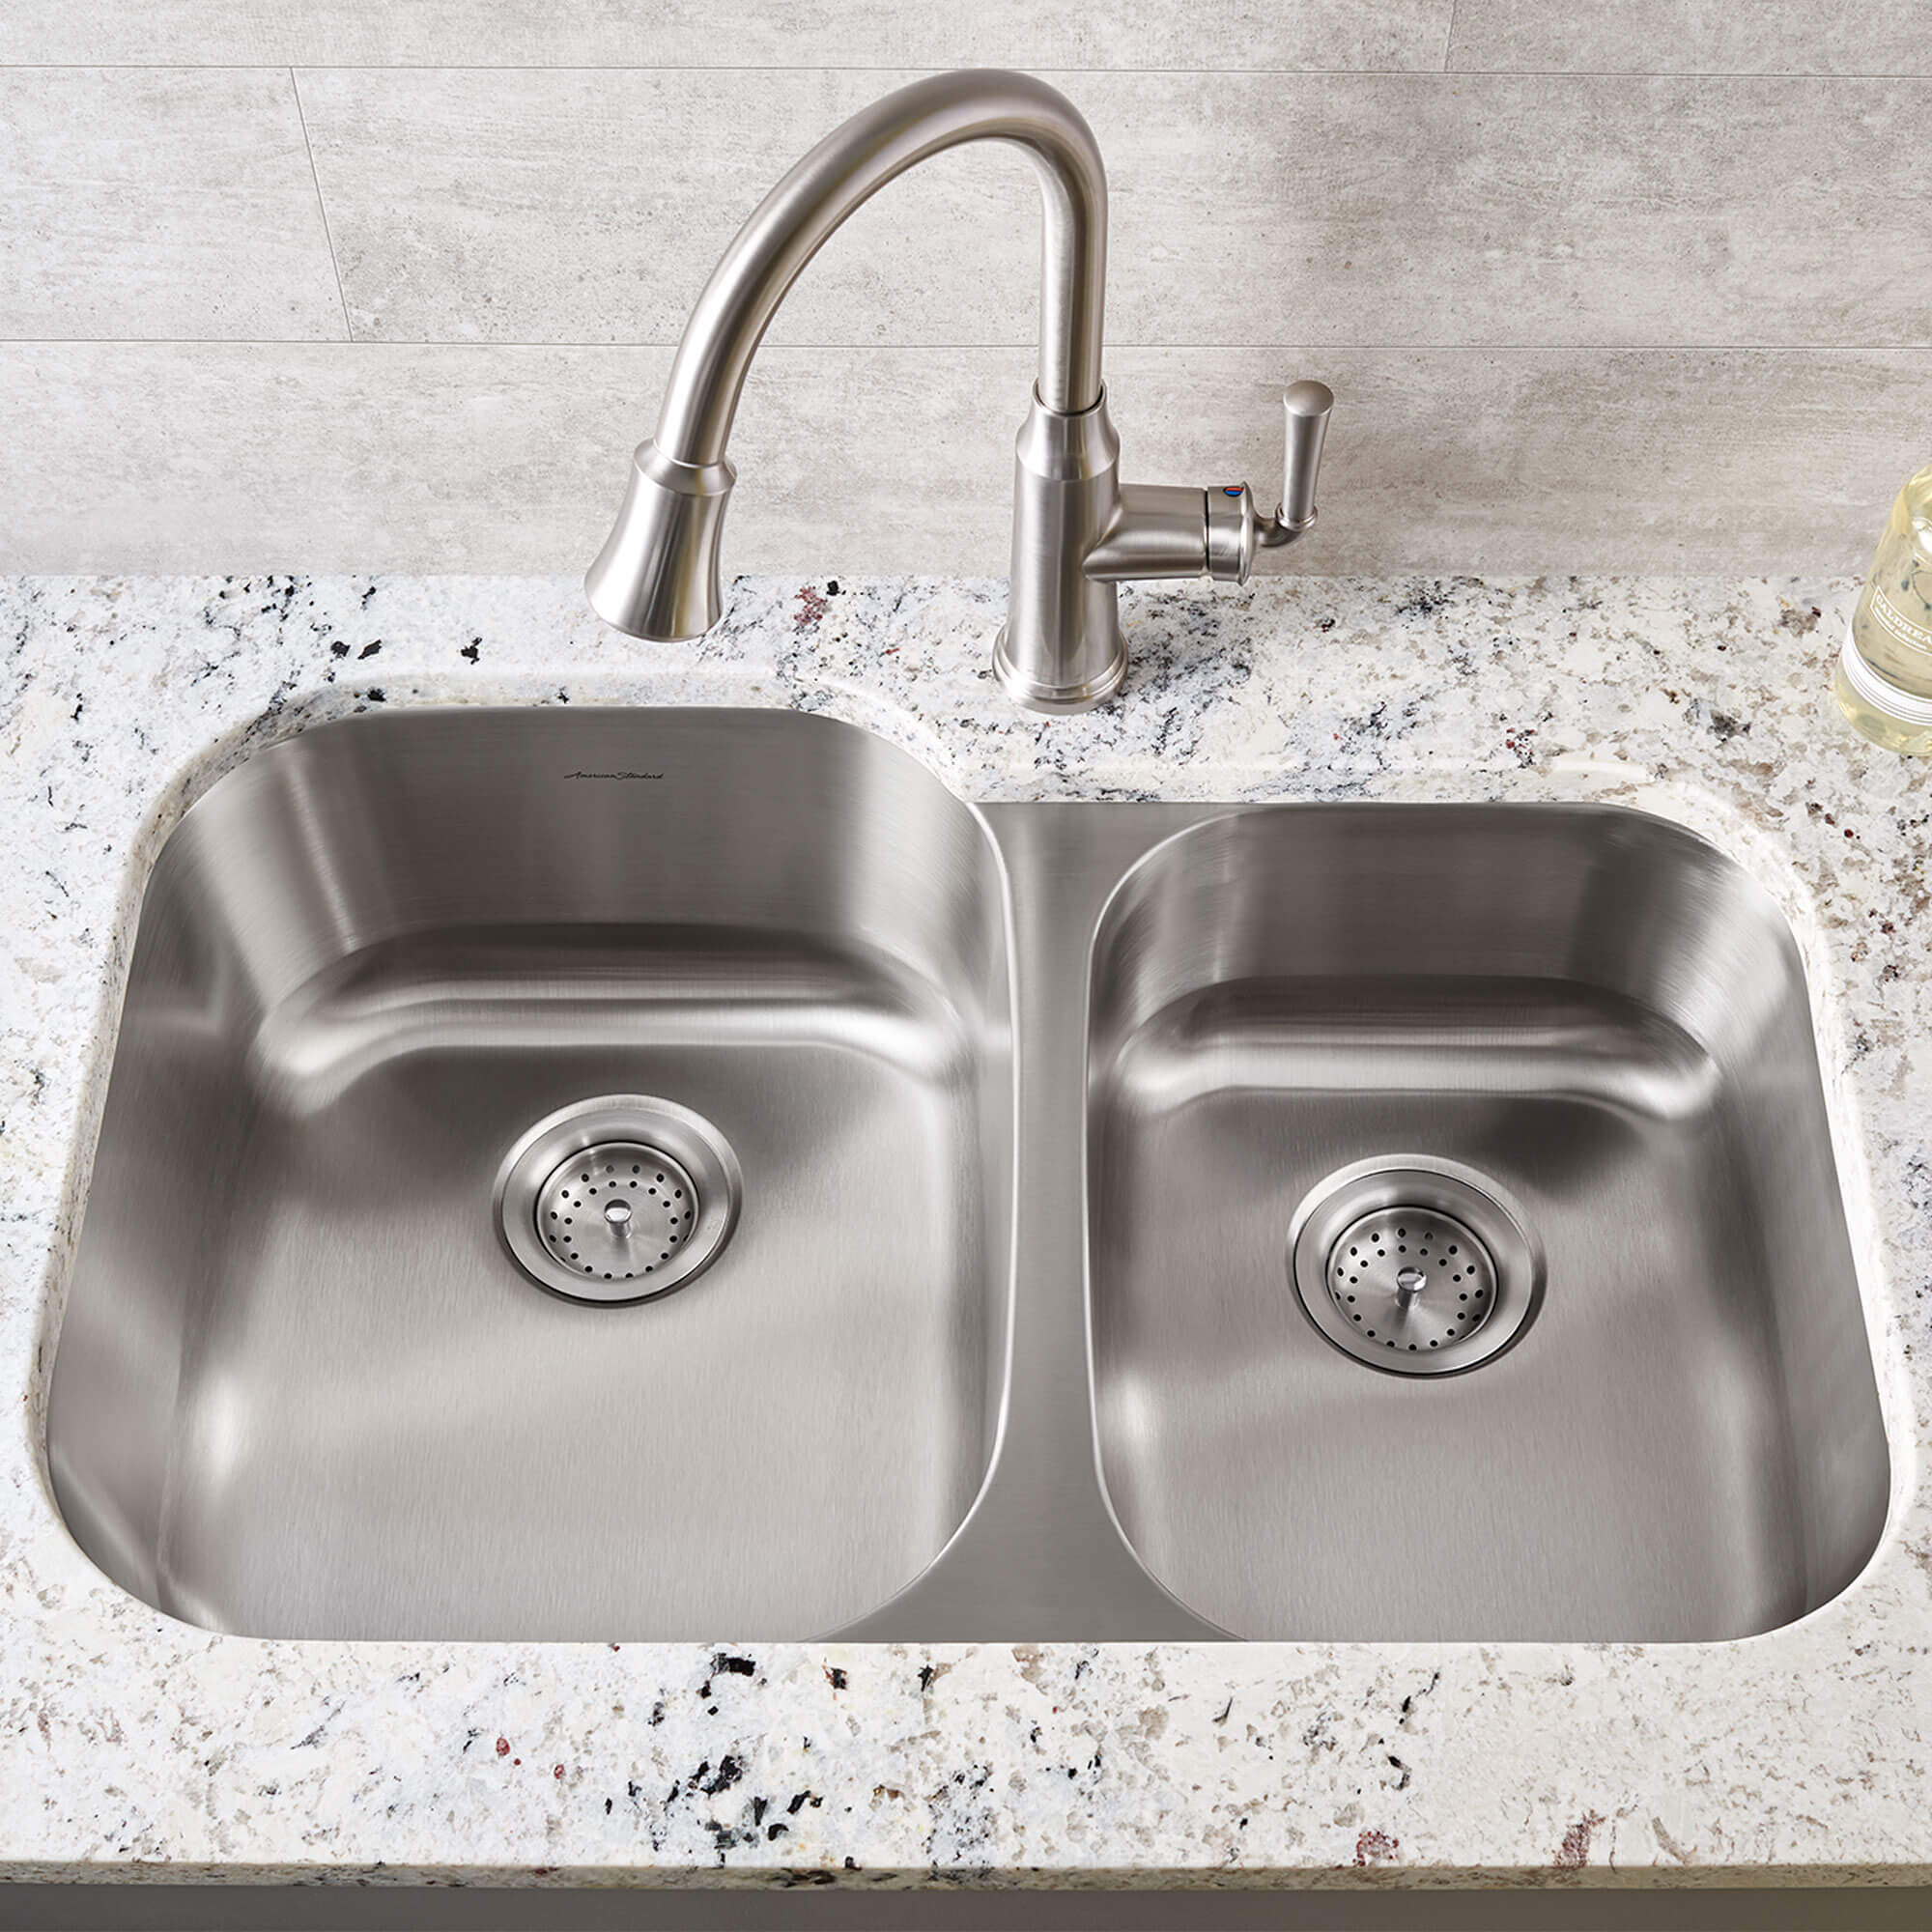
How to install a kitchen sink? Prepare the New Sink:
Measure the Sink Opening: Measure the opening in your countertop to ensure the new sink will fit properly. If necessary, use a jigsaw to resize the opening.
Apply a Bead of Silicone: Apply a thin bead of silicone adhesive around the underside of the sink rim. This will create a watertight seal when the sink is installed.
Install the New Sink:
Position the Sink: Carefully lower the new sink into the countertop opening. Ensure the sink is centered and aligned properly.
Secure the Sink with Clips: If your sink comes with clips, attach them to the underside of the countertop using a screwdriver. Tighten the clips to secure the sink in place.
Attach the Drain: Apply plumber’s putty around the flange of the drain basket. Insert the drain basket into the sink’s drain opening and tighten the locknut from underneath using a basin wrench.
Connect the Supply Lines: Connect the hot and cold water supply lines to the corresponding hot and cold water inlets on the faucet. Use an adjustable wrench to tighten the connections securely.
Connect the Plumbing:
Reconnect the P-Trap: Reconnect the curved section of the drain pipe (P-trap) to the drain outlet on the wall or floor. Use a pipe wrench to tighten the slip nut connections, ensuring a proper seal.
Check for Leaks: Once all connections are tight, turn on the water supply and check for any leaks. Monitor the connections and the drainpipe for any signs of water leakage.
Finishing Touches:
Clean Up: Clean up any excess putty, silicone, or debris from the installation site. Use a damp cloth or sponge to wipe down the sink and countertop to remove any smudges or fingerprints.
Test the Sink: Turn on the faucet and check for proper water flow. Ensure that the hot and cold water handles are functioning correctly.
Seal Around the Sink: Apply a bead of silicone adhesive along the edge where the sink meets the countertop. This will create a watertight seal and prevent water from seeping underneath.
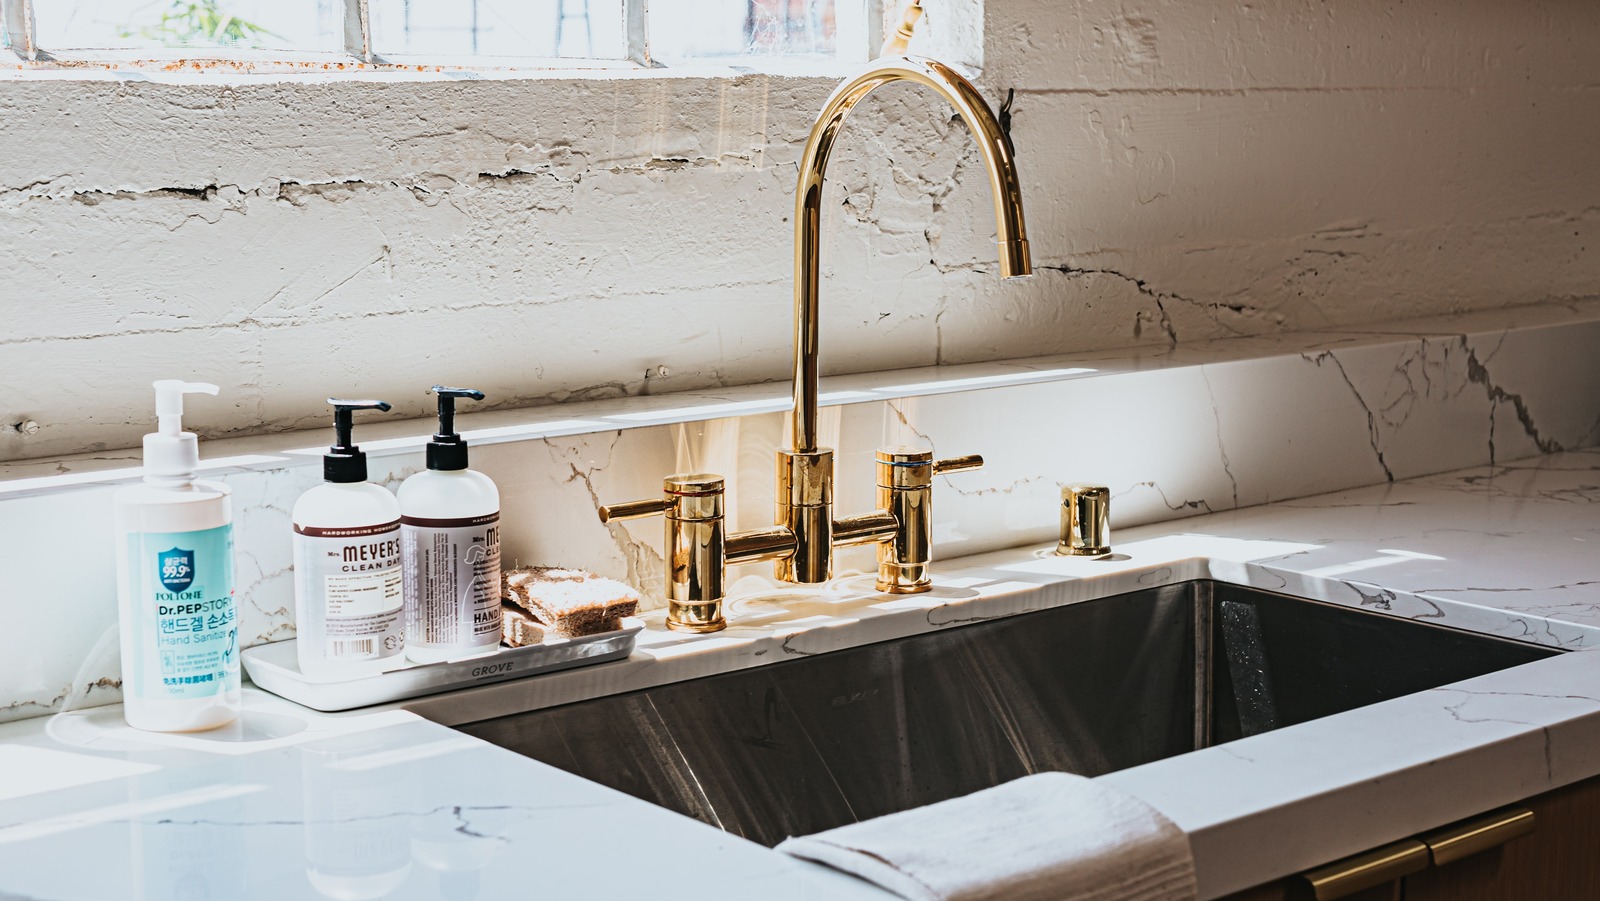
What are the styles of installing a kitchen sink?
The kitchen sink is a focal point of any kitchen island, serving as a functional and often aesthetic element. When it comes to installing a kitchen sink, there are various styles and configurations to choose from. Each style offers its own unique design, functionality, and installation requirements.
Top-Mount Sink Installation:
Top-mount sinks, also known as drop-in or self-rimming sinks, are the most common and traditional style of kitchen sink. These sinks are installed by inserting the sink lip into a pre-cut hole in the countertop, with the sink rim resting on top. Key features and considerations include:
- Ease of Installation: Top-mount sinks are relatively easy to install and do not require extensive countertop modifications.
- Variety of Styles: They are available in a wide range of materials, shapes, sizes, and finishes, making it easy to find one that suits your kitchen design.
- Visible Rim: The sink’s rim sits above the countertop, creating a visible edge that may require regular cleaning to prevent debris buildup.
Undermount Sink Installation:
Undermount sinks are a popular choice for modern kitchens, offering a sleek and minimalist aesthetic. These sinks are installed beneath the countertop, creating a seamless integration with the surrounding surfaces. Key features and considerations include:
- Streamlined Look: Undermount sinks provide a clean and unobstructed countertop surface, allowing for easy cleaning and maintaining a minimalist aesthetic.
- Professional Installation: Installing an undermount sink requires professional installation, as it involves securing the sink to the underside of the countertop with clips or adhesive.
- Countertop Material Compatibility: Undermount sinks are typically installed with solid surface, granite, quartz, or marble countertops, as they provide the necessary support for the sink’s weight.
Farmhouse Sink Installation:
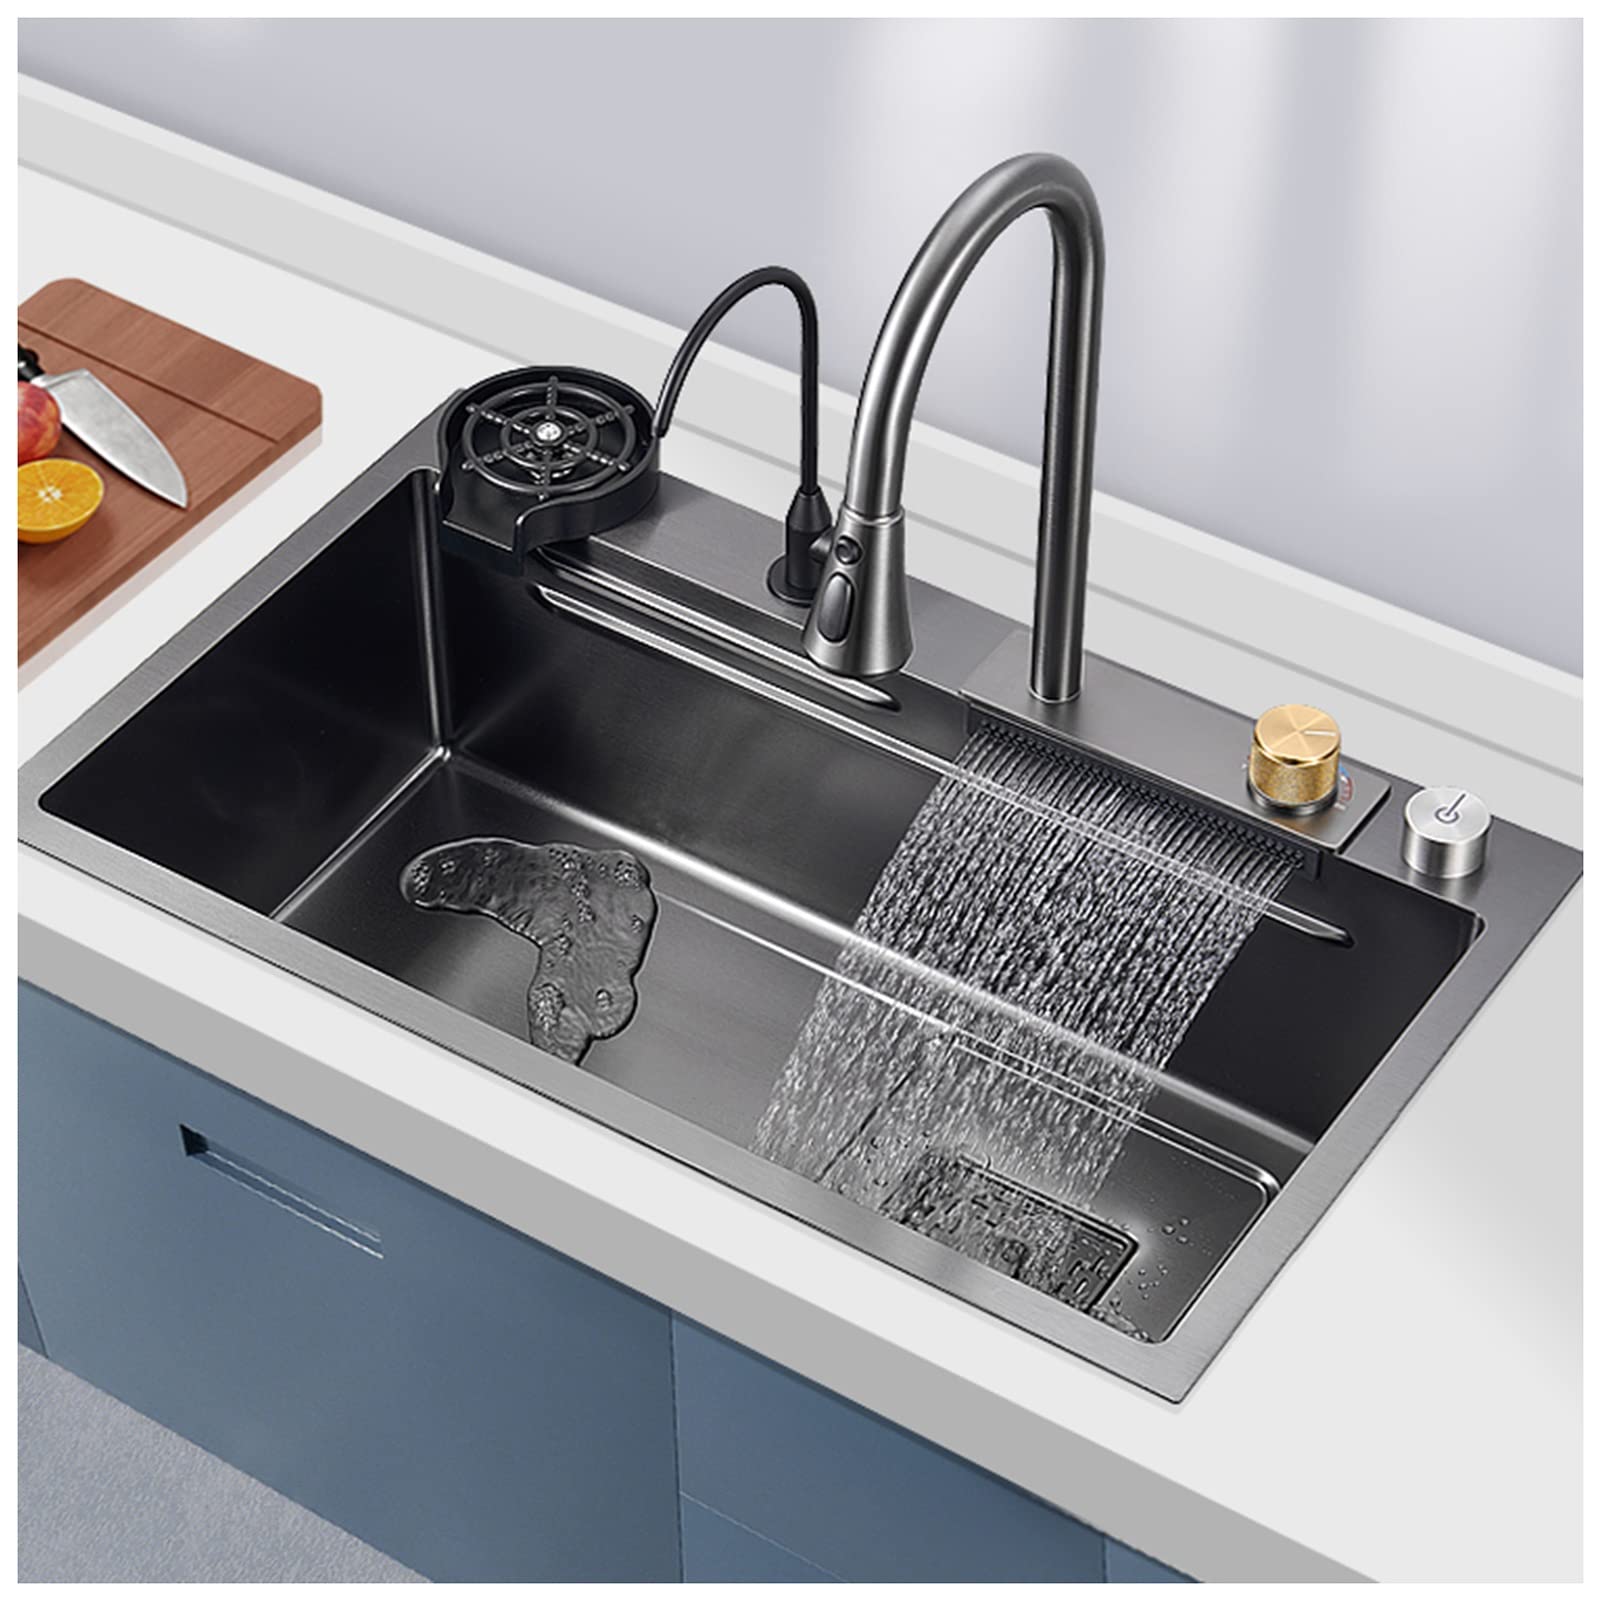
Farmhouse sinks, also known as apron-front sinks, have gained popularity for their rustic and charming appeal. These sinks feature a large, exposed front panel that extends past the countertop. Key features and considerations include:
- Statement Piece: Farmhouse sinks serve as a focal point in the shiplap kitchen island, adding a unique and eye-catching element to the space.
- Structural Modifications: Installing a farmhouse sink often requires modifying the cabinetry or countertop to accommodate the sink’s size and front panel.
- Deep Basin: Farmhouse sinks typically offer deep basins, allowing for easier cleaning of large pots and pans.
Corner Sink Installation:
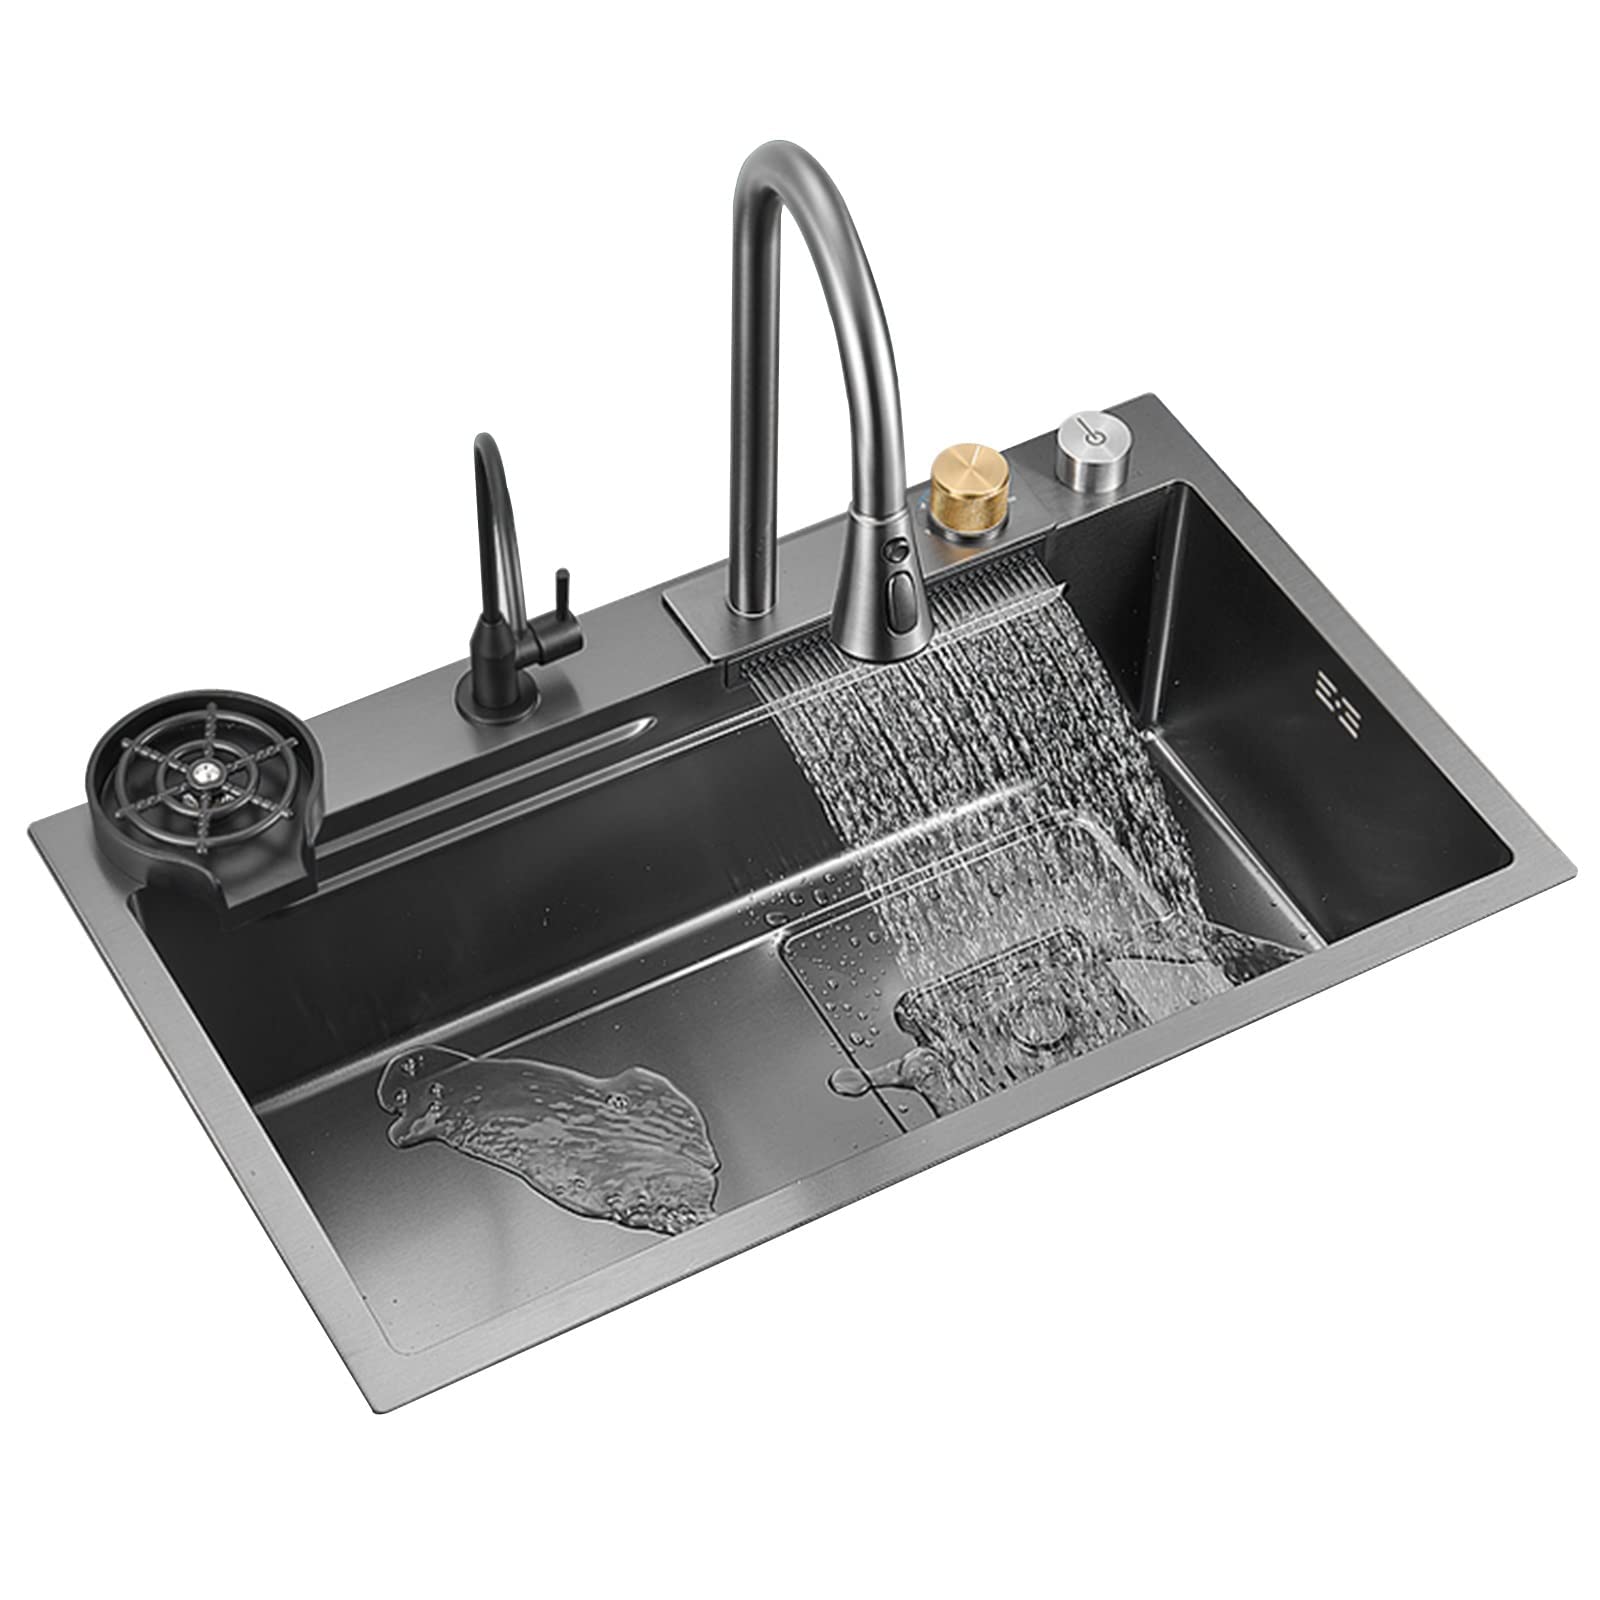
Corner sinks are an excellent choice for kitchen sink with limited space or unconventional layouts. These sinks are specifically designed to fit snugly into a corner, maximizing countertop space while maintaining functionality. Key features and considerations include:
- Space Optimization: Corner sinks utilize the unused corner area, making them ideal for smaller kitchens or kitchens with a unique layout.
- Custom Cabinetry: Installing a corner sink may require custom cabinetry to ensure a proper fit and functionality.
- Unique Installation: Corner sinks may require additional plumbing considerations for proper drainage and connection.
Conclusion:
How to install a kitchen sink? Installing a kitchen sink can be an achievable DIY project with careful planning and execution. By following this step-by-step guide, you can successfully remove the old sink, prepare the new sink, install it securely, and connect the plumbing, ensuring a leak-free and functional kitchen sink. Remember to work carefully, use the proper tools, and check for any leaks before considering the installation complete. By installing a new kitchen sink, you can enhance both the functionality and aesthetics of your kitchen space.
