Introduction to Kitchen Sink Drain Installation
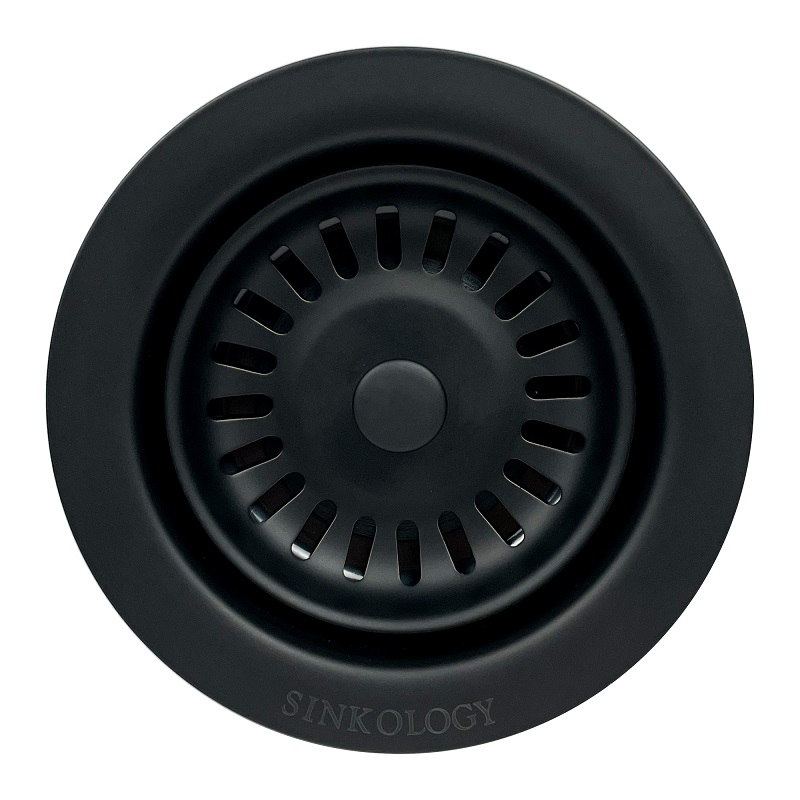
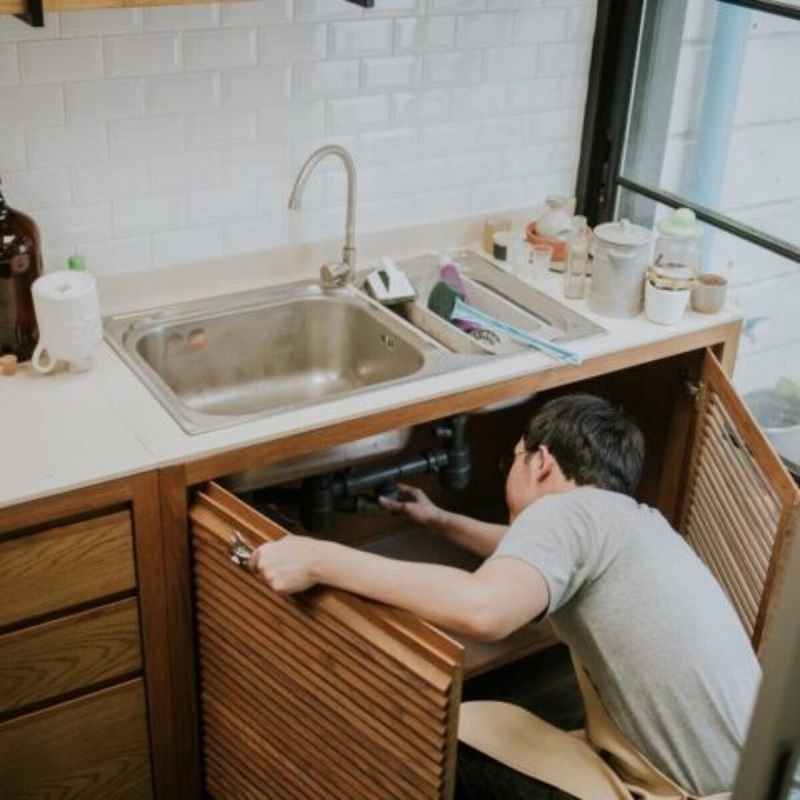
Installing kitchen sink drain can seem daunting. But with careful planning and the right tools, it is a task that homeowners can tackle. This guide will walk you through the basics of replacing your kitchen sink drain. You’ll learn what to do step by step. First, gather all the necessary tools and materials. Make sure you have everything before you start. You’ll be removing the old sink drain and installing a new one. We’ll connect the new drain to the existing plumbing. Finally, we’ll test to ensure there are no leaks, and provide some maintenance tips to keep your new drain in top shape.
Tools and Materials Needed for the Job
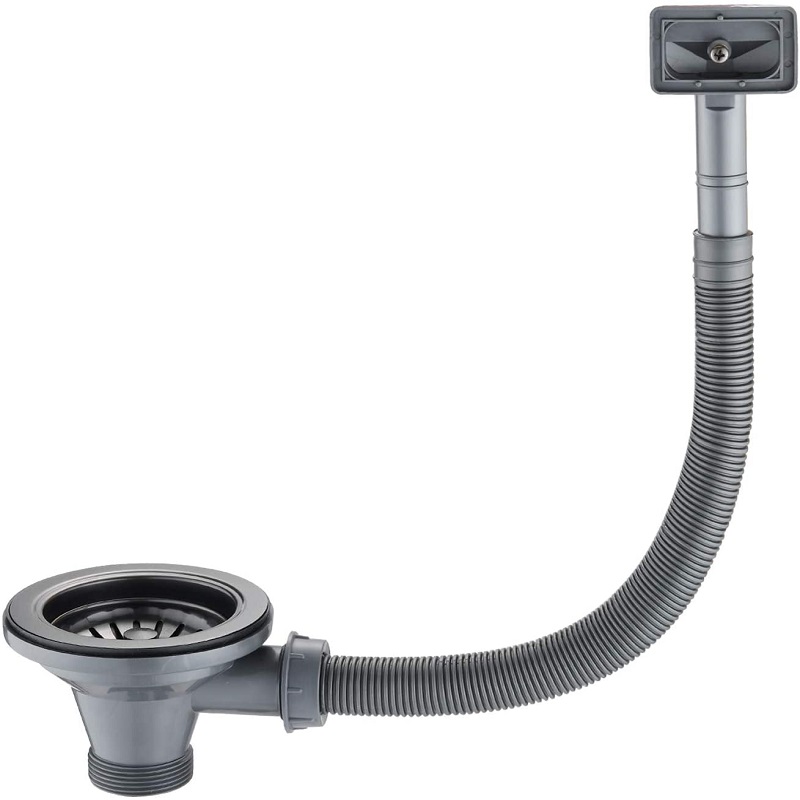
Before you begin installing your kitchen sink drain, ensure you have all the right tools and materials. This preparation is key to a smooth installation. Here’s what you’ll generally need:
- Adjustable wrench: For tightening and loosening nuts and fittings.
- Plumbers’ putty or silicone caulk: These help create a watertight seal around the drain flange.
- Plumber’s tape: This tape prevents leaks in threaded joints.
- Hacksaw: Sometimes required to cut through pipes.
- Pipe wrench: To hold pipes in place or turn them.
- Bucket: To catch any water remaining in the pipes when you remove the old drain.
- Screwdriver: For screws that might be part of the assembly.
- PVC or ABS pipes and fittings: Depending on your plumbing.
- Tape measure: To ensure accurate fitting.
Remember to check the manufacturer’s instructions that come with your new kitchen sink drain. They might suggest specific tools or materials unique to their product. Gather everything in advance to avoid mid-project runs to the store. This list is your starter kit to a new, leak-free kitchen sink drain.
Preparing the Sink and Workspace
Before starting the task of installing a kitchen sink drain, preparation is key. First clear out the area under your sink. Remove any household items, cleaners, or obstacles. This creates space for your tools and work area. Next, clean the sink and surrounding areas. Dirt and debris can interfere with the installation process. Make sure the sink surface is dry before you begin. Lay down towels or a drop cloth to protect your countertops and cabinets from tools or water spills. Double-check that you have shut off the water supply to the sink. This is crucial to prevent any accidental water flow. Ensure you have all the tools and materials listed previously right at hand.
Removing the Old Sink Drain
Now, let’s focus on removing the old sink drain, a vital step in preparing for the new installation. Follow these simplified steps for a hassle-free removal:
- Access the sink’s plumbing: Position yourself in the cabinet under the sink. Bring your flashlight and tools with you.
- Place the bucket: Put the bucket under the drain pipe to catch any residual water that may spill out.
- Loosen the connections: Use the adjustable wrench to carefully loosen the slip nuts connecting the existing drain assembly to the pipes. Turn counterclockwise until they come free.
- Detach the drain pipe: After loosening the nuts, remove the P-trap (the curved pipe) by hand. This prevents water from flowing back up through the drain.
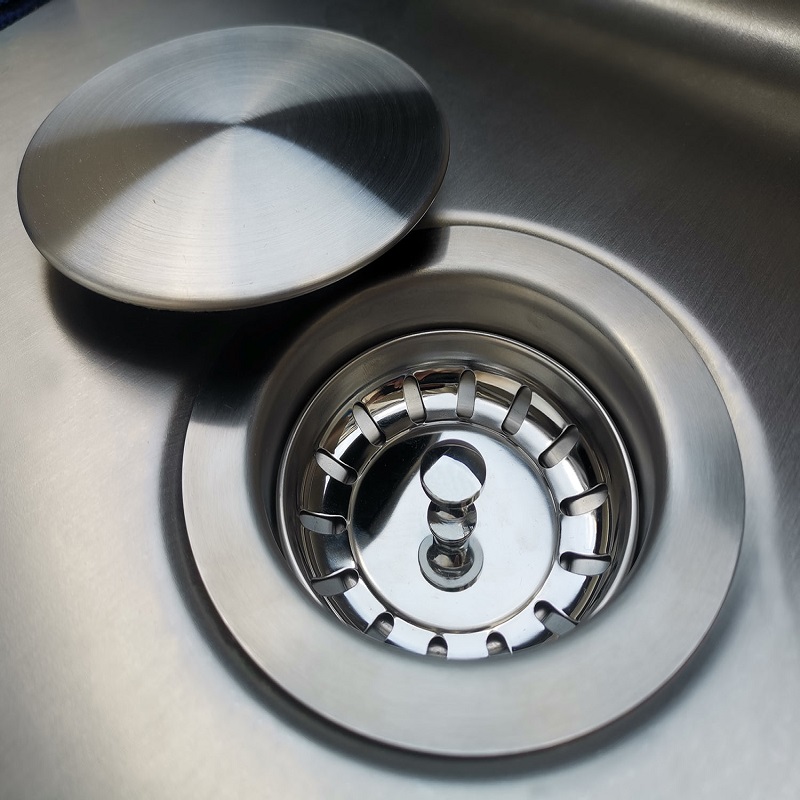
- Unscrew the drain flange: From above the sink, unscrew the drain flange. It is the visible part of the drain in the sink’s base. You might need a screwdriver or wrench for this task, depending on your sink’s design.
- Remove the old drain: Once disconnected, lift out the old sink drain, being sure to clean any remaining putty or sealant from the sink’s surface.
With the old drain out, a clear opening awaits the new kitchen sink drain assembly. Make sure the area is clean and ready for the next steps. In the next section, we will guide you through installing the new drain assembly.
Installing the New Drain Assembly
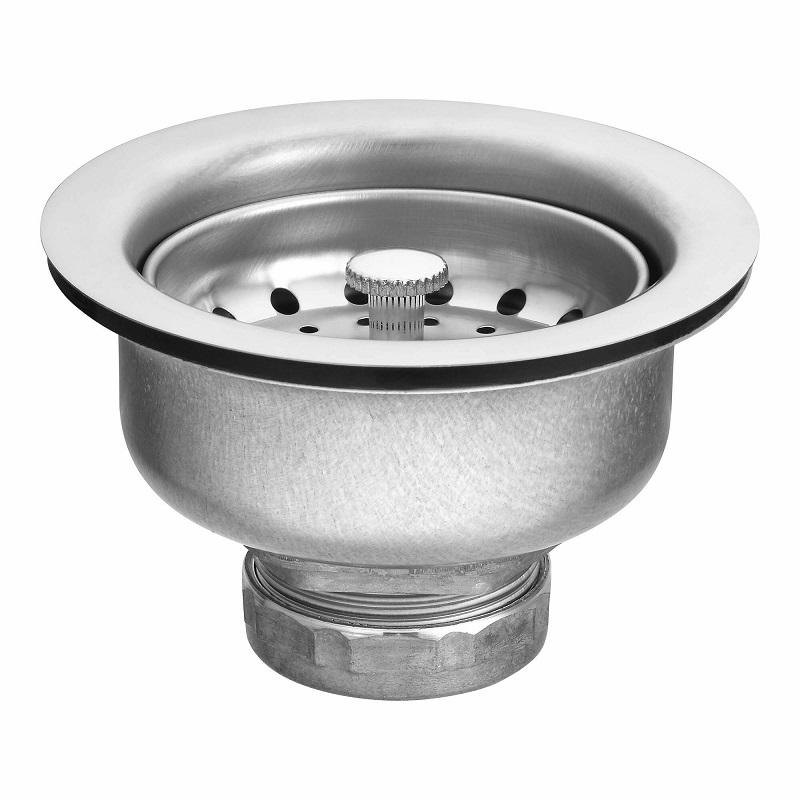
Now that you’ve cleared the old sink drain, it’s time to install the new one. Let’s go through the stages of this process carefully and methodically.
- Apply Plumber’s Putty or Silicone Caulk: First, roll some plumber’s putty into a rope shape. Apply it around the new drain flange’s underside. If you’re using silicone caulk, apply it as per its instructions. This forms a seal between the kitchen sink and the drain assembly.
- Set the Drain Flange: Carefully place the drain flange into the sink’s drain hole. Press it firmly. Ensure the putty or caulk creates a good seal with no gaps.
- Attach the Washer and Nut: From underneath the sink, place the gasket over the drain’s bottom. Then, hand-tighten the washer and nut onto the bottom of the flange. Use the wrench to make sure they are snug, but don’t over-tighten.
- Trim Excess Putty: Back on top of the sink, clean up excess putty that squeezed out. Smooth it out with your finger or a clean rag.
- Connect the Tailpiece: The tailpiece is the straight pipe that extends downward from the drain flange. Attach it using plumber’s tape and a connection nut. Ensure it aligns well with the rest of the plumbing.
You have successfully installed the new drain assembly in your kitchen sink. The next stage involves attaching your drain to the existing plumbing system. This part needs accuracy to prevent leakage.
Connecting the Drain to the Plumbing System
After installing the kitchen sink drain assembly, the next task is to connect it to the existing plumbing system. This part is critical to ensure your kitchen sink operates efficiently and without leaks. Follow these steps for a secure fit:
- Align the Tailpiece: Make sure the tailpiece attached to the drain flange is lined up correctly with the pipes below.
- Use Plumber’s Tape: Apply plumber’s tape on threads of the tailpiece to prevent leaks.
- Secure the Connections: Connect the tailpiece to the P-trap and the P-trap to the main drainpipe. Hand-tighten the slip nuts first.
- Tighten with Wrench: Once all parts are aligned and hand-tightened, use the wrench to firmly secure the connections. Ensure not to over-tighten as this may damage the fittings.
- Check for Alignment: Double-check that all parts of the plumbing are correctly aligned. Misalignment can cause issues with drainage and lead to leaks.
- Install Drain Lines for Dishwasher (if applicable): If you have a dishwasher, attach the drain line from it to the designated spot on the P-trap with a hose clamp.
Your kitchen sink is now connected to the plumbing system. The drain should align seamlessly with the system, establishing a clear path for water to drain without any hiccups.
The successful installation of a kitchen sink drain, which includes a sturdy connection to the plumbing, is a task you can be proud of completing. With the new drain firmly in place, you’re ready to move on to sealing and testing to make sure everything is in perfect working order.
Sealing and Testing the New Sink Drain
With your new kitchen sink drain installed and connected, the subsequent step is essential: sealing and testing. This ensures everything will function without any leaks. Here’s a straightforward approach to seal and test your sink drain installation:
- Inspect the Sealant: Check the seal around the flange. There should be no gaps. If you find any, apply more plumber’s putty or silicone caulk.
- Wipe Clean: Any excess sealant should be wiped away for a neat finish. Use a damp cloth for best results.
- Run the Water: Slowly turn on the water supply to the sink. Watch the water flow. Observe for any immediate signs of leaks.
- Fill the Sink: Block the drain and fill the sink with water. The weight of the water will help reveal any leaks.
- Check Connections Underneath: While the sink is full, check underneath for any moisture or drips. Pay attention to the connections around the P-trap and tailpiece.
- Drain the Sink: Release the water and watch how it drains. Listen for any unusual sounds that might indicate an issue.
- Final Inspection: After the water has drained, do one last check under the sink for dampness.
If any leaks are present or if the water does not drain well, revisit your connections and make sure everything is tight and correctly assembled. Occasionally, you may need to disassemble and re-seat some components to achieve a watertight seal. Installing a kitchen sink drain properly keeps your system leak-free and functional for years to come.

Maintenance Tips for Your New Kitchen Sink Drain
Caring for your newly installed kitchen sink drain extends its life and prevents issues. Use these simple maintenance tips regularly:
- Regular Cleaning: Keep the drain area clean. Wipe away food particles and debris to prevent clogs.
- Avoid Harsh Chemicals: Don’t pour strong chemicals down the sink. They can damage pipes and wear down seals.
- Hot Water Flush: Once a week, pour boiling water down the drain. This helps clear out grease and oils.
- Check for Leaks: Every few months, inspect under the sink for any signs of leaks. Catching them early is key.
- Strainer Use: Use a strainer in the sink to catch solids. This simple tool can save you from clogs.
- Sealant Checks: Periodically check the sealant around the flange. If it’s wearing out, it’s time for reapplication.
