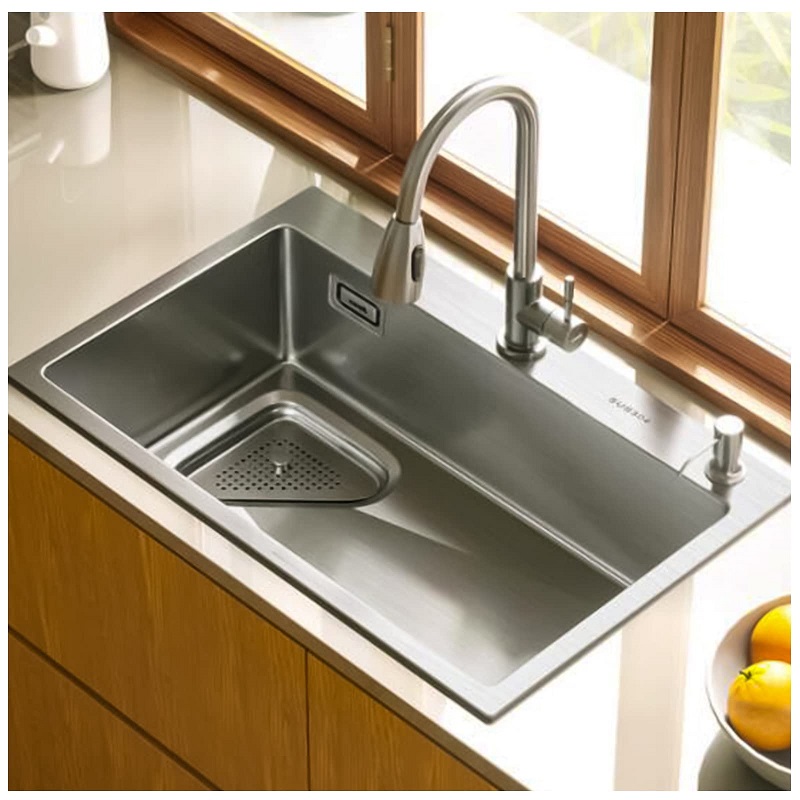
Install kitchen sink is a crucial part of kitchen renovation or remodeling. A properly installed kitchen sink ensures functionality, convenience, and enhances the overall aesthetics of the space. From selecting the appropriate sink to connecting the plumbing, each step is essential to achieve a successful installation. In this article, we will provide a detailed step-by-step guide for the proper installation of a kitchen sink, covering preparation, sink selection, assembling, securing, and connecting the plumbing. Let’s dive into the world of kitchen sink installation and create a functional and beautiful kitchen space.
Preparation and Planning:
Before beginning the installation process, it is important to prepare the area and plan accordingly. Consider the sink location, the size of the sink cabinet, and the layout of the plumbing connections. Ensure that you have all the necessary tools and materials for the installation, including the sink, faucet, drain, plumber’s putty or silicone caulk, and the appropriate wrenches or screwdrivers.
Selecting the Sink:
Choose a sink that fits your needs and complements your kitchen design. Consider factors such as size, style, material, and functionality. Common sink materials include stainless steel, cast iron, composite, or porcelain. Measure the sink cabinet to ensure that the selected sink will fit properly.
Remove the Old Sink:
If replacing an existing sink, turn off the water supply and disconnect the plumbing connections. Remove the old sink by loosening any securing clips or brackets underneath. Gently cut through any adhesive or caulk around the perimeter of the kitchen sink using a utility knife. Lift the sink up and away, being careful not to damage the countertop or cabinets.
Install the Faucet:
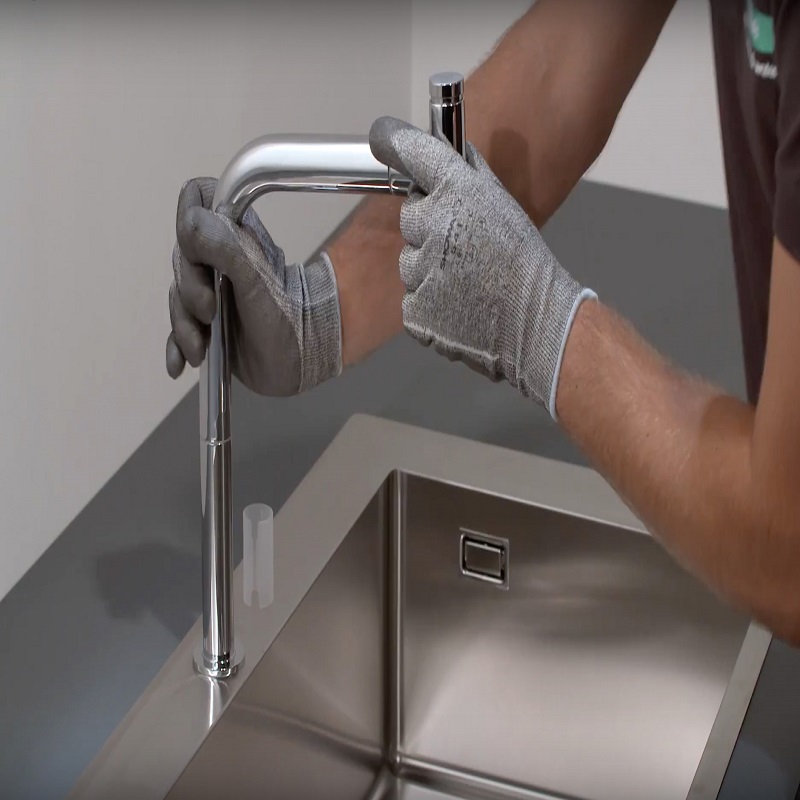
Before placing the sink, install the faucet. Follow the manufacturer’s instructions for proper installation. Insert the faucet through the appropriate holes in the sink, and secure it from underneath with nuts or mounting brackets. Ensure that the faucet is properly aligned and centered before tightening the connections.
Test Fit and Adjustments:
Place the sink into the sink cabinet to check for proper fit. Ensure that there is enough clearance for the sink in relation to the countertop and cabinets. Make any necessary adjustments to the sink cutout or cabinet support if needed. Once satisfied with the fit, remove the sink from the cabinet for final installation.
Apply the Sealant:
Apply a thin, continuous bead of plumber’s putty or silicone caulk around the underside of the sink rim. This forms a watertight seal between the sink and the countertop. Ensure that the entire rim is covered, paying extra attention to the areas around the faucet and drain openings.
Secure the Sink:
Carefully lower the sink into the cabinet, aligning it with the cutout on the countertop. Apply gentle pressure to evenly distribute the weight and help press the sink into the sealant. From underneath the sink, use securing clips or mounting brackets provided with the sink to secure it to the countertop. Follow the manufacturer’s instructions for proper installation and tightening.
Connect the Plumbing:
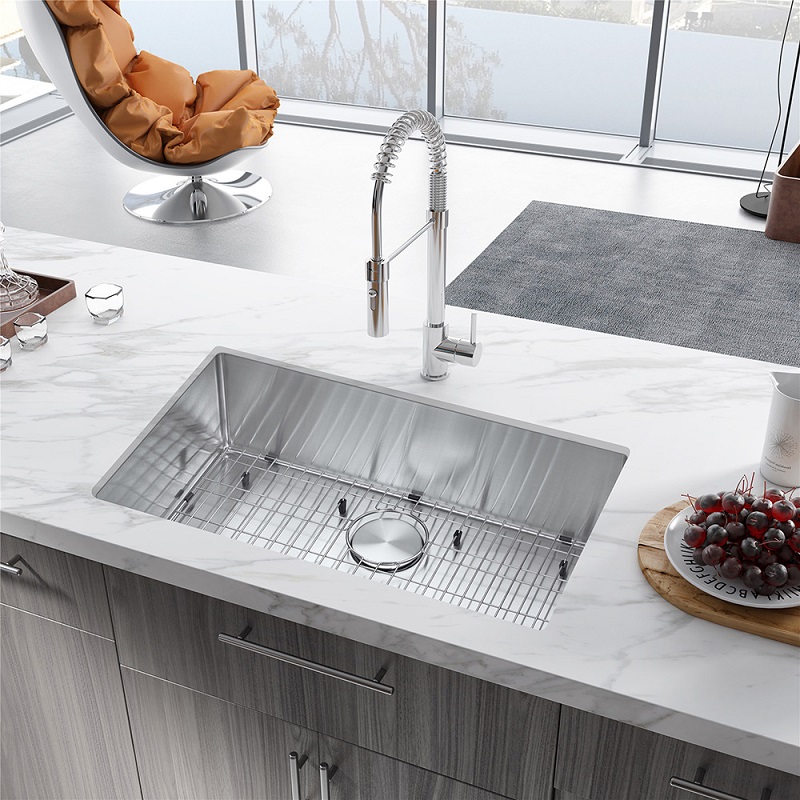
Connect the water supply lines to the corresponding hot and cold water inlets on the faucet. Use adjustable wrenches to secure the connections, ensuring they are tight but not over-tightened. Install the drain assembly by connecting the drain tailpiece to the kitchen sink drain, ensuring they are properly aligned and sealed with plumber’s putty or rubber gaskets. Attach the P-trap and any additional plumbing connectors as necessary.
Test for Leaks:
Before using the sink, turn on the water supply and check for any leaks. Monitor the connections and drain for signs of dripping or moisture. Make any necessary adjustments or tighten connections as needed to eliminate any leaks. Additionally, check the sink for proper drainage by letting water flow freely into the sink and observing its rate of drainage.
Finishing Touches:
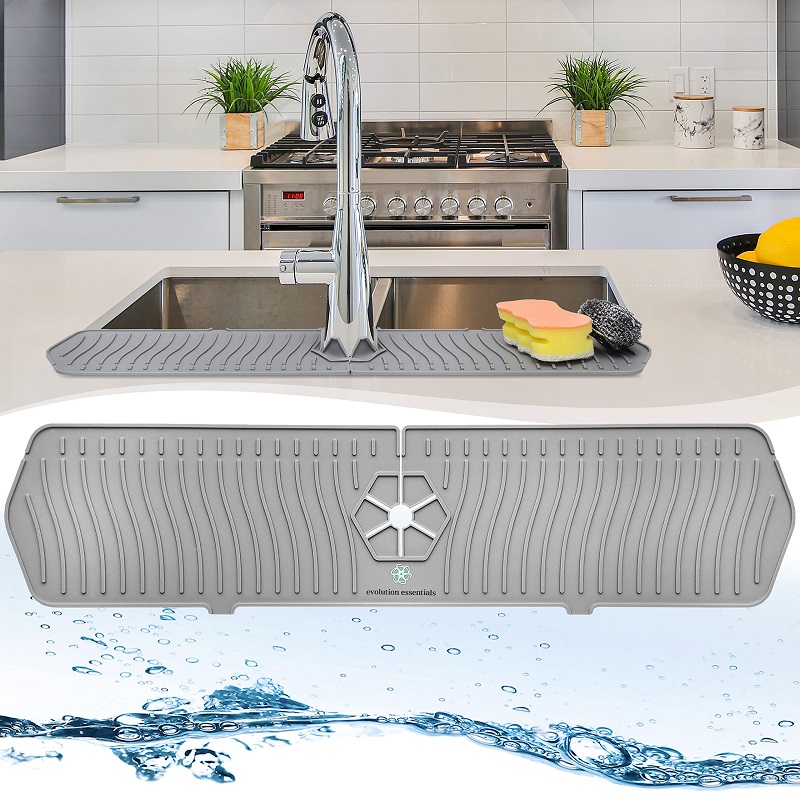
Once the installation is complete and there are no leaks or issues, clean the sink and countertop thoroughly. Remove any excess plumber’s putty or caulk with a clean cloth or putty knife. Install any accessories such as sink grids, soap dispensers, or disposal flanges according to the manufacturer’s instructions. Finally, inspect the entire installation for any loose connections or potential issues.
Advantages of installing a kitchen sink
Installing a kitchen sink is more than just a basic plumbing task. A properly installed kitchen sink offers numerous advantages, both in terms of functionality and aesthetics. It serves as the focal point of the kitchen, providing a space for food preparation, washing dishes, and improving overall convenience.
Improved Efficiency:
One of the primary benefits of installing a kitchen sink is the improvement in efficiency and productivity within the kitchen. A well-designed sink allows for seamless food preparation, washing, and cleaning, making daily kitchen tasks more convenient and time-saving. With a thoughtfully installed sink, you can easily access water, wash and rinse dishes efficiently, and maintain a clean and organized workspace.
Increased Storage Options:
Proper installation of a kitchen sink often involves planning for enough storage space underneath the sink. Utilizing the area beneath the sink for storage allows you to keep cleaning supplies, dish soap, sponges, and other kitchen essentials within easy reach. With organized storage options, you can maximize the functionality of your kitchen and keep the countertop clutter-free.
Enhanced Hygiene:
A well-installed kitchen sink promotes optimal hygiene practices in the kitchen. With an efficiently functioning sink, it becomes easier to maintain cleanliness and prevent the spread of bacteria or contaminants. Adequate space around the sink allows for proper handwashing, while a well-designed drainage system helps to efficiently remove dirty water and food waste. Ensuring proper installation can contribute to a cleaner and more hygienic kitchen environment.
Improved Ergonomics:
Proper placement and installation of a kitchen sink leaking contribute to better ergonomics within the kitchen. The placement of the sink at a comfortable height and distance from other work surfaces reduces strain and fatigue during food preparation and dishwashing. A well-installed sink allows for tasks to be completed with minimal bending, reaching, or uncomfortable posture, ensuring a more comfortable and enjoyable cooking experience.
Enhanced Aesthetics:
Aesthetics play a significant role in kitchen design, and a properly installed sink can enhance the overall visual appeal of the space. With a wide variety of sink styles, materials, and finishes available, you can choose a sink that complements the kitchen’s design theme or serves as a focal point. From sleek stainless steel sinks to elegant farmhouse-style sinks, the right choice can elevate the aesthetic appeal of your kitchen.
Versatile Design Options:
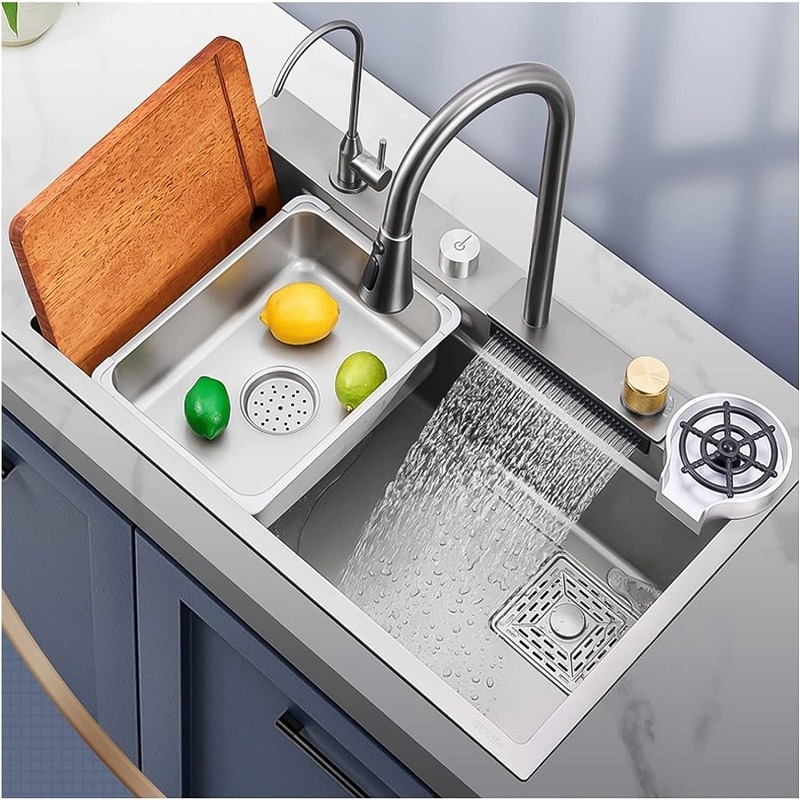
Proper installation of a kitchen sink provides versatility in design options. Various sink configurations, such as single-bowl, double-bowl, or even triple-bowl sinks, offer flexibility in terms of functionality and usage. Additionally, options such as integrated cutting boards, dish racks, or built-in soap dispensers can be incorporated into the sink design, offering added convenience and customization.
Increased Home Value:
A well-designed and properly installed kitchen sink can significantly impact the value of your home. Potential buyers perceive a functional and well-designed kitchen as a desirable feature, and a thoughtfully installed sink can contribute to this perception. An upgraded kitchen sink installation may enhance the overall appeal of your home and potentially increase its resale value.
Conclusion:
Proper install kitchen sink is essential for functionality and aesthetics. By following this step-by-step guide, you can successfully install a kitchen sink, ensuring a watertight seal and connecting the plumbing correctly. From preparation and planning to selecting a suitable sink, assembling and securing it, connecting the plumbing, and performing final tests, attention to detail is crucial for a successful installation. With the right tools, materials, and careful execution, you can create a functional and beautiful kitchen space that meets your needs and enhances your daily routines.
