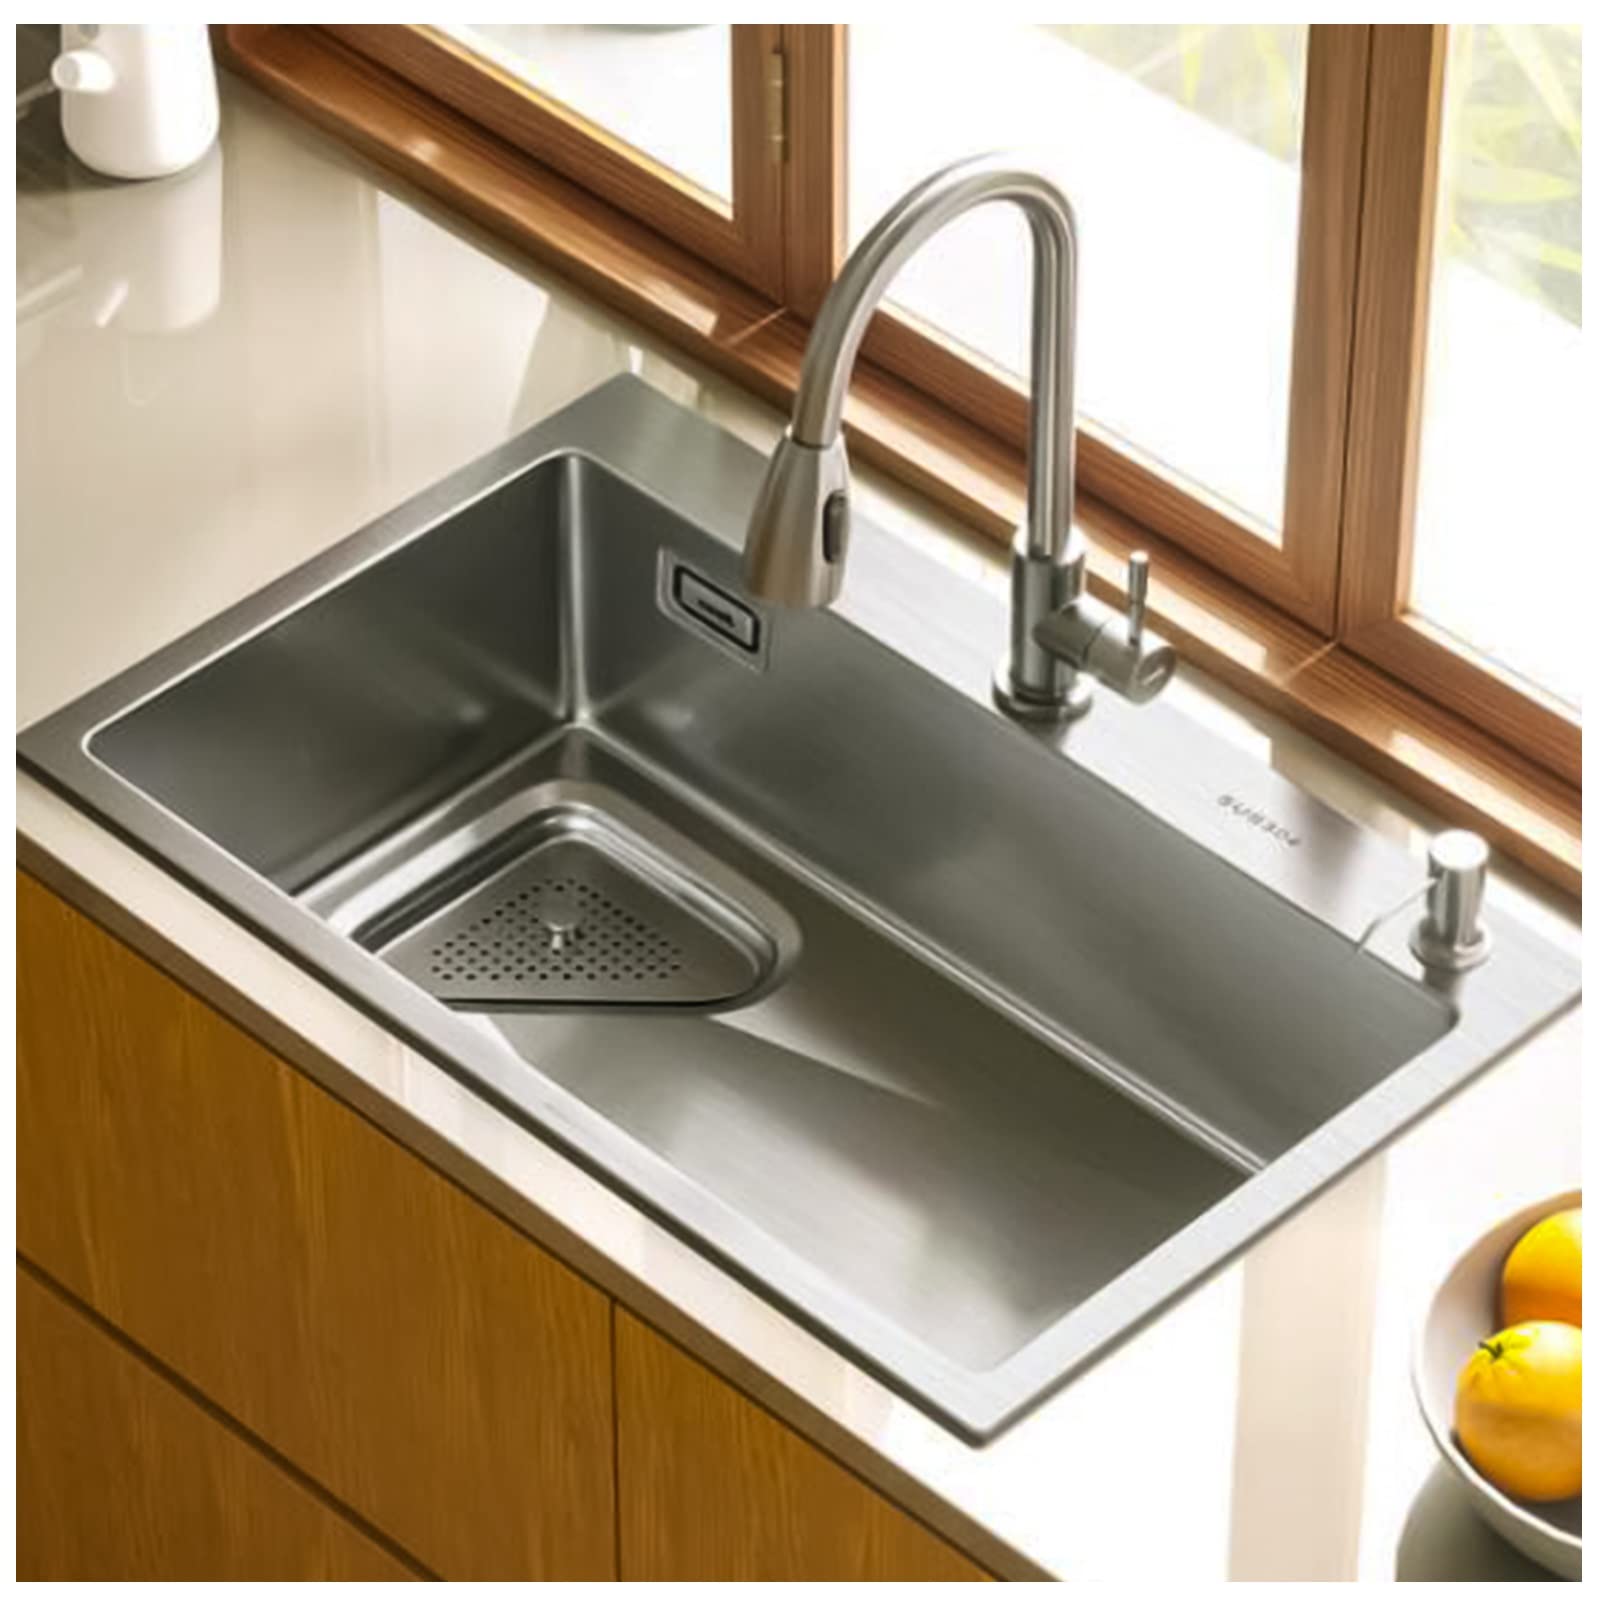
How to install kitchen sink? Installing a kitchen sink can be a rewarding DIY project that enhances the functionality and aesthetics of your kitchen. While the process may seem daunting, following a step-by-step approach and gathering the necessary tools and materials will help ensure a successful installation. In this guide, we will provide a comprehensive overview of the process, including preparation, assembly, and final installation to help you install a kitchen sink with confidence.
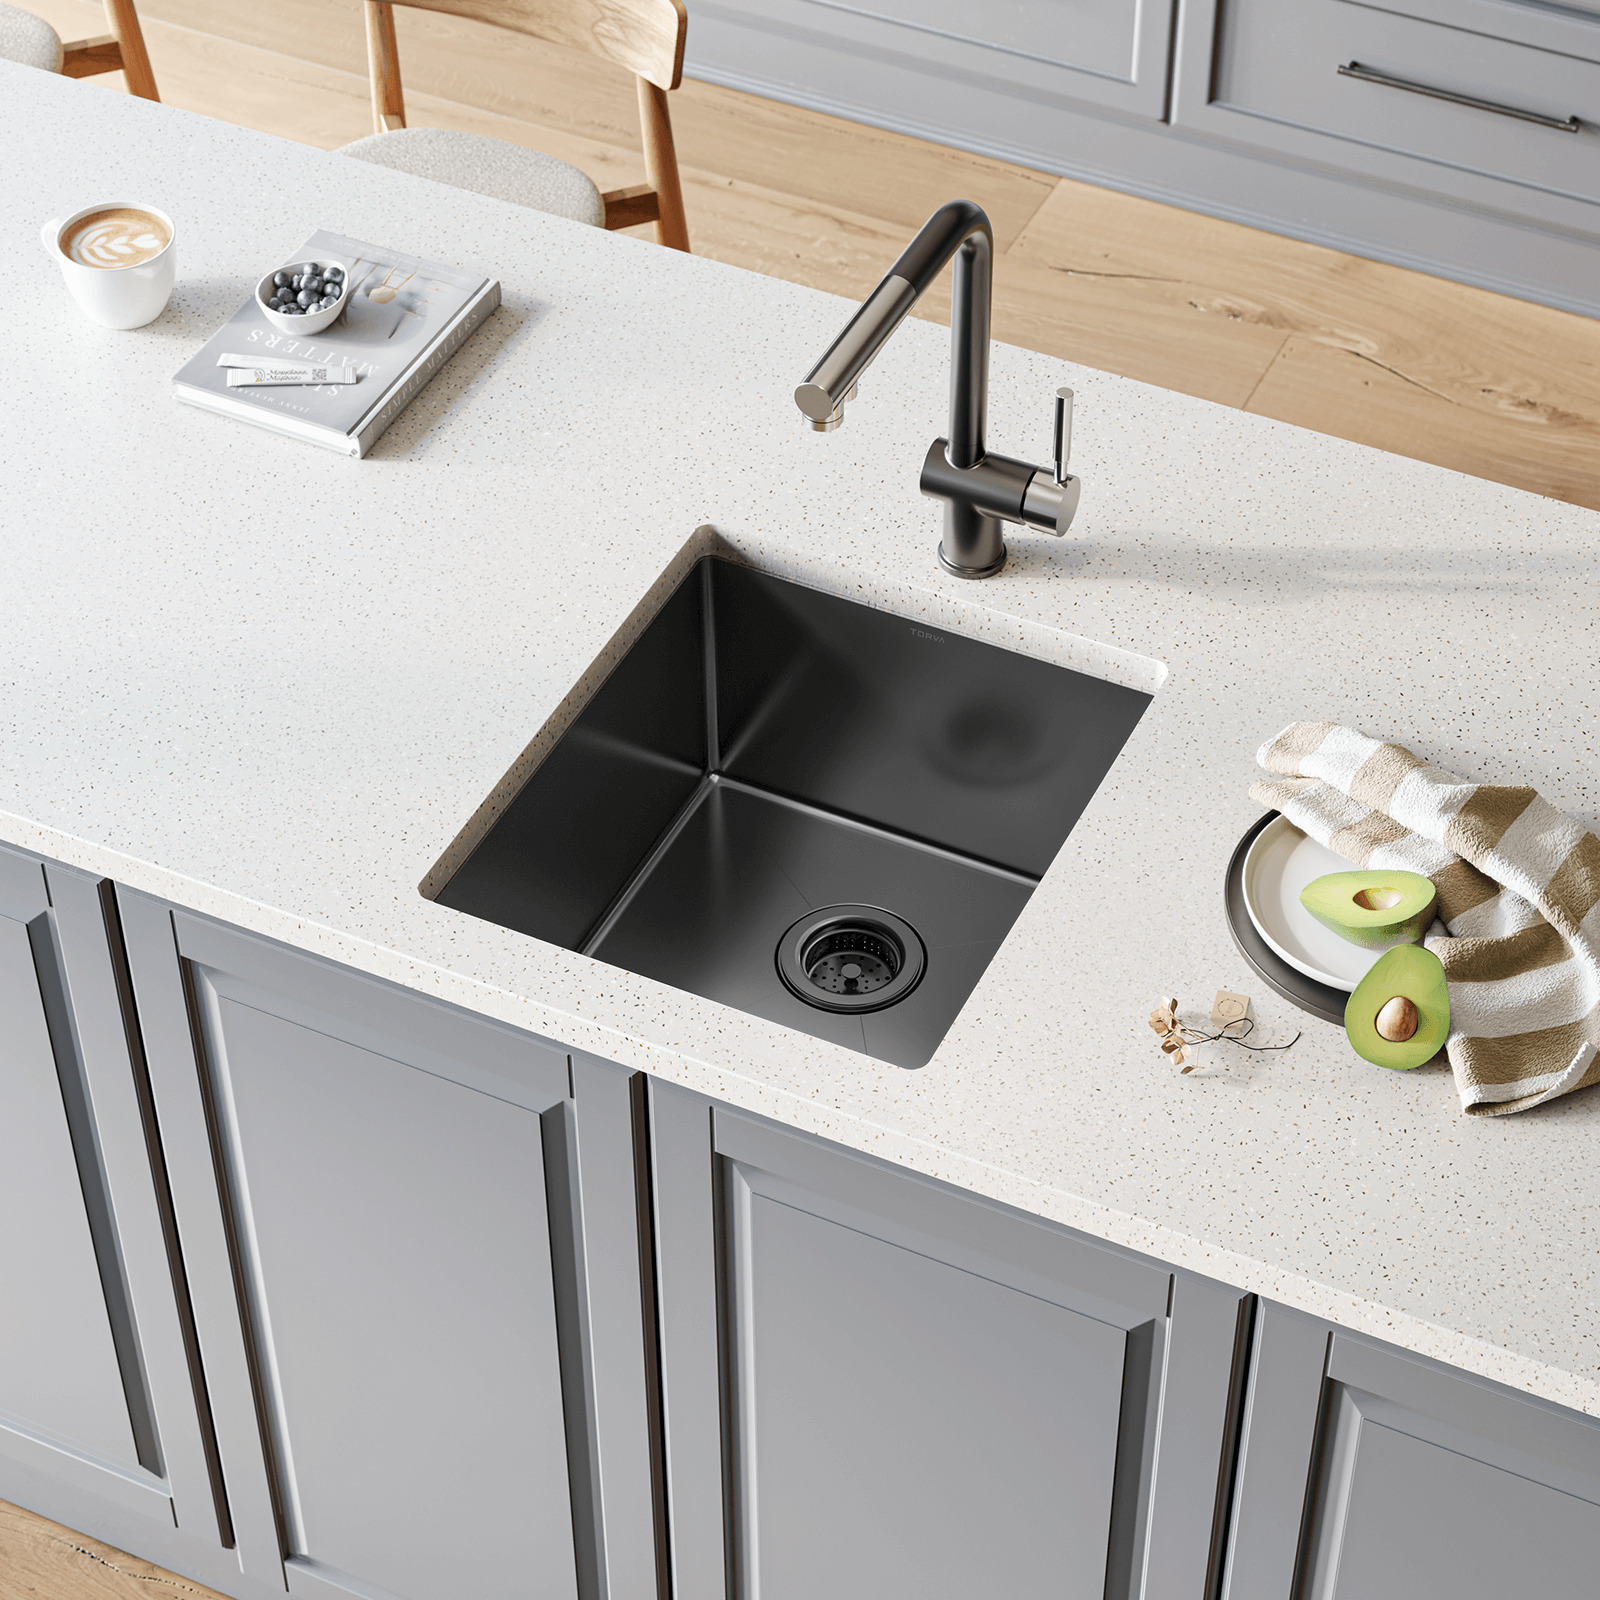
Pre-Installation Preparation:
Before beginning the installation process, it is essential to gather the necessary tools and materials and prepare the workspace. Here are the key steps:
Gather Tools and Materials:
- Sink and faucet
- Drain assembly
- Plumber’s putty or silicone caulk
- Adjustable wrench
- Pipe wrench
- Screwdriver
- Plumber’s tape
- Bucket
Clear the Workspace:
Remove all items from under the kitchen sink and clear the area to allow easy access and maneuverability during installation.
Removal of Existing Sink:
If replacing an existing sink, follow these steps to remove it:
Shut off the water supply:
- Locate the shut-off valves under the sink and turn them clockwise to shut off the water supply.
Disconnect the water supply lines:
- Use an adjustable wrench to disconnect the hot and cold water supply lines from the shut-off valves.
Disconnect the drain assembly:
- Use a pipe wrench to disconnect the drain assembly from the sink’s tailpiece.
Remove the sink:
- Carefully cut any adhesive or caulk around the edges of the sink using a utility knife.
- Loosen and remove any clips or brackets holding the sink in place.
- Lift the sink from the countertop and set it aside.
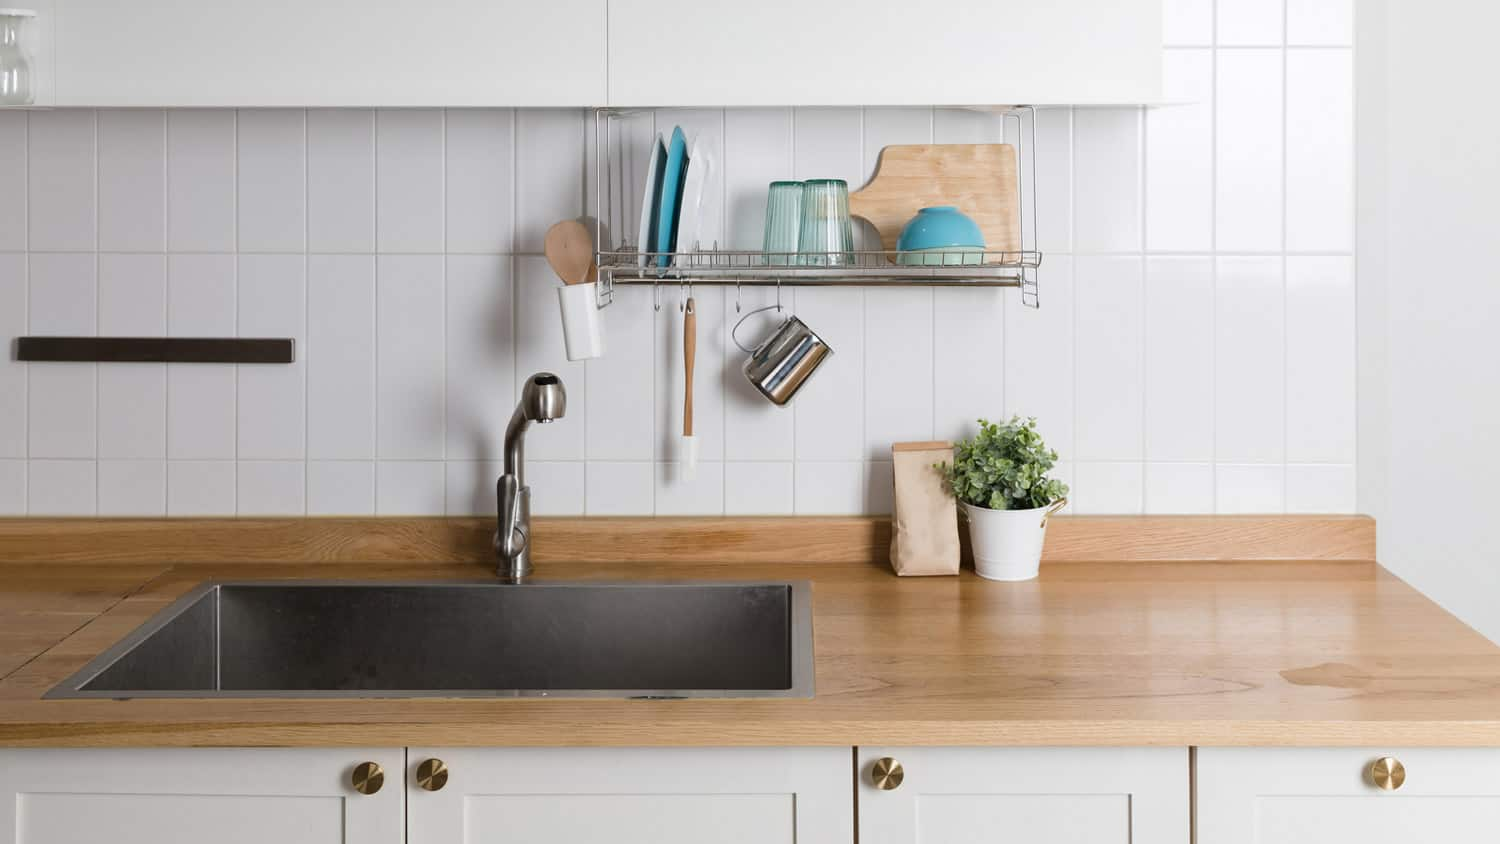
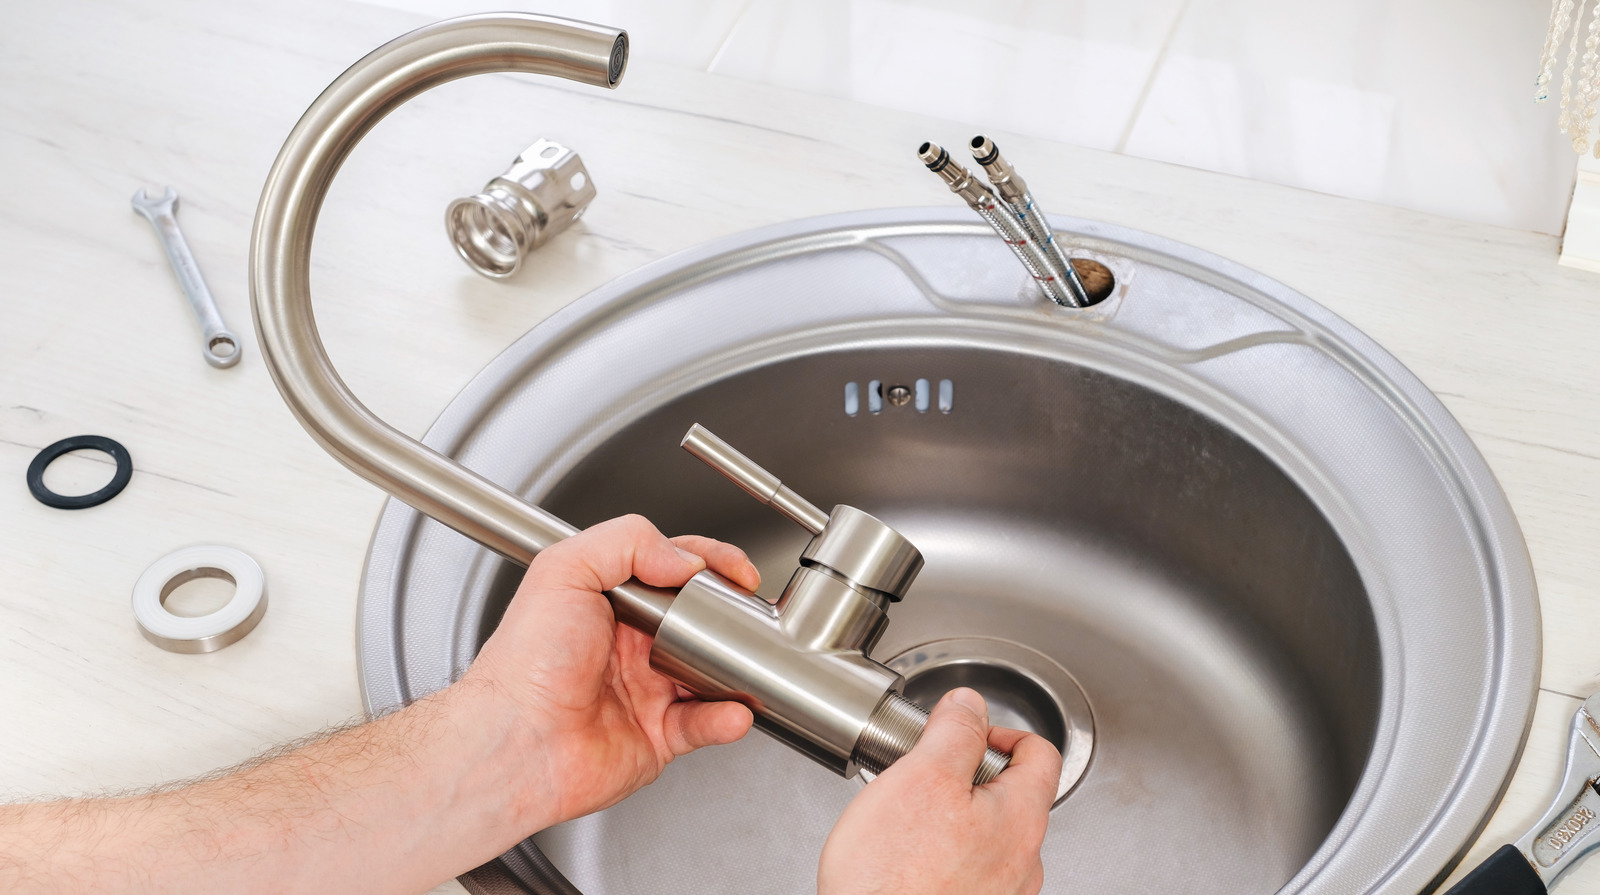
Sink and Faucet Assembly:
Before installing the sink, follow these steps to assemble the sink and faucet:
Attach the faucet to the sink:
- Place the gasket or rubber ring onto the faucet base, then insert the faucet through the appropriate hole(s) in the sink.
- Secure the faucet using a mounting nut or bracket provided by the manufacturer. Follow the manufacturer’s instructions for proper installation.
Install the drain assembly:
- Apply plumber’s putty or silicone caulk to the underside of the drain basket flange.
- Insert the drain basket into the sink’s drain opening and secure it from below using the provided mounting hardware.
Installation of the New Sink:
Once the sink and faucet assembly is complete, follow these steps to install the new sink:
Prepare the countertop:
- Apply a thin bead of silicone caulk around the edge of the kitchen sink faucet on the countertop.
- Carefully lower the sink into the cutout, ensuring proper alignment and an even fit.
Secure the sink:
- Attach mounting clips or brackets provided by the manufacturer to the underside of the sink, securing it to the countertop.
- Adjust the clips or brackets as needed to ensure a tight and secure fit.
Connect the drain assembly:
- Apply plumber’s tape to the threaded portions of the drain assembly.
- Insert the tailpiece into the drain opening at the sink bottom and secure it using a locknut or compression nut.
- Connect the P-trap or the extension pipe to the tailpiece, ensuring a watertight connection.
Connect the water supply lines:
- Attach the hot and cold water supply lines to the corresponding inlet pipes on the faucet.
- Use an adjustable wrench to tighten the connections, ensuring they are snug but not overtightened.
Finishing Touches and Testing:
To complete the installation, follow these final steps:
Apply silicone caulk:
- Run a thin bead of silicone caulk around the edge of the sink where it meets the countertop.
- Use a damp cloth or your finger to smooth and remove excess caulk.
Turn on the water supply:
- Slowly turn on the shut-off valves to restore the water supply.
- Check all connections for leaks and tighten as necessary.
Test the sink and drain:
- Fill the sink partially with water and let it drain completely, ensuring proper water flow and no leaks.
- Check for any drips or signs of leakage underneath the sink.
The role of kitchen sink
The kitchen sink is a vital component of any kitchen, serving as a multifunctional fixture that facilitates various tasks, including food preparation, cooking, cleaning, and waste disposal. While often taken for granted, the types of sinks plays a pivotal role in maintaining a hygienic and functional space.
Food Preparation:
One of the primary functions of the kitchen sink is food preparation. Whether it’s washing fruits and vegetables, rinsing raw meats, or cleaning utensils, the sink provides a dedicated space to handle these tasks. It offers a convenient location to efficiently prepare ingredients and maintain kitchen hygiene by enabling thorough washing and rinsing.
Dishwashing:
Dishwashing is another integral aspect of kitchen sink usage. After meals, the sink serves as a central hub for washing dishes, cookware, and utensils. It allows for the removal of food particles, grease, and bacteria. The sink’s dimensions and depth provide ample space for soaking, scrubbing, and rinsing, ensuring thorough cleanliness.
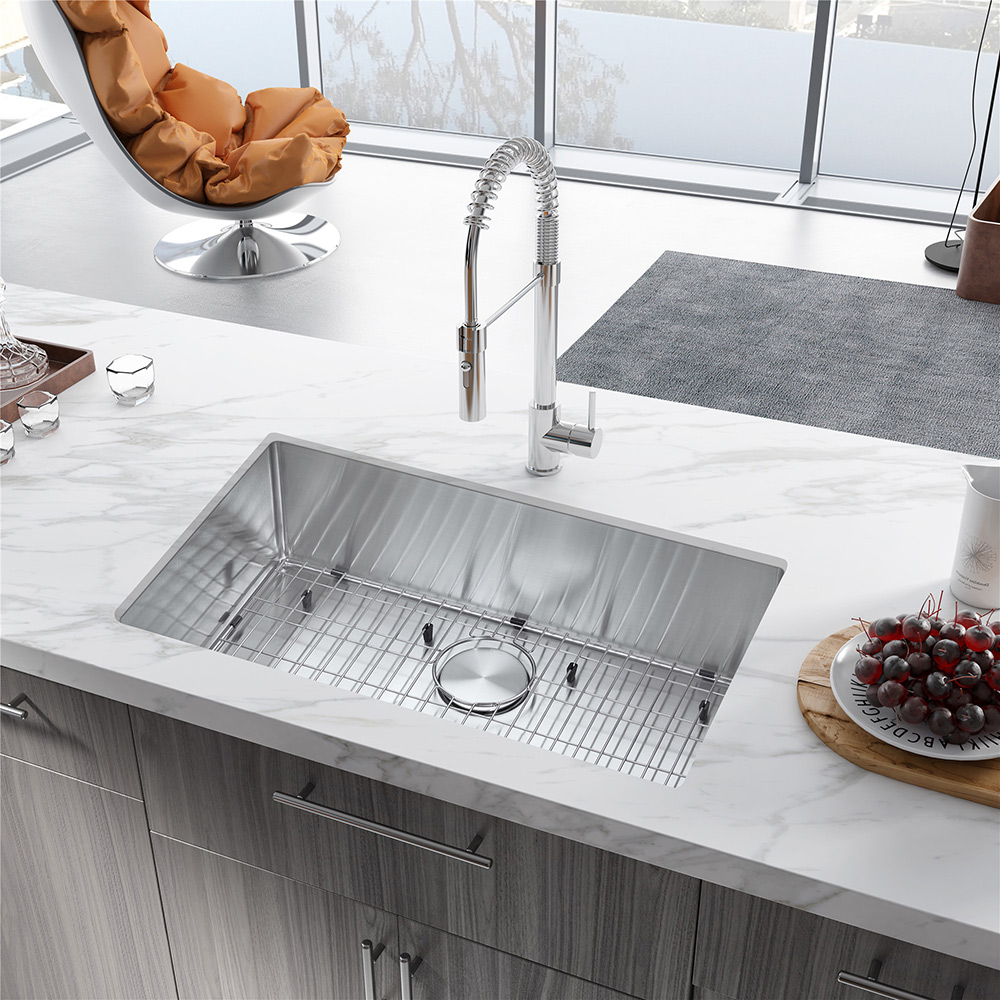
Waste Disposal:
The kitchen sink aids in waste disposal, enabling the safe and efficient removal of food scraps, peels, and other debris. Many sinks are equipped with a garbage disposal unit, which mechanically pulverizes and flushes food waste down the drain. This minimizes odors, prevents clogged pipes, and promotes a cleaner kitchen environment.
Hygiene and Sanitation:
Maintaining cleanliness and combating potential contamination are crucial in the kitchen. The kitchen sink plays a paramount role in promoting hygiene and sanitation. It provides an area to wash hands, reducing the spread of germs. Regular cleaning of the sink itself removes bacteria, mold, and food residue, ensuring a sanitary kitchen environment.
Water Supply and Conservation:
The kitchen sink acts as a point of access to the water supply. It provides a location to fill pots, kettles, and other containers with fresh water. Additionally, modern sinks often incorporate features such as built-in water filters or taps with adjustable flow rates, promoting water conservation and healthy drinking water.
Aesthetic Appeal and Design Element:
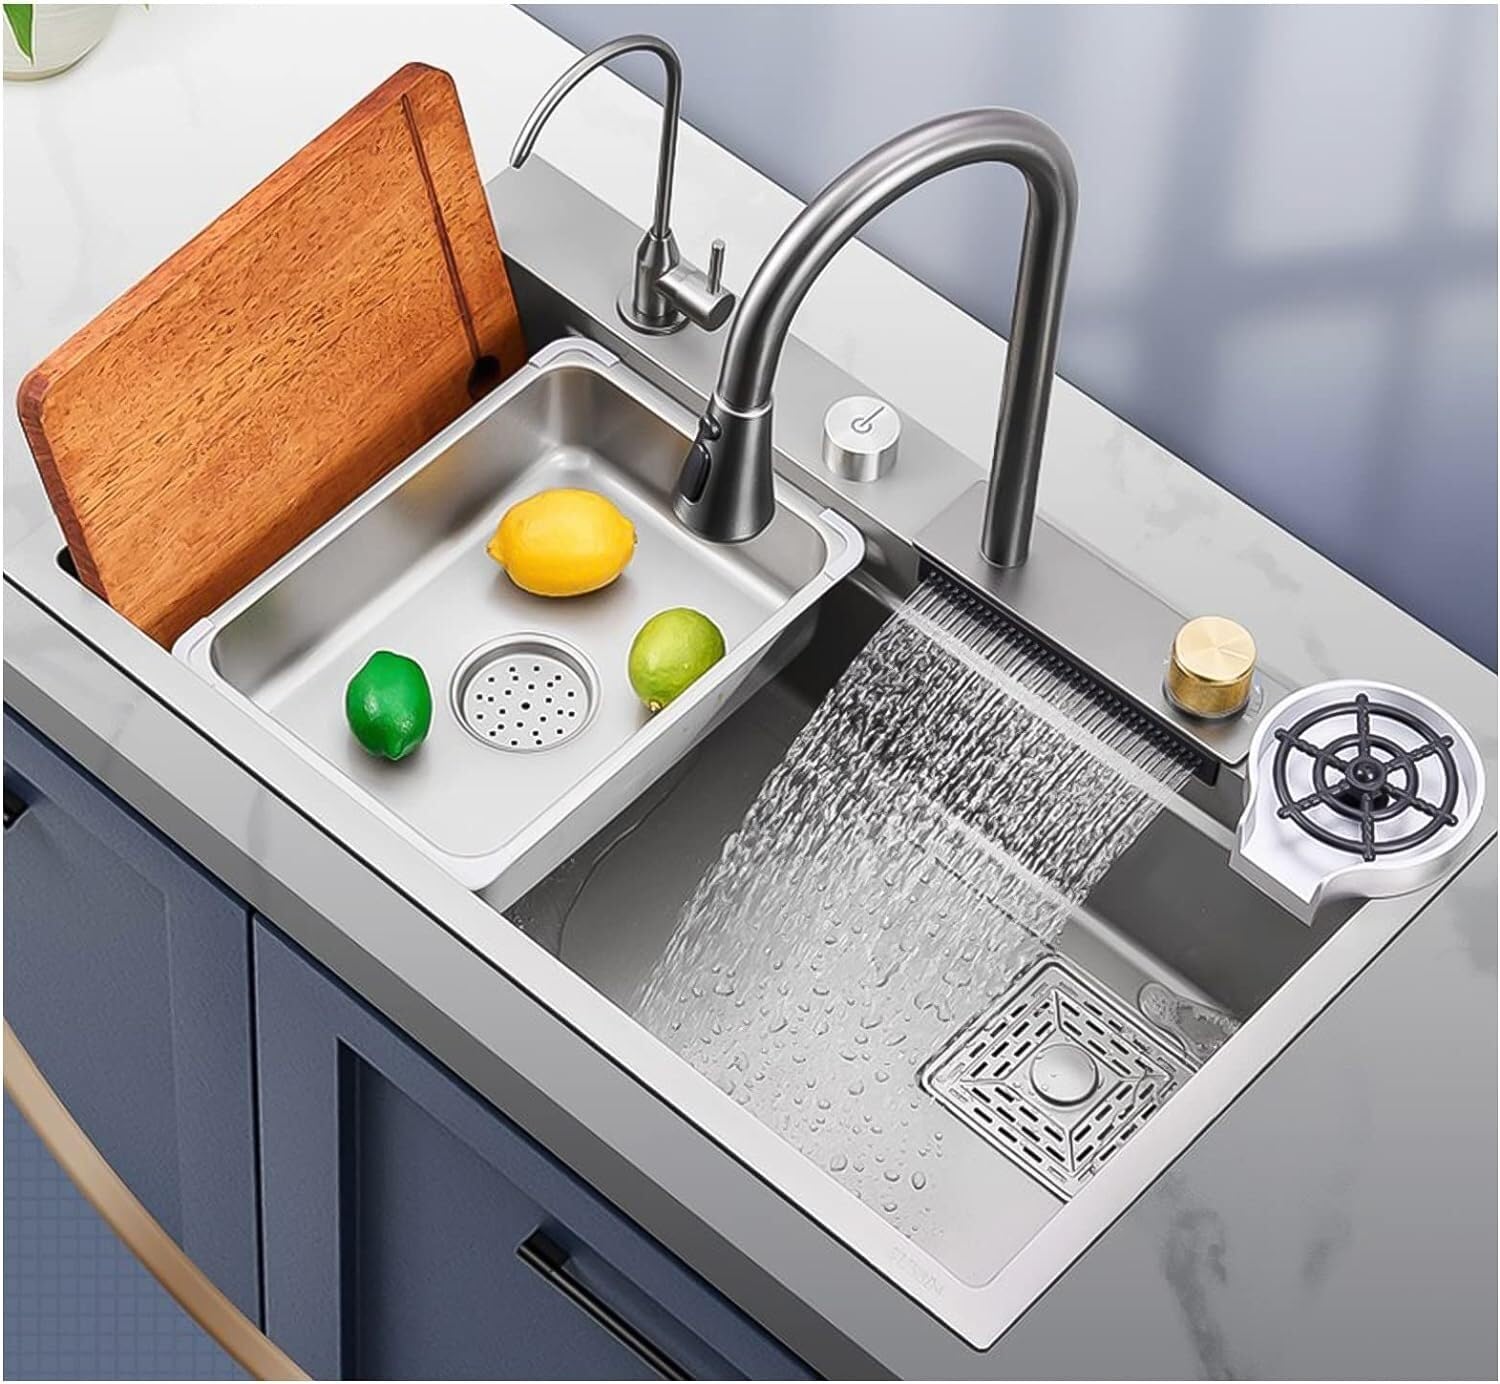
Apart from its functional aspects, the kitchen sink also contributes to the overall aesthetics of the kitchen. A well-chosen sink can complement the kitchen’s design and style, enhancing its visual appeal. Sinks come in a variety of materials, finishes, and sizes, allowing homeowners to select a sink that harmonizes with their preferred kitchen decor.
Conclusion:
Installing a kitchen sink requires careful preparation, assembly, and installation. By following the steps outlined in this comprehensive guide, you can successfully install a new sink and enhance your kitchen’s functionality and appeal. Remember to consult the manufacturer’s instructions for specific requirements and practice caution throughout the process. With proper planning and attention to detail, you can achieve a professional and functional kitchen sink installation.
