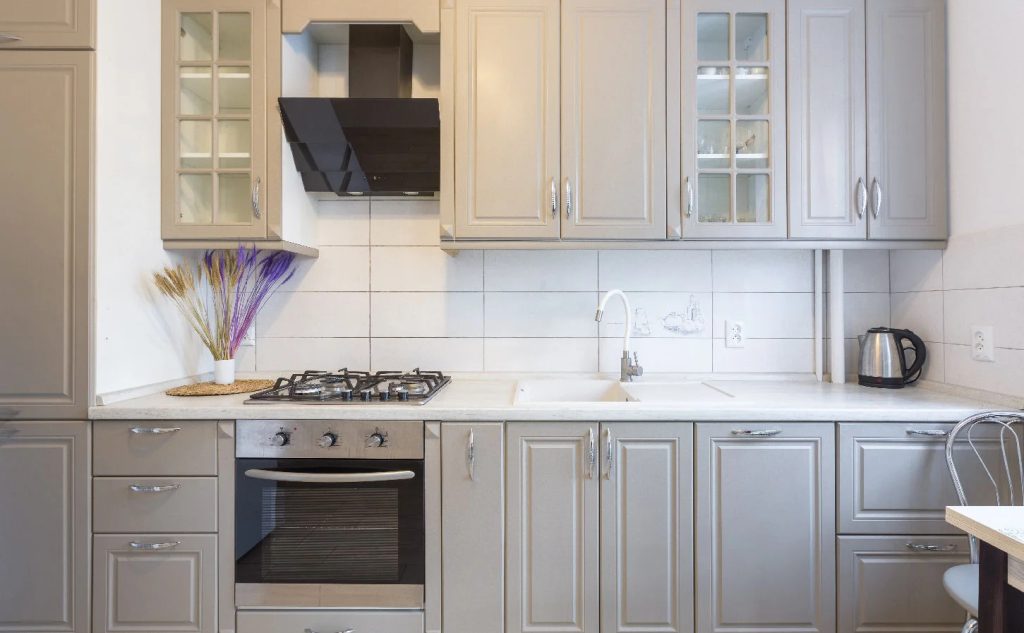
Spraying kitchen cabinets can be a fantastic way to achieve a professional, smooth finish while saving time and effort compared to traditional brush or roller methods. In this comprehensive guide, I will delve into the techniques, equipment, preparation, and safety measures involved in spraying kitchen cabinets effectively.
Section 1: Understanding the Process
1.1 Benefits of Spraying
Spraying kitchen cabinets offers several advantages, including uniform coverage, a flawless finish, and the ability to reach intricate details and crevices that may be challenging with brushes or rollers. Additionally, spraying provides a faster application, reducing drying time and allowing for multiple coats to be applied in a shorter timeframe.
1.2 Types of Sprayers
There are several types of sprayers commonly used for cabinet painting, including airless sprayers, HVLP (high volume, low pressure) sprayers, and compressed air sprayers. Each type has its own advantages and considerations, such as speed, control, overspray, and suitability for different types of paint.
Section 2: Preparation
2.1 Surface Preparation
Proper surface preparation is crucial for a successful cabinet spraying project. This involves cleaning the cabinets thoroughly to remove grease, dirt, and grime. Sanding the surfaces to create a smooth, clean base for the paint to adhere to is also essential.
2.2 Masking and Protection
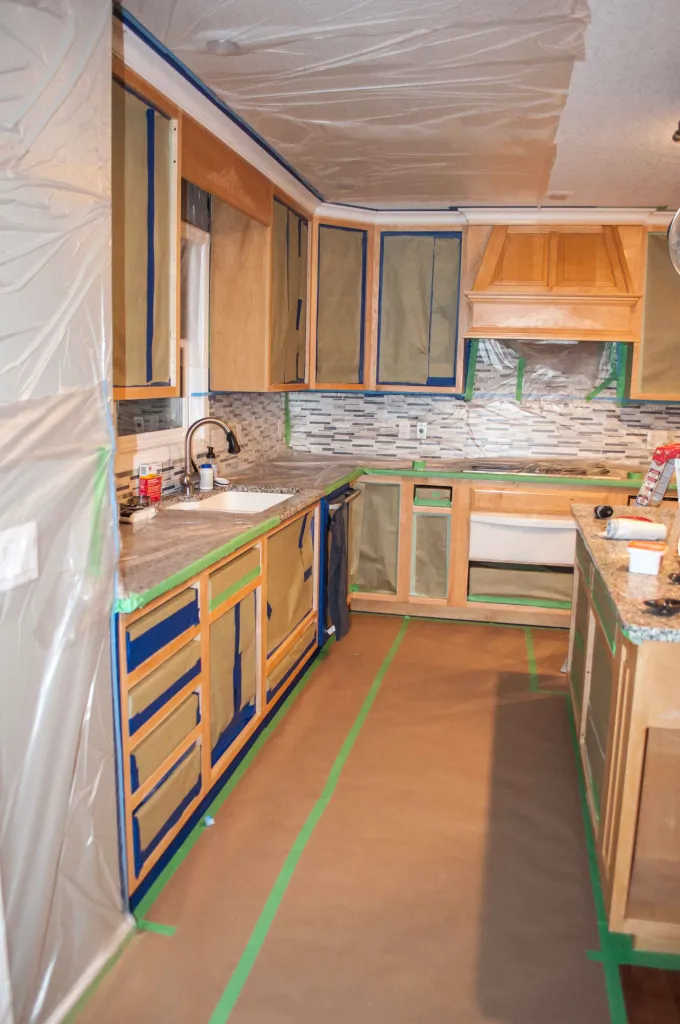
Protecting the surrounding area is vital to prevent overspray from reaching other surfaces. This includes covering countertops, appliances, floors, and any adjacent areas that are not being painted. Masking tape, plastic sheeting, and drop cloths are commonly used for this purpose.
Section 3: Equipment and Materials
3.1 Choosing the Right Paint
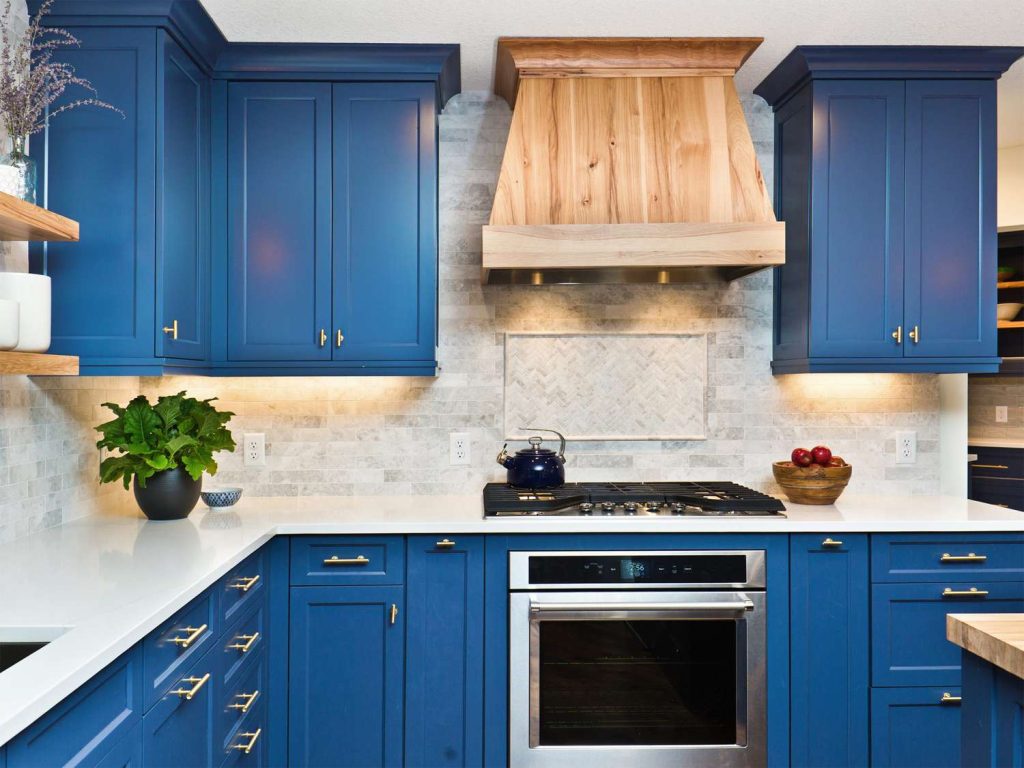
Selecting the appropriate paint for cabinet spraying is crucial. Water-based acrylic paints or solvent-based paints designed for cabinets are popular choices due to their durability and smooth finish. Satin or semi-gloss finishes are often preferred for kitchen cabinets.
3.2 Spraying Equipment Setup
Setting up the sprayer involves adjusting the spray pattern, pressure, and flow rate according to the specific requirements of the paint being used. This step ensures even and consistent coverage without excessive overspray.
Section 4: Technique
4.1 Practice Spraying Techniques
Before starting on the cabinets, it’s advisable to practice spraying on a test surface to become familiar with the sprayer, adjust the settings, and perfect the spraying technique. This helps to minimize errors and achieve a desirable finish on the cabinets.
4.2 Spraying Method
When spraying the cabinets, it’s essential to maintain a consistent distance from the surface, typically around 6-8 inches, and use overlapping passes to ensure even coverage. Working from top to bottom and side to side helps to avoid drips and uneven application.
Section 5: Application and Drying
5.1 Applying Primer and Paint
Begin by applying a high-quality primer designed for cabinets to promote paint adhesion and create a uniform base. Once the primer has dried, apply the paint using the same spraying technique, allowing sufficient drying time between coats.
5.2 Managing Overspray
Controlling overspray is important to prevent paint from reaching unintended areas. Adjusting the sprayer settings, using shields or barriers, and maintaining a steady hand can help minimize overspray.
Section 6: Safety Measures
6.1 Ventilation
Proper ventilation is essential when spraying cabinets to disperse fumes and airborne particles. Working in a well-ventilated area or using exhaust fans and respirators can help reduce the risk of inhaling harmful substances.
6.2 Personal Protective Equipment
Wearing appropriate personal protective equipment, such as gloves, goggles, and a respirator, is crucial to safeguard against exposure to paint fumes and overspray.
Section 7: Finishing Touches and Cleanup
7.1 Inspecting the Finish
After the final coat has been applied, inspect the cabinets carefully for any imperfections, drips, or uneven areas. Touch up as needed before allowing the cabinets to dry thoroughly.
7.2 Cleanup
Clean and maintain the spraying equipment promptly after finishing the project to prevent paint buildup and clogging. Proper storage of the equipment and leftover paint is also important for future use.
Advantages of spraying kitchen cabinets
1. Professional Finish
One of the primary benefits of spraying kitchen cabinets is the ability to achieve a professional finish that rivals factory-finished cabinets. Spraying provides a smooth, even coat of paint that minimizes brush strokes or roller marks, resulting in a high-quality, flawless appearance. The uniform finish enhances the overall aesthetics of the cabinets and gives them a modern, sleek look.
2. Smooth and Even Coverage
Spraying allows for a more consistent and uniform coverage compared to brushing or rolling. The fine mist of paint produced by the sprayer evenly coats the cabinet surfaces, including intricate details, edges, and corners that may be challenging to reach with a brush. This ensures that every part of the cabinet receives an equal amount of paint, eliminating patchy or uneven areas.
3. Time-Saving Efficiency
Spraying kitchen cabinets is a time-efficient painting method that can significantly reduce the overall project timeline. The application process is faster than brushing or rolling, allowing you to complete the painting job in less time. With spraying, you can cover larger surface areas quickly and apply multiple coats efficiently, accelerating the project and minimizing downtime.
4. Versatility in Paint Selection
When spraying kitchen cabinets, you have a wide range of paint options to choose from, including water-based acrylic paints, solvent-based paints, and specialized cabinet paints. These paints come in various finishes, such as satin, semi-gloss, or high-gloss, providing flexibility in achieving the desired look for your cabinets. You can customize the color and finish to suit your kitchen decor preferences.
5. Enhanced Durability and Longevity
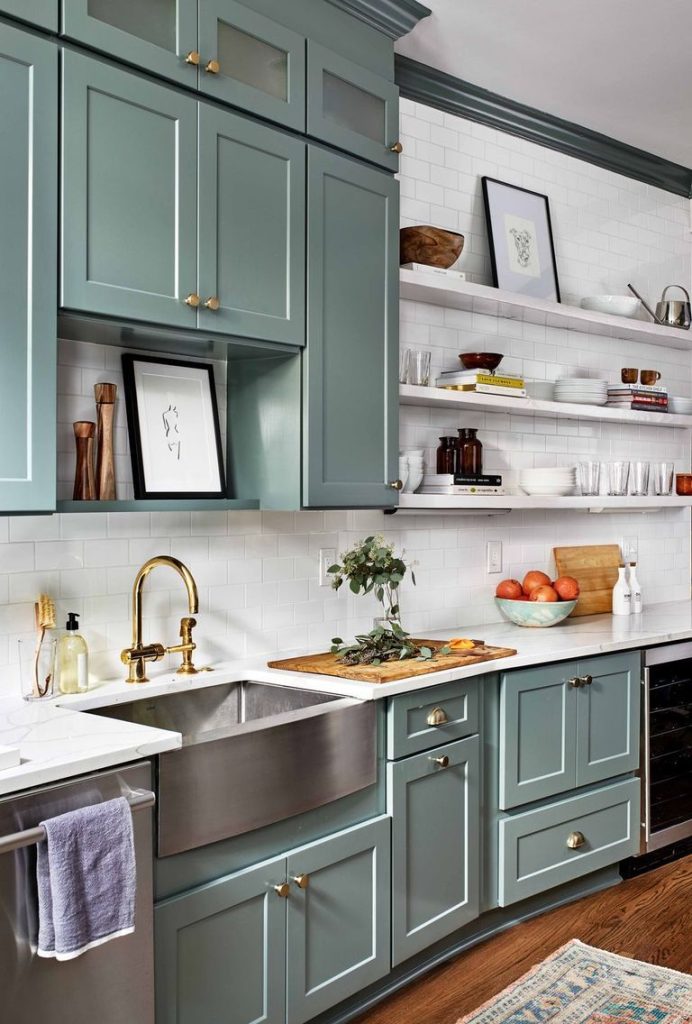
The finish achieved through spraying is not only aesthetically pleasing but also durable and long-lasting. Sprayed cabinets are less prone to chipping, peeling, or fading over time compared to cabinets painted with brushes or rollers. The even application of paint creates a strong bond with the surface, improving the durability of the finish and ensuring that it withstands daily wear and tear.
6. Seamless Repairs and Touch-Ups
In the event of minor damages or scratches on sprayed cabinets, touch-ups and repairs can be seamlessly executed. The consistent finish provided by spraying allows for easier blending of touch-up paint, ensuring that repaired areas seamlessly integrate with the rest of the cabinet surface. This convenience simplifies maintenance and upkeep of the cabinets over time.
7. Customization and Design Options
Spraying kitchen cabinets opens up a realm of customization and design possibilities. You can experiment with different colors, finishes, and techniques to create unique and personalized cabinet designs that complement your kitchen style. Whether you prefer a classic look, a contemporary aesthetic, or a bold statement, spraying allows you to bring your vision to life with precision.
8. Improved Efficiency and Productivity
For professionals or DIY enthusiasts undertaking cabinet painting projects, spraying offers improved efficiency and productivity. The speed of application, consistent coverage, and reduced drying times associated with spraying enable faster project completion. This efficiency is particularly beneficial for large-scale projects or when working within tight deadlines.
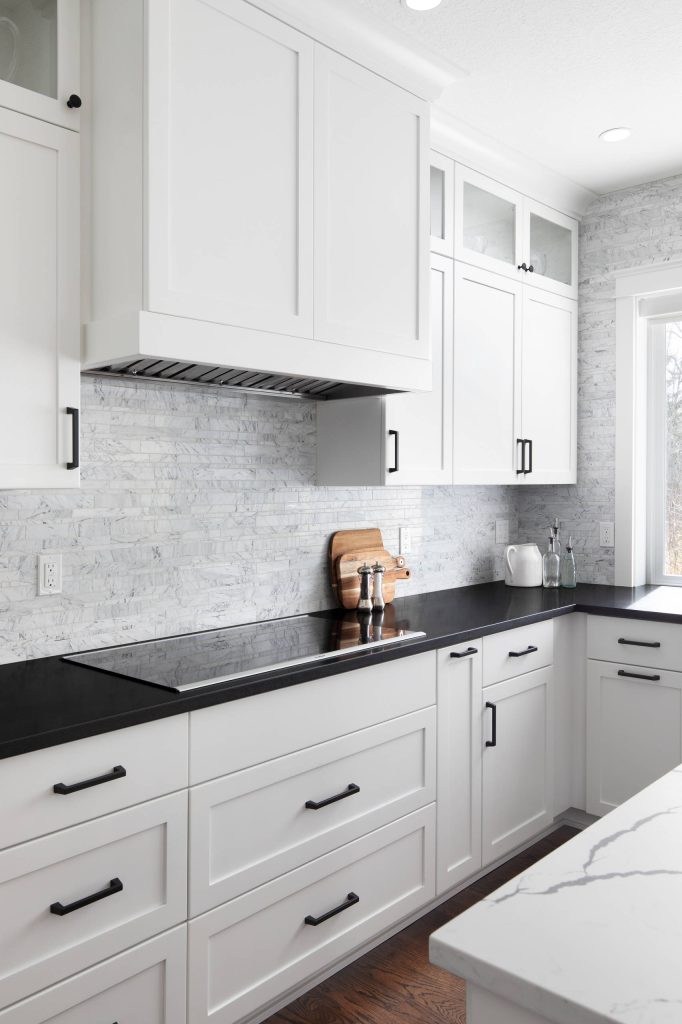
By following these techniques and guidelines for spraying kitchen cabinets, you can achieve a professional, durable finish that enhances the aesthetics of the kitchen while saving time and effort. Remember to prioritize safety, proper preparation, and attention to detail throughout the process to achieve the best results.