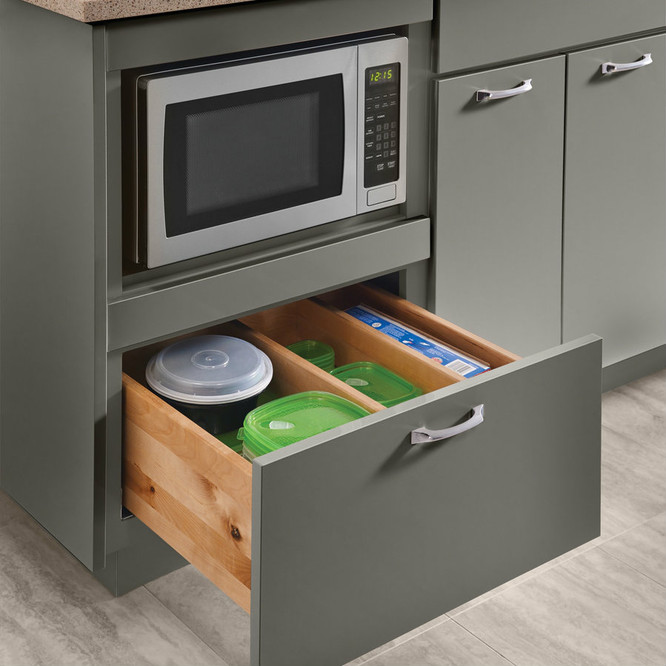
Installing a kitchen cabinet base is an essential step in creating a functional and aesthetically pleasing kitchen space. Whether you are renovating your kitchen or building it from scratch, understanding the proper installation process for the cabinet base is crucial. In this guide, we will provide step-by-step instructions on how to install a kitchen cabinet base, including necessary tools, preparation, and tips for a successful installation.
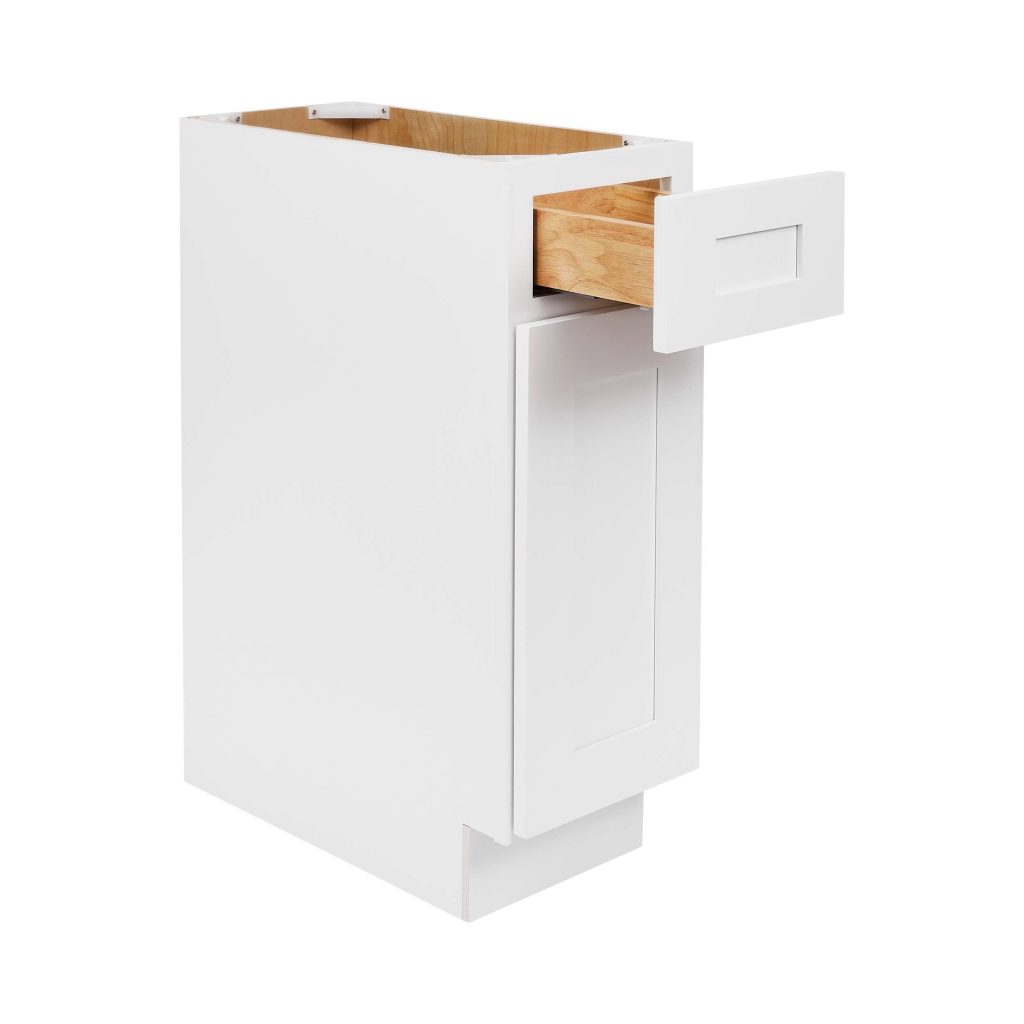
Tools and Materials
Before beginning the installation process, gather the necessary tools and materials for the project. This typically includes:
- Kitchen cabinet base units
- Level
- Measuring tape
- Screwdriver or drill
- Wood screws
- Shims
- Pencil
- Utility knife
- Clamps
- Stud finder
It is essential to ensure that you have all these tools and materials on hand before starting the installation process to avoid any unnecessary delays.
Preparation
Before installing the kitchen cabinet base, make sure to measure and mark the layout of the cabinets on the wall. Use a measuring tape and pencil to mark the height and width of each cabinet. It is crucial to ensure that the cabinets are level and align properly to create a straight and seamless layout.
Additionally, use a stud finder to locate and mark the position of the wall studs. This is important as it will be where you anchor the cabinets for support. Once the layout is marked, use a level to confirm that the markings are straight and even.
Installation Process
Once the preparation is complete, you can begin the installation process. Follow these step-by-step instructions to install the kitchen cabinet base:
Step 1: Position the First Cabinet
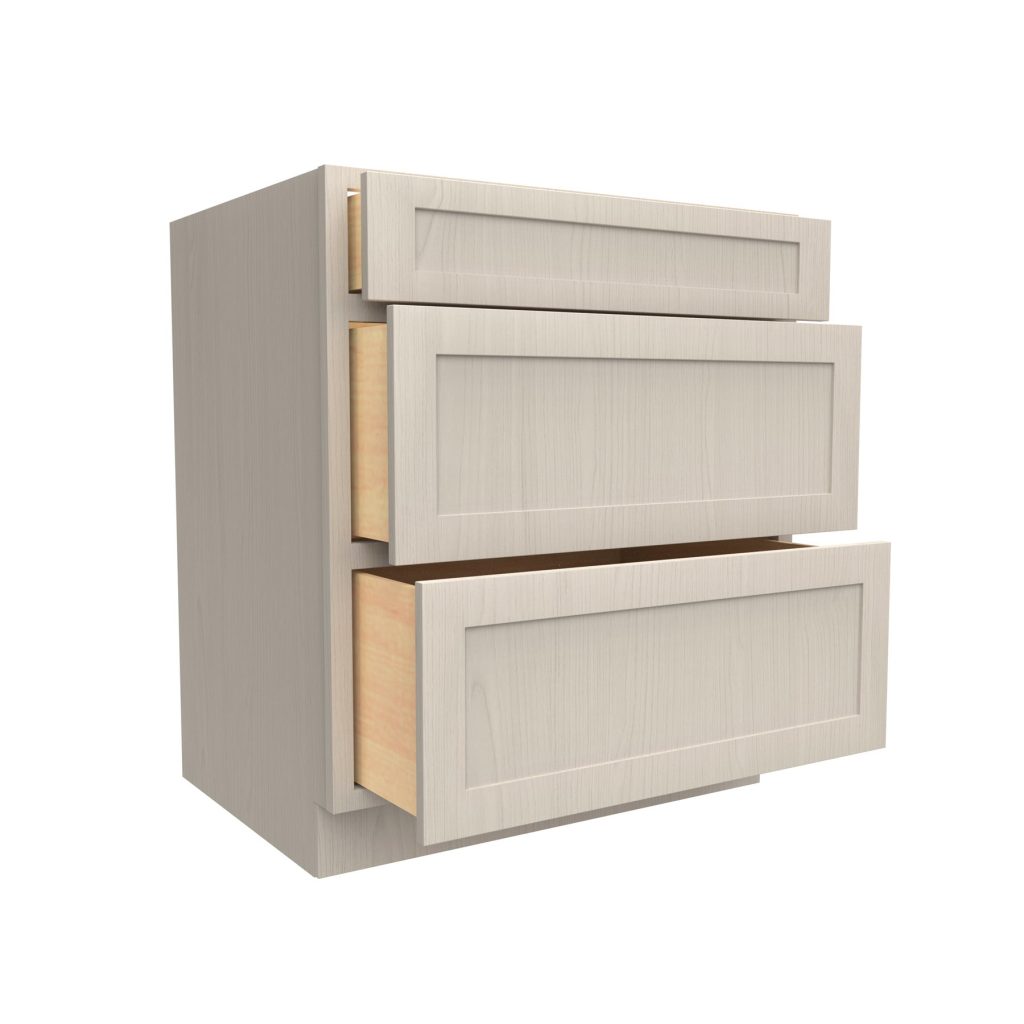
Start by positioning the first cabinet against the wall at the appropriate location. Use shims to level the cabinet and ensure that it is plumb. Once the cabinet is in the correct position, use clamps to secure it to the adjacent cabinets or wall to prevent it from shifting during installation.
Step 2: Secure the Cabinet to the Wall
Using wood screws, anchor the cabinet to the wall studs. Make sure to drive the screws through the back of the cabinet into the studs for a secure installation. Verify the alignment and levelness of the cabinet before fully securing it to the wall.
Step 3: Repeat the Process for Additional Cabinets
If you are installing multiple cabinets, repeat the process for each additional cabinet, ensuring that they are properly aligned and leveled. Use clamps to hold the cabinets together before securing them to the wall and each other. It is important to maintain a consistent level and alignment throughout the installation process.
Step 4: Adjust and Shim Cabinets as Needed
During the installation, you may need to adjust the position of the cabinets to ensure that they are level and aligned. Use shims to make any necessary adjustments, placing them at the bottom of the cabinets to level them and ensure a seamless installation.
Step 5: Install Cabinet Hardware
Once the cabinets are securely in place, install any necessary cabinet hardware such as door handles, knobs, or drawer pulls. Make sure to follow the manufacturer’s instructions for the proper installation of hardware to avoid any issues in the future.
Step 6: Check for Levelness and Alignment
After the cabinets are installed, use a level to check for levelness and alignment. Make any final adjustments as needed to ensure that the cabinets are perfectly leveled and aligned. This step is crucial for the overall appearance and functionality of the kitchen cabinet base.
Step 7: Clean Up and Final Touches
Once the cabinets are installed and properly aligned, clean up any excess materials such as shims or debris from the installation process. Take the time to inspect the cabinets and make any final touches to ensure that everything is in place and secure.
How to clean kitchen cabinet base
Every kitchen cabinet base sees its fair share of spills, splatters, and debris. Whether you have wood, laminate, or metal cabinets, keeping them clean is essential for maintaining the appearance and functionality of your kitchen. With the right tools and techniques, you can easily keep your kitchen cabinet bases looking like new.

Gathering Your Supplies
Before you begin cleaning your kitchen cabinet bases, it’s important to gather the necessary supplies. You will need the following items:
- Warm water
- Dish soap
- Soft cloths or sponges
- Baking soda
- White vinegar
- Microfiber cloth
- All-purpose cleaner
- Wood cleaner (if you have wood cabinets)
- Lemon essential oil (optional for a natural fragrance)
By having these items on hand, you’ll be prepared to tackle any mess or buildup on your kitchen cabinet bases.
Cleaning Wood Kitchen Cabinet Bases
If your kitchen cabinet bases are made of wood, they require special care to ensure they remain in optimal condition. Here’s how to clean wood kitchen cabinet bases:
- Start by mixing a few drops of dish soap with warm water in a bucket.
- Dip a soft cloth or sponge into the soapy water and wring it out.
- Gently wipe down the wood cabinet bases, paying close attention to any areas with noticeable stains or grime.
- For tougher stains, sprinkle a small amount of baking soda onto the affected area and scrub with a damp sponge.
- Once the stains are lifted, rinse the cabinet bases with clean water and dry them with a microfiber cloth.
- For added shine and protection, you can apply a wood cleaner according to the manufacturer’s instructions.
- If you prefer a natural fragrance, add a few drops of lemon essential oil to your cleaning solution.
Cleaning Laminate or Metal Kitchen Cabinet Bases
For laminate or metal kitchen cabinet bases, the cleaning process is a bit simpler. Follow these steps to keep them looking their best:
- Mix warm water with a few drops of dish soap in a bucket.
- Use a soft cloth or sponge to apply the soapy water to the cabinet bases, wiping away any dirt or grime.
- For stubborn stains, add a splash of white vinegar to your cleaning solution and apply it to the affected areas.
- Wipe down the entire surface with clean water and dry with a microfiber cloth.
- If there are any lingering odors, you can use an all-purpose cleaner to freshen up the cabinet bases.
Maintaining Your Kitchen Cabinet Bases
In addition to regular cleaning, it’s important to maintain your kitchen cabinet bases to prevent damage and ensure their longevity. Here are a few tips for keeping your cabinets in top condition:
- Wipe up spills and splatters immediately to prevent staining and water damage.
- Avoid using abrasive cleaners or scrubbing pads, as they can scratch the surface of your cabinets.
- Install cabinet liners to protect the base from spills and scratches.
- Use door stoppers to prevent cabinet doors from hitting the base and causing damage.
- Regularly inspect your cabinet bases for signs of wear or damage, and address any issues promptly.
By following these maintenance tips, you can prolong the life of your kitchen cabinet bases and keep them looking beautiful for years to come.
Conclusion
Installing a kitchen cabinet base can be a challenging but rewarding project. By following these step-by-step instructions and taking the time to prepare and properly align the cabinets, you can achieve a professional and seamless installation. Remember to use the correct tools and materials, take accurate measurements, and verify the levelness and alignment of the cabinets throughout the installation process. With the right approach and attention to detail, you can successfully install a kitchen cabinet base that will enhance the functionality and aesthetics of your kitchen space.
