Installing a kitchen sink may seem like a daunting task for many homeowners, but with the right tools, materials, and step-by-step guidance, it can be a manageable and rewarding DIY project. A new kitchen sink can enhance both the functionality and aesthetics of your kitchen, providing a fresh look and improved workflow. In this comprehensive guide, we will walk you through the process of installing a kitchen sink, covering everything from preparation and removal of the old sink to final adjustments and sealing. Let’s dive in!
1. Preparation and Safety Measures
Before you begin installing your new kitchen sink, it’s essential to gather all the necessary tools and materials and take proper safety precautions:
Tools and Materials:
-
- New kitchen sink
- Adjustable wrench
- Plumber’s putty or silicone caulk
- Pipe wrench
- Screwdriver
- Bucket
- Plumber’s tape
- Towels or rags
- Hacksaw (if cutting pipes)
Safety Precautions:
-
- Turn off the water supply to the sink.
- Wear protective gloves and safety glasses.
- Keep the work area well-ventilated.
2. Removing the Old Sink
The first step in installing a new kitchen sink is to remove the old one. Follow these steps carefully:
- Disconnect the water supply lines: Use an adjustable wrench to loosen the nuts connecting the hot and cold water supply lines to the shut-off valves. Place a bucket underneath to catch any remaining water.
- Disconnect the drain pipes: Loosen the nuts connecting the drain pipes to the P-trap and the sink tailpiece. Remove the P-trap and any other fittings connected to the drain pipes.
- Remove the sink clips: If your sink is held in place with clips, use a screwdriver to loosen and remove them. Alternatively, if the sink is caulked to the countertop, use a utility knife to cut through the caulk.
- Lift out the old sink: With the connections loosened and clips removed, carefully lift the old sink out of the countertop and set it aside.
3. Preparing the New Sink and Countertop
Now that the old sink is removed, it’s time to prepare the new sink and countertop for installation:
- Test-fit the new sink: Place the new sink upside down on the countertop to ensure it fits properly. Make any necessary adjustments to the countertop cutout if the sink doesn’t fit perfectly.
- Apply plumber’s putty or silicone caulk: Apply a thin, even bead of plumber’s putty or silicone caulk around the underside of the sink rim. This will create a watertight seal between the sink and countertop.
- Install the faucet and any additional accessories: If you’re installing a new faucet or other accessories, now is the time to do so. Follow the manufacturer’s instructions for installation.
4. Installing the New Sink
With the preparations complete, it’s time to install the new sink into the countertop:
- Lower the sink into place: Carefully lower the sink into the countertop cutout, ensuring that it fits snugly and sits evenly.
- Secure the sink clips: If your sink came with clips, use a screwdriver to tighten them into place, securing the sink to the countertop. If not, proceed to the next step.
- Connect the water supply lines: Reconnect the hot and cold water supply lines to the corresponding shut-off valves. Use plumber’s tape to ensure a tight seal.
- Connect the drain pipes: Attach the P-trap and any other fittings to the drain pipes, ensuring they are securely tightened. Use a pipe wrench if necessary.
- Check for leaks: Turn on the water supply and check for any leaks around the connections. Tighten any fittings as needed to eliminate leaks.
5. Final Adjustments and Sealing
Once the sink is installed and all connections are secure, make any final adjustments and seal the edges:
- Adjust the faucet: If necessary, adjust the position and alignment of the faucet to ensure proper function and aesthetic appeal.
- Seal the edges: Apply a bead of silicone caulk around the edges of the sink where it meets the countertop. Use a damp cloth to smooth the caulk and create a clean, finished look.
- Clean up: Wipe down the sink and surrounding area to remove any excess caulk or debris. Dispose of old materials responsibly.
How to choose a kitchen sink
The kitchen sink is more than just a functional fixture; it’s a central component of your kitchen’s design and workflow. Whether you’re renovating your kitchen or simply looking to upgrade your sink, choosing the right one can have a significant impact on both style and functionality. With a wide range of materials, styles, and features to choose from, selecting the perfect kitchen sink can feel like a daunting task.
1. Understanding Your Needs
Before you start browsing through catalogs or visiting home improvement stores, it’s essential to assess your needs and priorities when it comes to your kitchen sink. Consider the following factors:
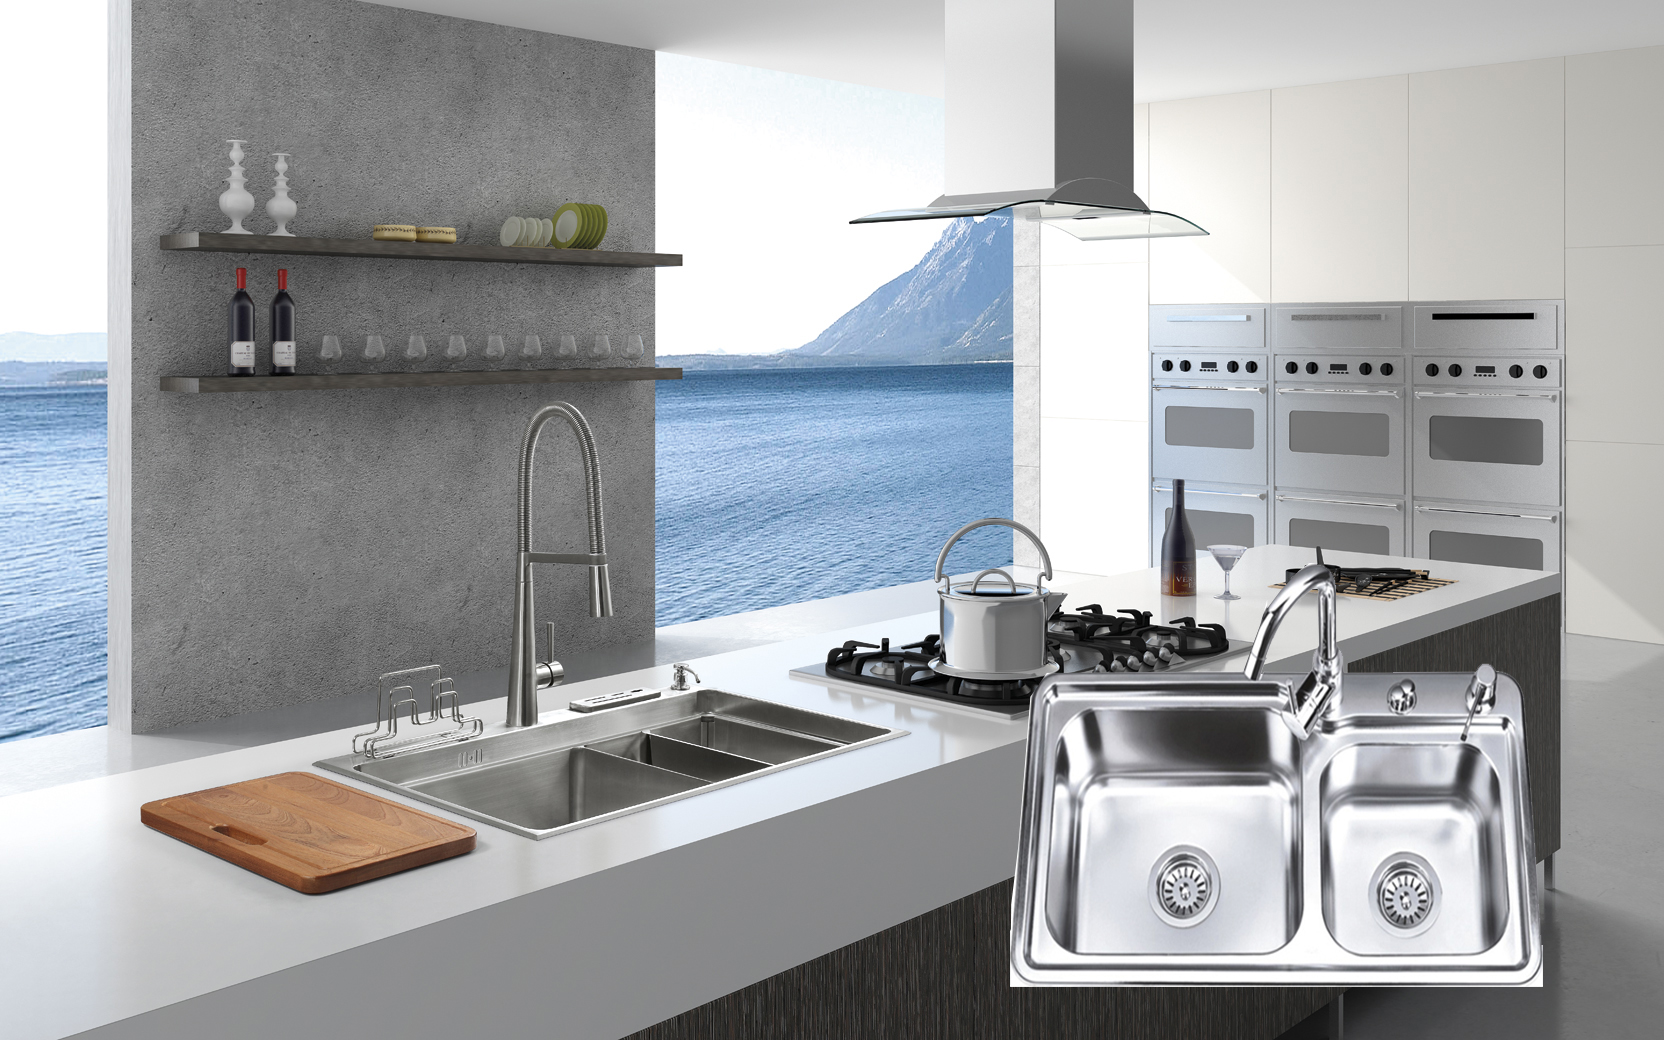
- Size and Layout: Evaluate the size and layout of your kitchen to determine the most suitable sink size and configuration. Do you need a single bowl, double bowl, or even triple bowl sink? Will an undermount, drop-in, or farmhouse sink work best with your countertop and cabinetry?
- Usage Patterns: Think about how you use your kitchen sink on a daily basis. Do you frequently wash large pots and pans? Do you need a deep basin for soaking or a shallow basin for quick rinsing? Understanding your usage patterns will help you choose the right size and style of sink.
- Material Preferences: Consider the pros and cons of different sink materials, such as stainless steel, cast iron, composite granite, fireclay, and porcelain. Each material offers unique benefits in terms of durability, aesthetics, and maintenance requirements.
- Additional Features: Decide if you want any additional features or accessories, such as built-in drainboards, integrated cutting boards, or touchless faucets. These features can enhance the functionality of your sink but may also impact your budget.
2. Exploring Sink Materials
One of the most critical decisions you’ll need to make when choosing a kitchen sink is selecting the right material. Here’s an overview of some popular sink materials and their characteristics:
- Stainless Steel: Stainless steel sinks are durable, easy to clean, and resistant to heat, stains, and rust. They come in a variety of finishes and styles, making them a versatile option for any kitchen.
- Cast Iron: Cast iron sinks are incredibly durable and resistant to chipping, scratching, and staining. They have a classic, timeless look and are available in a range of colors and finishes. However, they can be heavy and may require extra support.
- Composite Granite: Composite granite sinks are made from a blend of granite stone dust and acrylic resins, resulting in a durable, scratch-resistant surface. They offer the look and feel of natural stone without the high cost and maintenance requirements.
- Fireclay: Fireclay sinks are crafted from clay that is fired at high temperatures, resulting in a dense, durable surface that is resistant to scratches, chips, and stains. They have a classic, farmhouse-style look that complements traditional and modern kitchens alike.
- Porcelain: Porcelain sinks, also known as enamel or ceramic sinks, feature a glossy, non-porous surface that is easy to clean and resistant to stains and scratches. They come in a variety of colors and styles, making them a versatile choice for any kitchen design.
Conclusion
Congratulations! You’ve successfully installed a new kitchen sink, transforming the look and functionality of your kitchen in the process. By following this comprehensive guide and taking proper precautions, you can tackle this DIY project with confidence and enjoy the satisfaction of a job well done. Whether you’re replacing an old sink or upgrading to a new style, installing a kitchen sink is a rewarding endeavor that can enhance your home for years to come.
